 This article is part of the In Microsoft Dynamics 365 Business Central (Power Automate Actions), how do I… series, a sub-series of the In Microsoft Dynamics 365 Business Central (Power Automate), how do I… series and of the wider In Microsoft Dynamics 365 Business Central, how do I… series which I am posting as I familiarise myself with Microsoft Dynamics 365 Business Central.
There are a number of actions available in Power Automate for Business Central which allow specific actions against the data of Business Central to be performed from within Power Automate.
The 12th action which is available is the Update an image, file or document (V3) one which allows you to update (but not insert) an image, file or document in Business Central. To insert a new image, file or document, you will need to use the Create record V3 action to create the file first and the use this update action to upload the actual image, file or document.
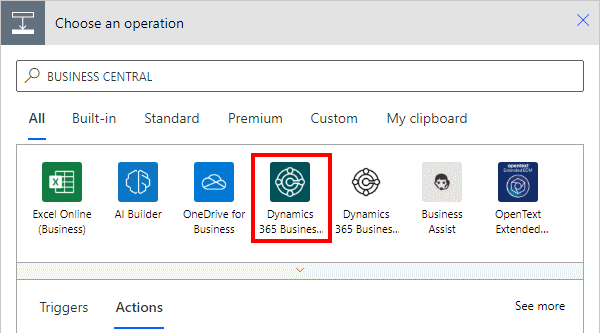
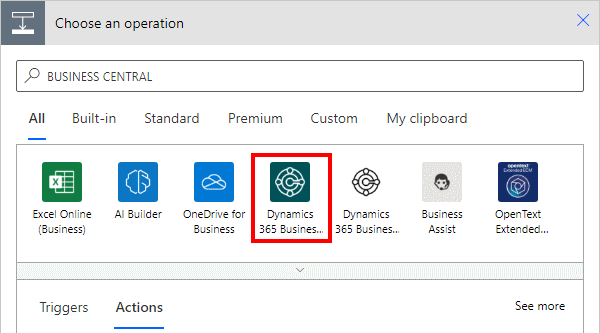
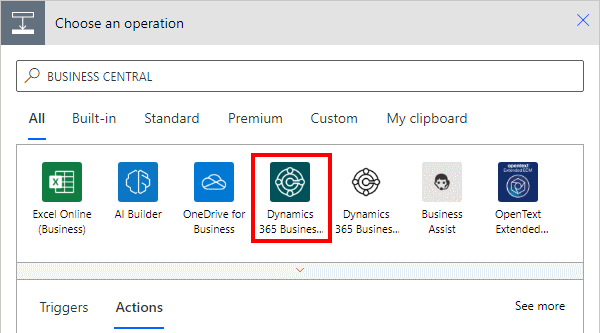
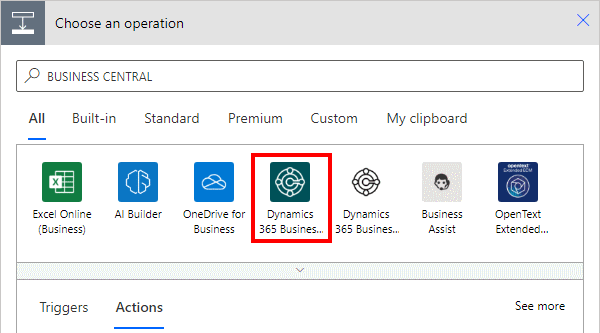
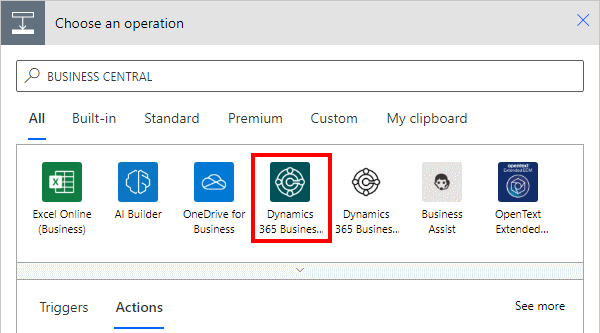
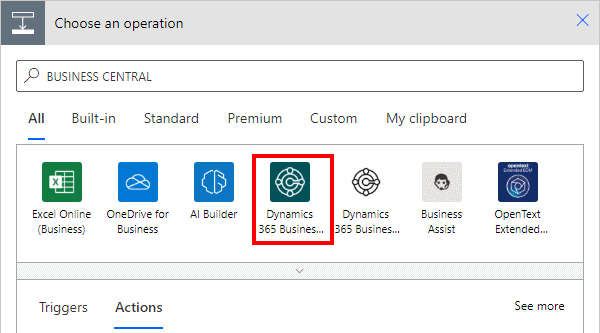
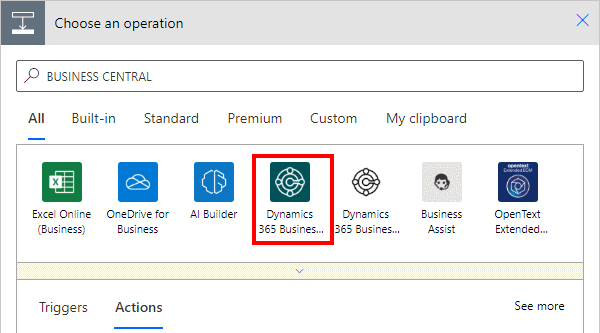
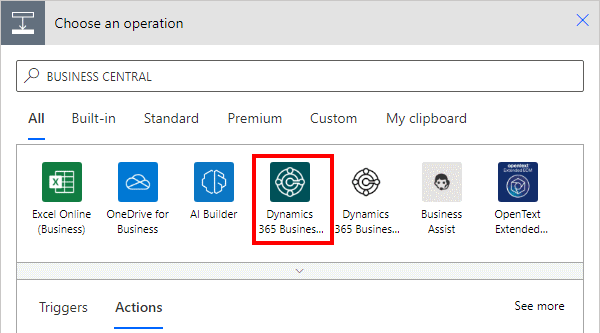
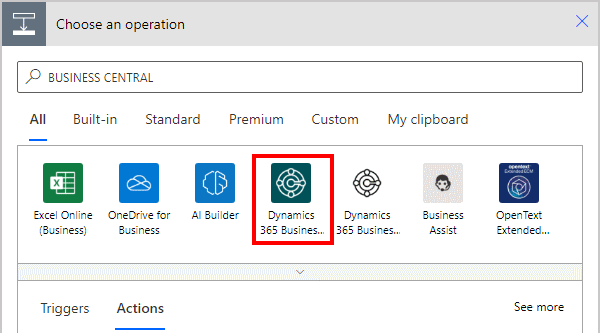
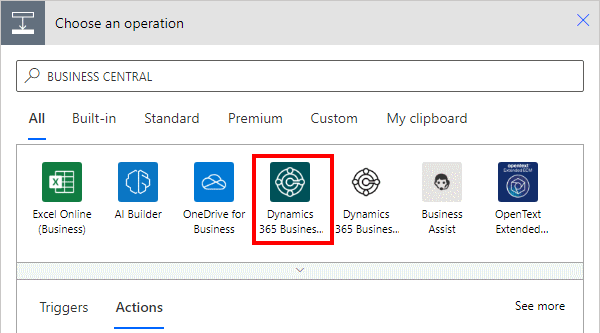
Within a flow, click the add action button; search for Business Central and select the Business Central icon (make sure you select the SaaS one, which is a dark colour instead of the on-premises one which is mainly white):


