 This post is part of the In Microsoft Dynamics 365 Business Central (Inventory and Warehouse Management), how do I… series and of the wider In Microsoft Dynamics 365 Business Central, how do I… series which I am posting as I familiarise myself with Microsoft Dynamics 365 Business Central.
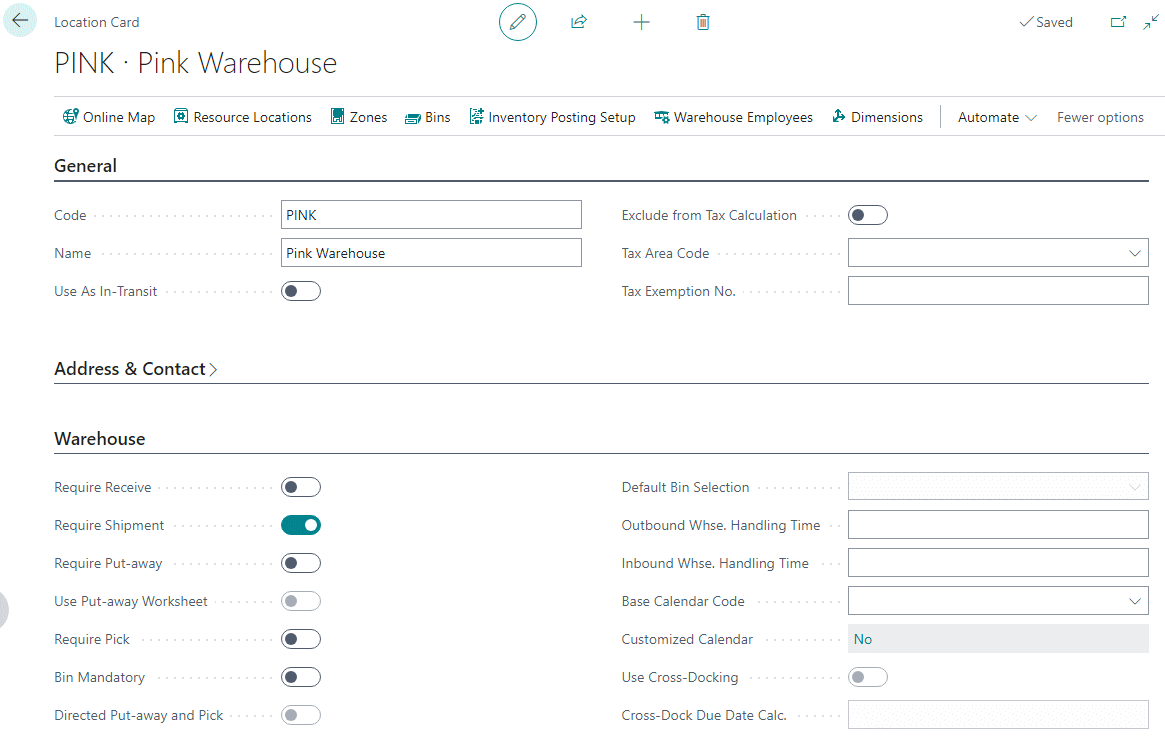
With a location enabled for requiring receive, we can now the shipment of goods from the warehouse.
There are two methods for using warehouse shipment:
- Push, which is where a warehouse shipment is created for a single sales order (or other document bringing stock in, such as a purchase return) from the Create Whse. Shipment action on the Sales Order card.
- Pull, which is where a warehouse shipment is created from the Warehouse Shipments page. This would typically be used when you are shipping goods to a customer from multiple orders.
In this post, I will be stepping through the second of the above methods, but you end up in the same window when you use the action mentioned in the first.
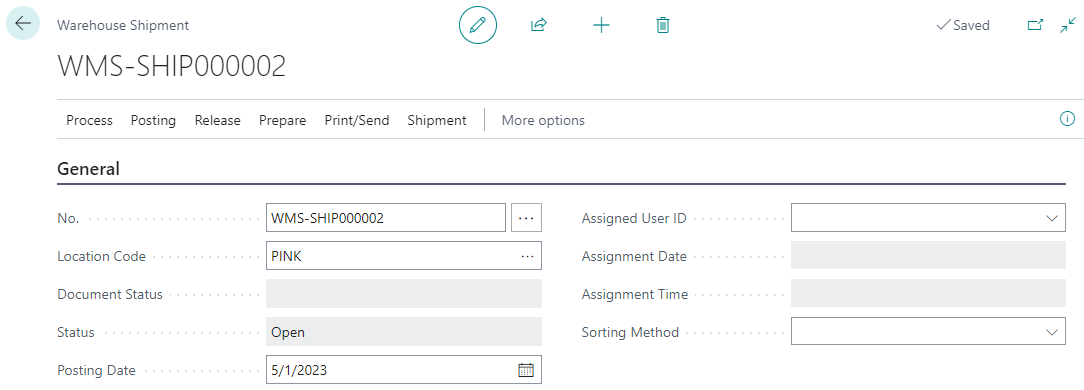
To create a warehouse shipment, search for Warehouse Shipments and click the New button.
Tab from the No. field and select the location for which goods are being shipped and set the Posting Date:


