 This article is part of the In Microsoft Dynamics 365 Business Central (Administration), how do I… series and of the wider In Microsoft Dynamics 365 Business Central, how do I… series which I am posting as I familiarise myself with Microsoft Dynamics 365 Business Central.
Business Central allows users to export data to Excel from list and worksheet pages by either using the open or edit option. If you choose the open option, then the data is simply exported into a static Excel workbook, which you can then manipulate or share with someone else.
If, however, you take the edit option, you can edit the exported action and import back into Business Central.
To edit data in Excel, open a list page and apply whatever filters you need; the export will only be data loaded on the page, so you can pre-filter before exporting to Excel, such as limiting the page to only current period data.
Click the share button in the top right and select Edit in Excel:

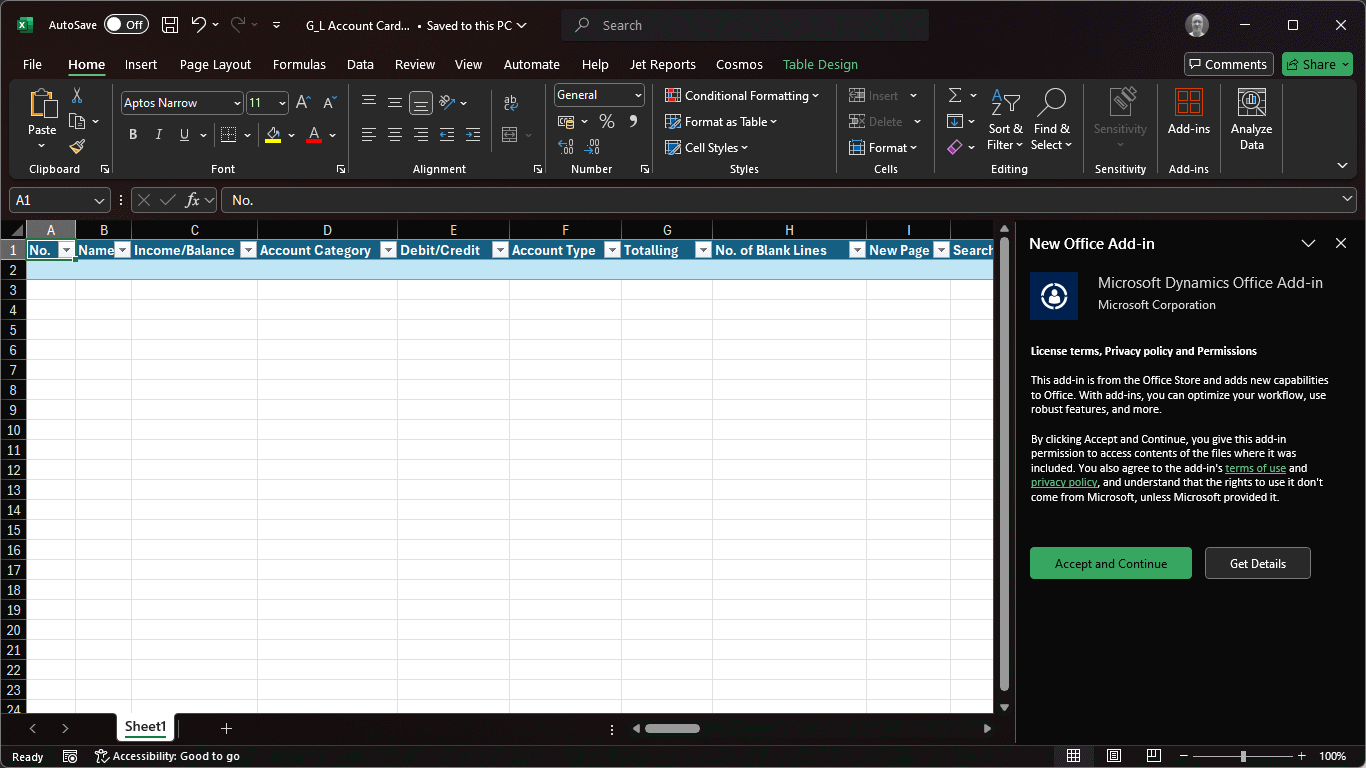
Excel will open prompting to install the Microsoft Dynamics Office Add-in; click Accept and Continue:
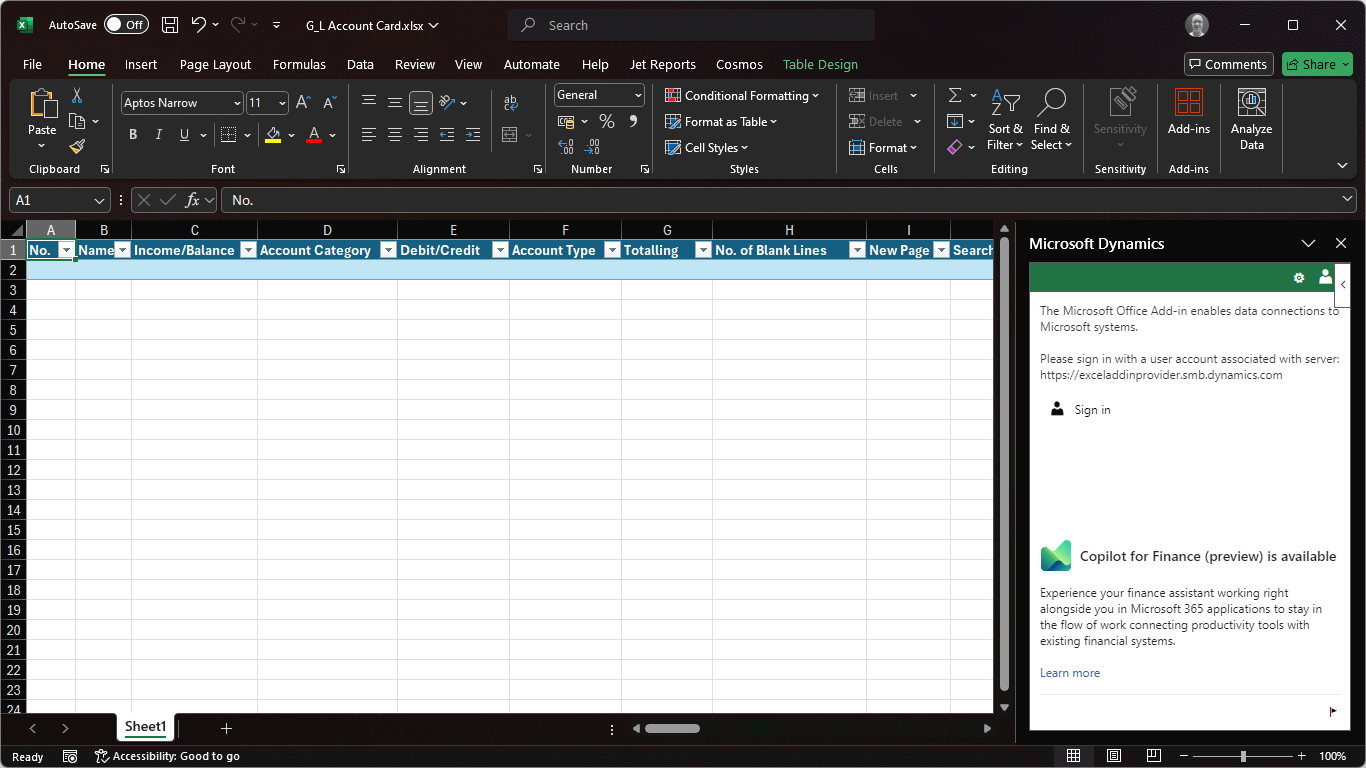
Once the add-in is installed, you will need to click Sign-in and sign into Business Central with a user account with a Business Central licence:
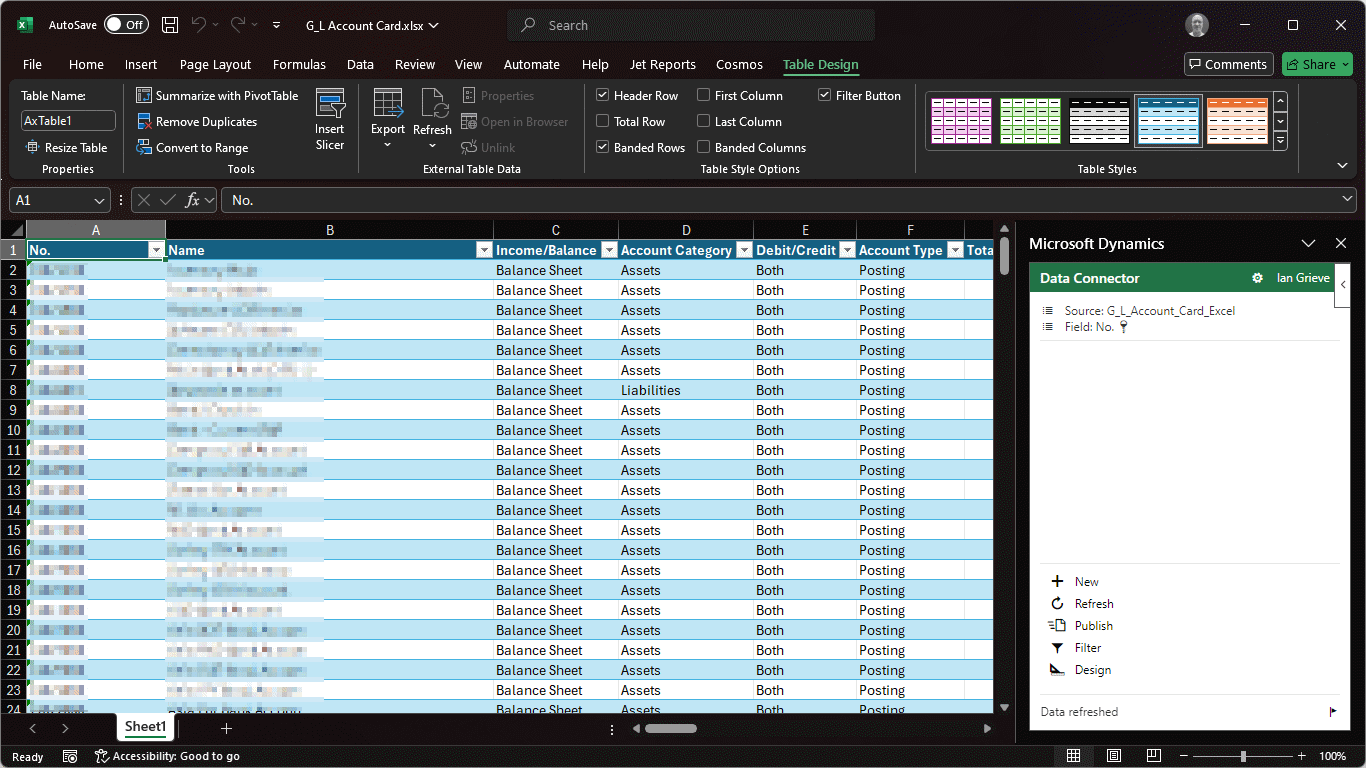
Once you have sign-in, the data will be loaded into the workbook; after making changes, click the Publish button to send the data back to Business Central:
In Microsoft Dynamics 365 Business Central, how do I…
In Microsoft Dynamics 365 Business Central (Administration), how do I…
What should we write about next?
If there is a topic which fits the typical ones of this site, which you would like to see me write about, please use the form, below, to submit your idea.