 This article is part of the In Microsoft Dynamics 365 Business Central (Administration), how do I… series and of the wider In Microsoft Dynamics 365 Business Central, how do I… series which I am posting as I familiarise myself with Microsoft Dynamics 365 Business Central.
To create a new Word template there is an assisted setup to guide you through the process. To use this tool, search for and open the Word Templates page.
There are three main stages to the process of creating a Word template; all three parts are covered in this article and the index below will allow you to quickly to a specific section.
- Configure and export the Word template.
- Insert mail merge fields in template using Microsoft Word.
- Import the Word template
Configure and export the Word template
On the Word Templates (9989) page, click the New » Create a template action:
To create a Word Template requires a source table to be available. However, before adding a source table, you need to think about which other related tables you will want to also add to the Word template, as this will decide which table to pick as the source table.
For example, if I wanted to create a letter to customers based on the ship-to address, I cannot use the Customer (18) table as the Ship-to Address (222) table is not a related table. However, if you pick the Ship-to Address table then the Customer table is a related table. This is because tables are available as a related table when their is a field on that table linking it to the other; in the case of the Customer table there is no field for Ship-to Address and so it is not related, but the Ship-to Address table does contain the Customer No. and is therefore a related table.
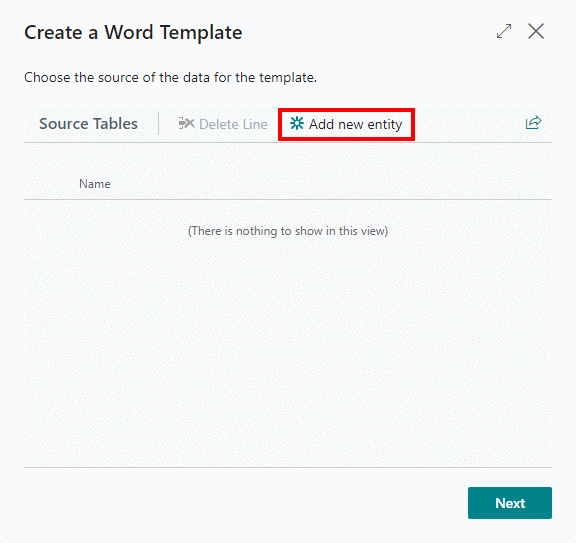
To add a new source table, click the Add new entity button:
Continue reading “Word Template Mail Merge in Business Central: Create Word Template for Mail Merge”


