 This article is part of the Working with Power Automate series I am writing on my experiences working with the Power Automate, which is part of the Power Platform from Microsoft. I also have a related series of articles on Power Automate with Microsoft Dynamics 365 BC.
In the previous article of this series, I explained what a scope in Power Automate was and what it did; in this post I am going to show an example of a scope.
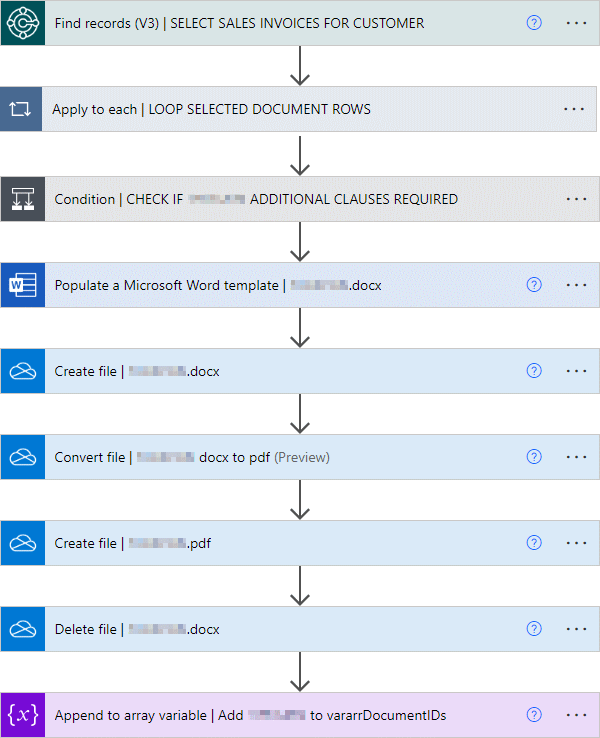
This example is within a flow created to perform various tasks, one of this is to create a mail merge document and convert it to a PDF document, which is performed over a number of actions; in the below diagram, these are the actions after the condition and before the append variable one:
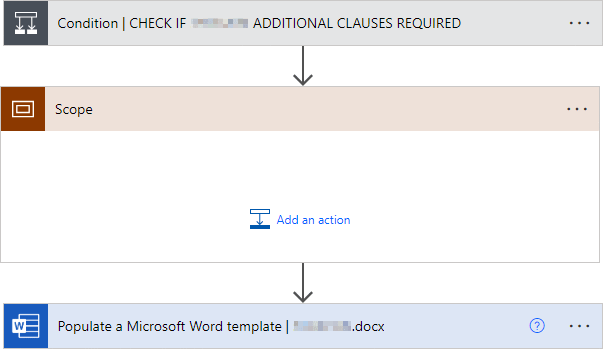
To add a scope, hover the mouse over the arrow between actions and click the plus icon; the new scope will be added in that location with the default name:
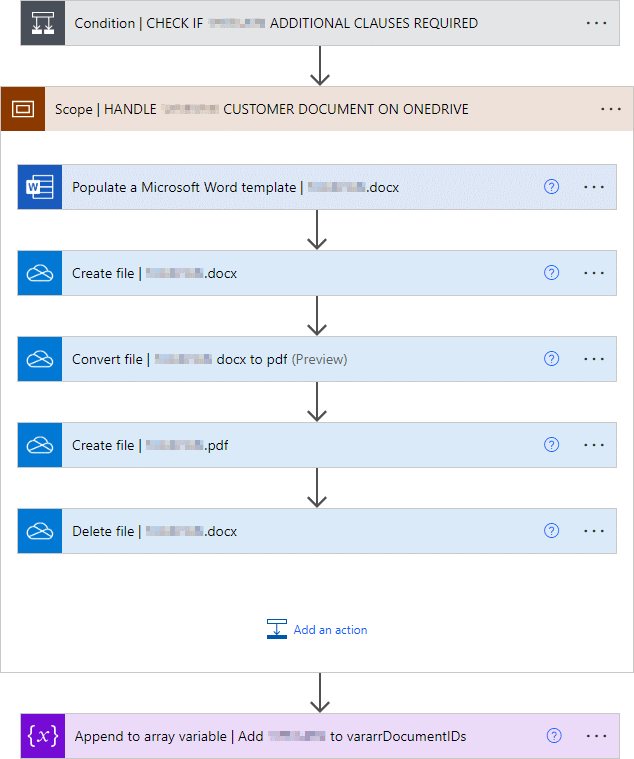
The scope should be renamed to a name which describes what the actions in the scope do; this is done by clicking the ellipsis button and selecting Rename. When I rename an action, I typically leave the original name and add the more detailed name after a pipe symbol:
Existing actions can be added to a scope by the simple process of drag and drop; new actions can be added by clicking the Add an action button at the bottom of the scope:
Working with Power Automate
What should we write about next?
If there is a topic which fits the typical ones of this site, which you would like to see me write about, please use the form, below, to submit your idea.


