 This post is part of the In Microsoft Dynamics 365 Business Central (Power Automate), how do I… series and of the wider In Microsoft Dynamics 365 Business Central, how do I… series which I am posting as I familiarise myself with Microsoft Dynamics 365 Business Central.
In the last article of the Working with Power Automate series, I showed how a flow could be created from a template; the example I used was a Business Central purchase order approval flow. However, while I showed the flow being created from the template in the Power Auto,ate portal, they can also be created from a template within Business Central itself.
The process is actually very similar to manually creating a flow from within Business Central; on a page, click the Automate » Power Automate » Create approval flow action:
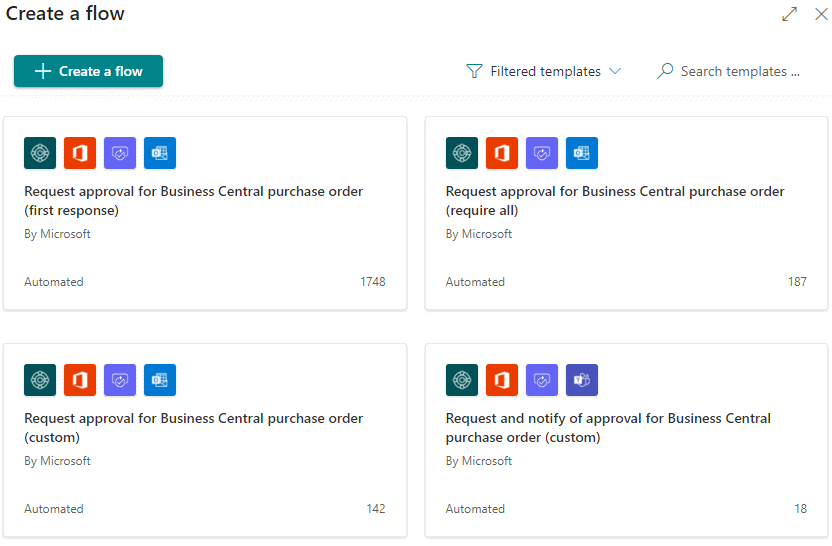
The Create a flow page will be displayed, filtered to the type of approval flow selected on the action bar; the search box works for the filtered templates, but toggling the Filtered templates option to All templates[/b[ allows you to search more widely.
To proceed, click the template to use:
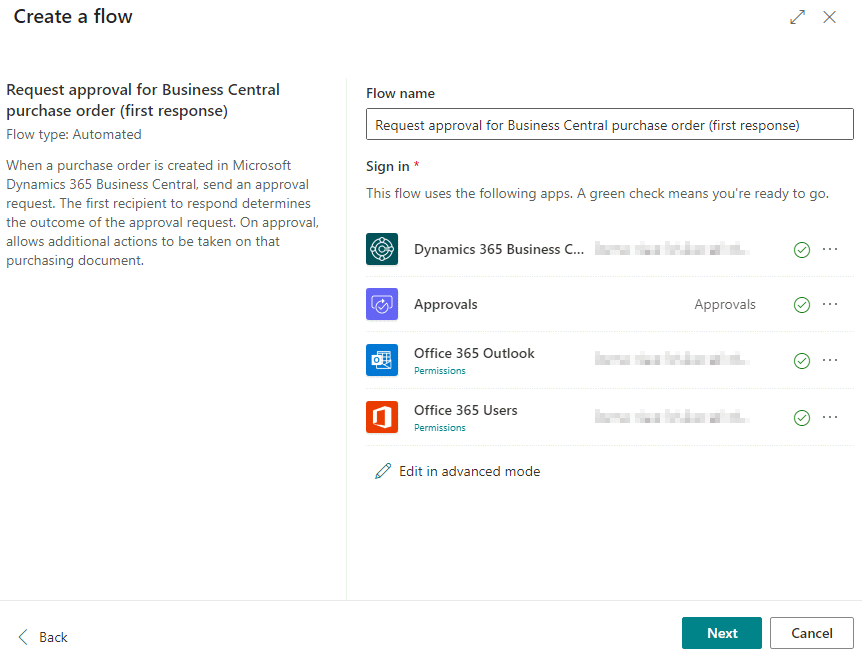
Enter a Flow name and sign into the connections which are used by the flow which will be created; click Next to continue:
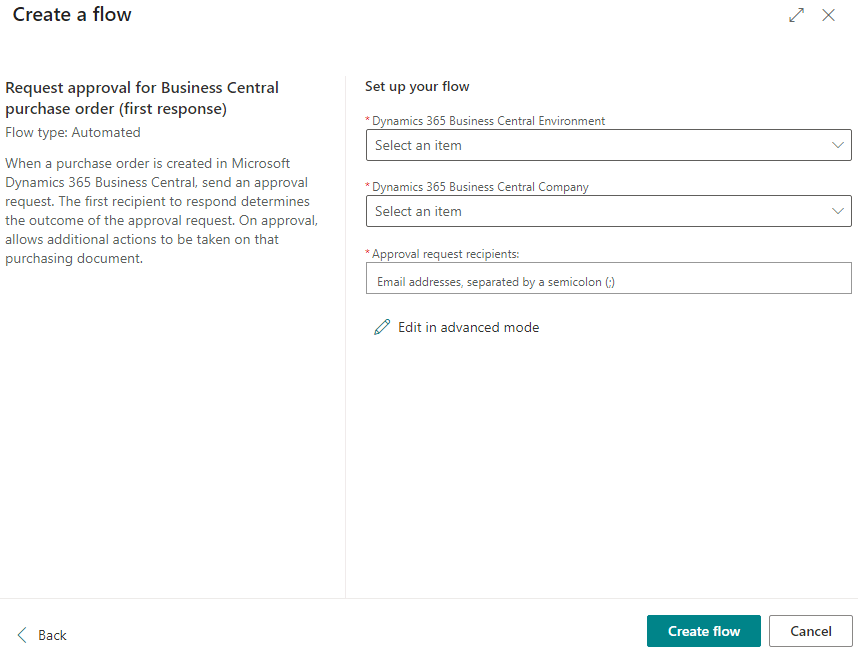
You will be prompted to set the parameters used by the flow, which in this example, includes the environment, company and approval request recipients; click Create flow:
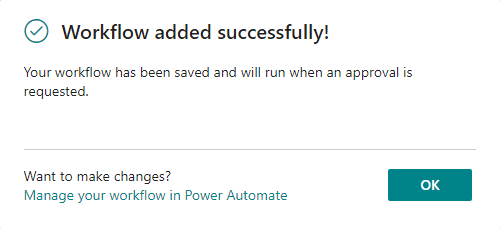
A confirmation message will be displayed that the workflow has been created and is active:
The flow is created in an active state; you can disable it if required and make any necessary changes to the flow in the Power Automate portal.
In Microsoft Dynamics 365 Business Central, how do I…
Click to show/hide the In Microsoft Dynamics 365 Business Central, how do I… Series Index
What should we write about next?
If there is a topic which fits the typical ones of this site, which you would like to see me write about, please use the form, below, to submit your idea.


