 This article is part of the Working with Power Automate Solutions series and of the larger Working with Power Automate series I am writing on my experiences working with the Power Automate, which is part of the Power Platform from Microsoft. I also have a related series of articles on Power Automate with Microsoft Dynamics 365 BC.
As I mentioned in the article on what a solution publisher is, in this article I am going to step through the creation of a solution publisher.
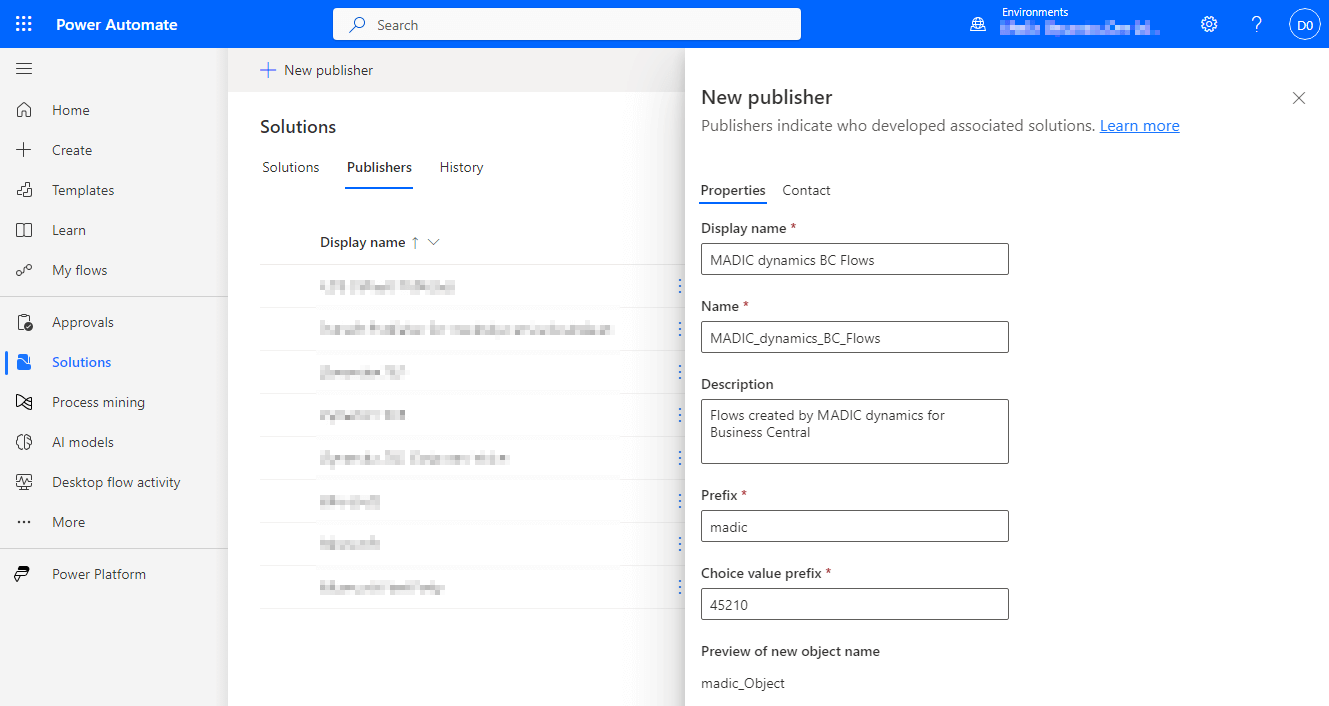
To do this, log into the Power Automate website and, in the left navigation pane, select Solutions; click the Publishers tab and then click the New publisher button at the top of the page:
In the New publisher detail pane, which opens on the right of the screen, enter the Display name, Name and Prefix; as you enter the prefix, the Choice value prefix will automatically populate, although you can change it by over-typing.
You can also choose to enter a Description giving a longer outline of who the publisher is; perhaps a tagline or mission statement.
Clicking the Contact tab allows you to enter the Phone, Email and Website as well as address details for the publisher. This is handy if you are a VAR or ISV distributing your solutions to clients or customers, because you can enter details of your support team.


