 This post is part of the In Microsoft Dynamics 365 Business Central (Inventory and Warehouse Management), how do I… series and of the wider In Microsoft Dynamics 365 Business Central, how do I… series which I am posting as I familiarise myself with Microsoft Dynamics 365 Business Central.
In a previous article, I covered picking and shipping a sales order using the advanced warehouse functionality.
At the start of that article I noted that there are two methods to creating a pick:
- In a push fashion, where you use the Create Pick action in the Warehouse Shipment page. Select the lines to be picked and prepare the picks by specifying, for example, which bins to take from and place in, and how many units to handle. Bins can be predefined for the warehouse location or resource.
- In a pull fashion, where you use the Release action in the Warehouse Shipment page to make the items available for picking. Then, on the Pick Worksheet page, warehouse employees can use the Get Warehouse Documents action to pull their assigned picks.
In the previous article, I covered the first method using “push” to create the pick; I’ll cover the second method in this article.
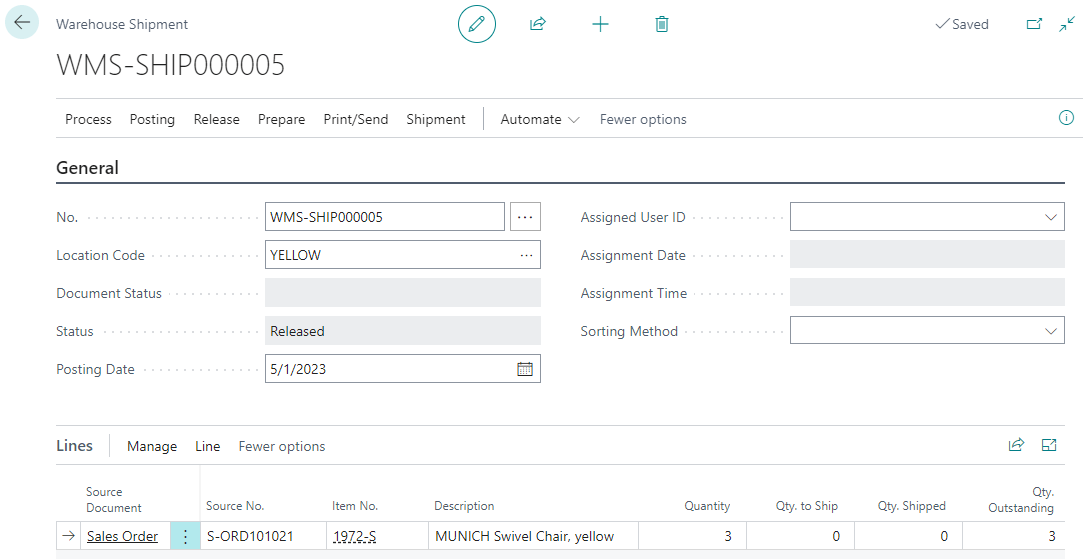
As in the previous article, you need to create the warehouse shipment, but instead of clicking the Create Pick… action, you need to release the shipment using the Release » release action, so the status changes from Open to Released:
With the shipment released, we can user the Picks Worksheet to create the picks using the pull method; before we can use this worksheet, a worksheet template will need to be created, in the same way as we did for the put-away worksheet template.
Search for and open the Pick Worksheets page. Pick the batch to use (which is the name of the pick worksheet template and click the Process » Get Warehouse Documents… action:
All of the released shipments will be listed, allowing you to pick multiple documents for picking; once all the ones to be picked have been selected, click OK:
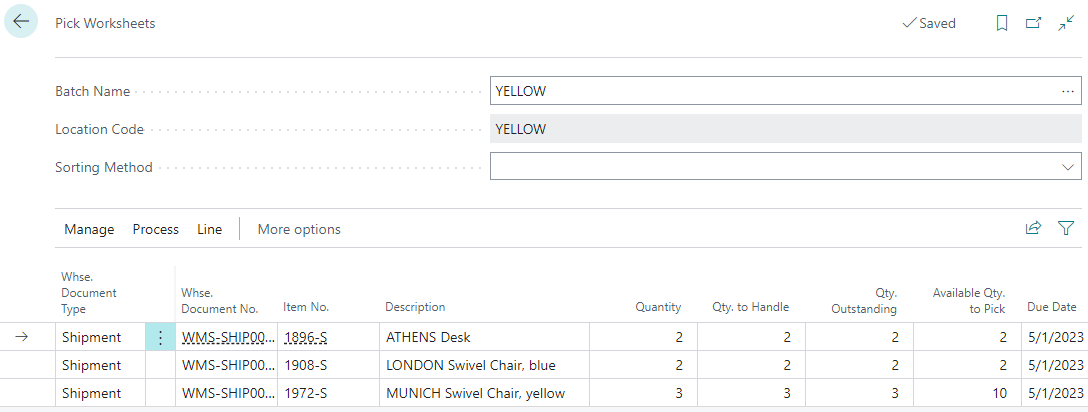
The selected shipments will have their lines pulled through to the worksheet; at this stage you can amend the Qty. to Handle or delete lines if you are only doing a partial pick.
Once all quantities are correct, the pick can be created by clicking the Process » Create Pick» action:
On this page you can specify how to combine pick lines by selecting from the options:
| Option | Description |
|---|---|
| Per Whse. Document | Creates separate pick documents for worksheet lines with the same warehouse source document. |
| Per Cust./Vend./Loc. | Create separate pick documents for each customer (sale orders), vendor (purchase return orders), and location (transfer orders). |
| Per Item | Create separate pick documents for each item on the pick worksheet. |
| Per From Zone | Create separate pick documents for each zone that you’ll take items from. |
| Per Bin | Create separate pick documents for each bin that you’ll take items from. |
| Per Due Date | Create separate pick documents for source documents that have the same due date. |
Specify how the pick documents are created by selecting from the following options.
| Option | Description |
|---|---|
| Max. No. of Pick Lines | Creates pick documents that have no more than the specified number of lines in each document. |
| Max. No. of Pick Source Docs. | Creates pick documents that each cover no more than the specified number of source documents. |
| Assigned User ID | Creates pick documents only for worksheet lines that are assigned to the selected warehouse employee. |
| Sorting Method for Pick Lines | Select from the available options to sort lines in the created pick document. |
| Set Breakbulk Filter | Hides intermediate breakbulk pick lines when a larger unit of measure is converted to a smaller unit of measure and completely picked. |
| Do Not Fill Qty. to Handle | Leaves the Qty. to Handle field in the created pick lines empty. |
| Print Pick | Prints the pick documents when they are created. You can also print from the created pick documents. |
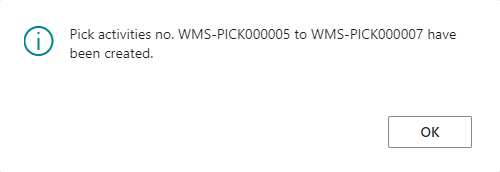
Depending on the options you picked, a number of picks could be created:
The picks at this stage are processed in the same way as in the previous article, followed by shipping in the same way.
In Microsoft Dynamics 365 Business Central, how do I…
In Microsoft Dynamics 365 Business Central (Inventory and Warehouse Management), how do I…
What should we write about next?
If there is a topic which fits the typical ones of this site, which you would like to see me write about, please use the form, below, to submit your idea.


