 This post is part of the In Microsoft Dynamics 365 Business Central (Inventory and Warehouse Management), how do I… series and of the wider In Microsoft Dynamics 365 Business Central, how do I… series which I am posting as I familiarise myself with Microsoft Dynamics 365 Business Central.
In a previous article of this series on understanding inventory put-aways, I mentioned there was three ways in which an inventory put-away could be processed:
- Process an Inventory Put-away from the Source Document
- Process Multiple Inventory Put-aways Using a Batch Job
- Process an Inventory Put-away in Two Steps by Releasing the Source Document
In this article, I am going to take walk through the processing an inventory put-away from the source document using the BLUE location on which I enabled Require Put-away.
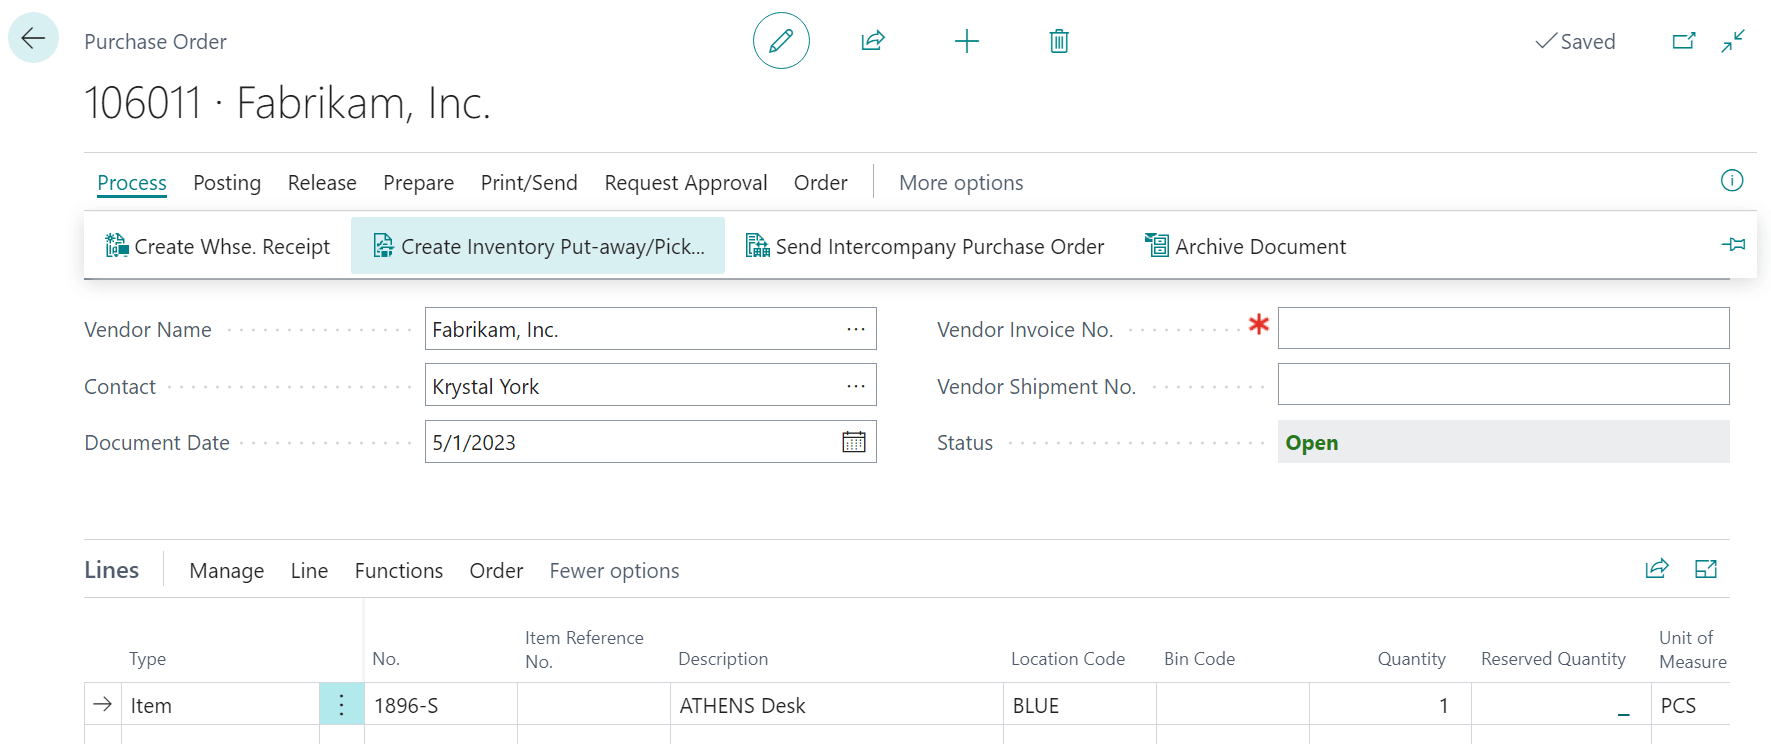
To create an inventory put-away for a purchase order, open the Purchase Order page and click the Process » Create Inventory Put-away/Pick/Movement action:
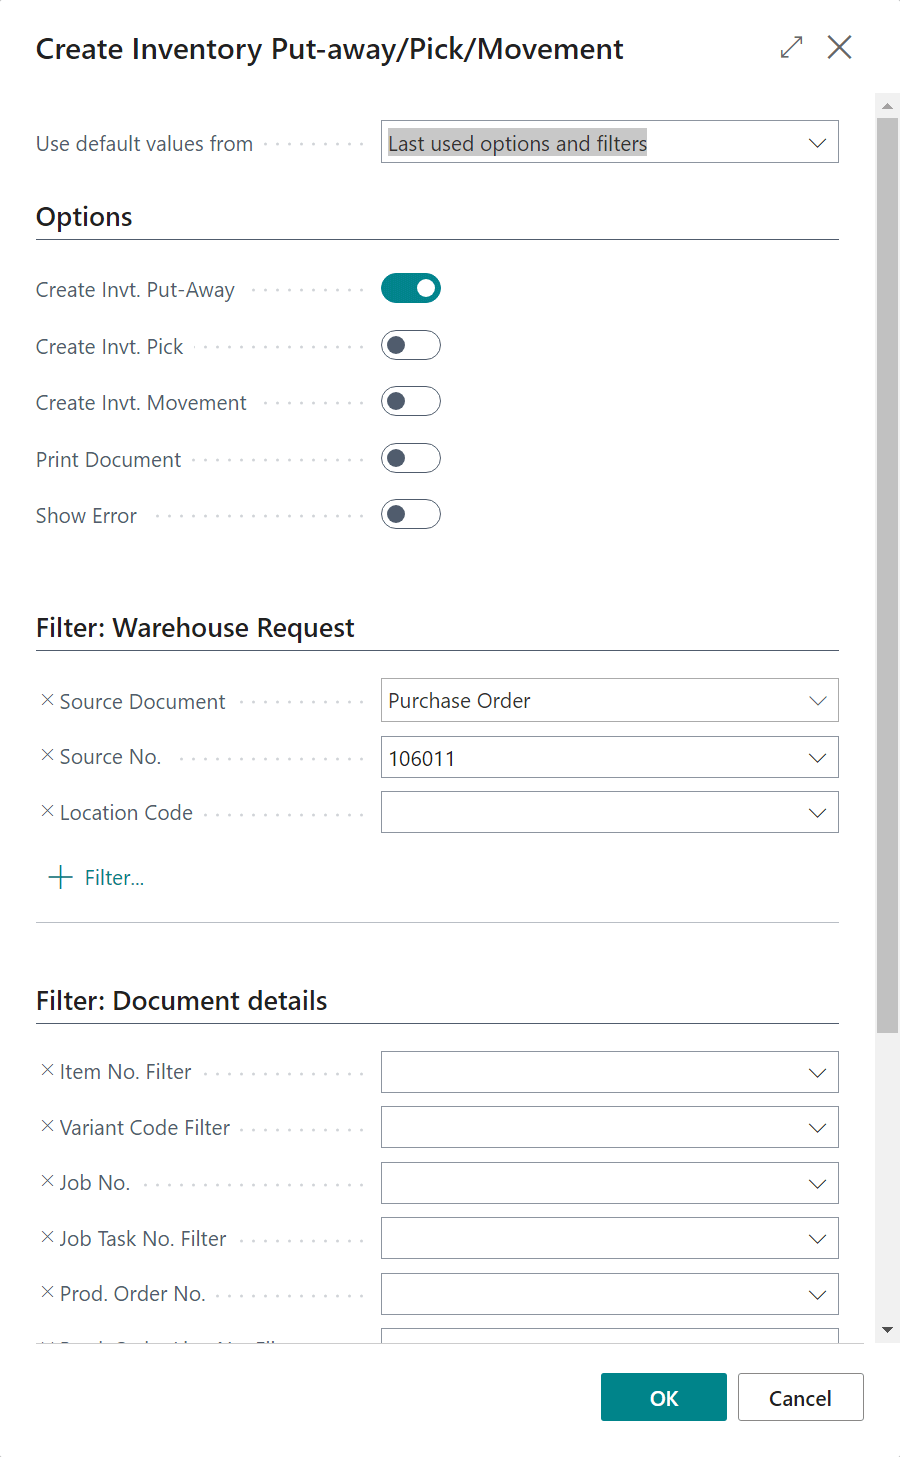
Click OK on the Create Inventory Put-away/Pick/Movement page to just process the put-away for this one purchase order:
Once the process has finished, click the OK button; in a future article, I’ll cover how to process the put-away activity which has been created:

In Microsoft Dynamics 365 Business Central, how do I…
What should we write about next?
If there is a topic which fits the typical ones of this site, which you would like to see me write about, please use the form, below, to submit your idea.
1 thought on “In Microsoft Dynamics 365 Business Central (Inventory and Warehouse Management), how do I… Process an Inventory Put-away from the Source Document”