 This post is part of the In Microsoft Dynamics 365 Business Central (Administration), how do I… series and of the wider In Microsoft Dynamics 365 Business Central, how do I… series which I am posting as I familiarise myself with Microsoft Dynamics 365 Business Central.
Business Central allows you to add a picture or logo to each company which is used on documents when they are printed or emailed. The picture is added via the Company Information window which you can access via search or through the Settings cog button in the top right corner and selecting Company information.
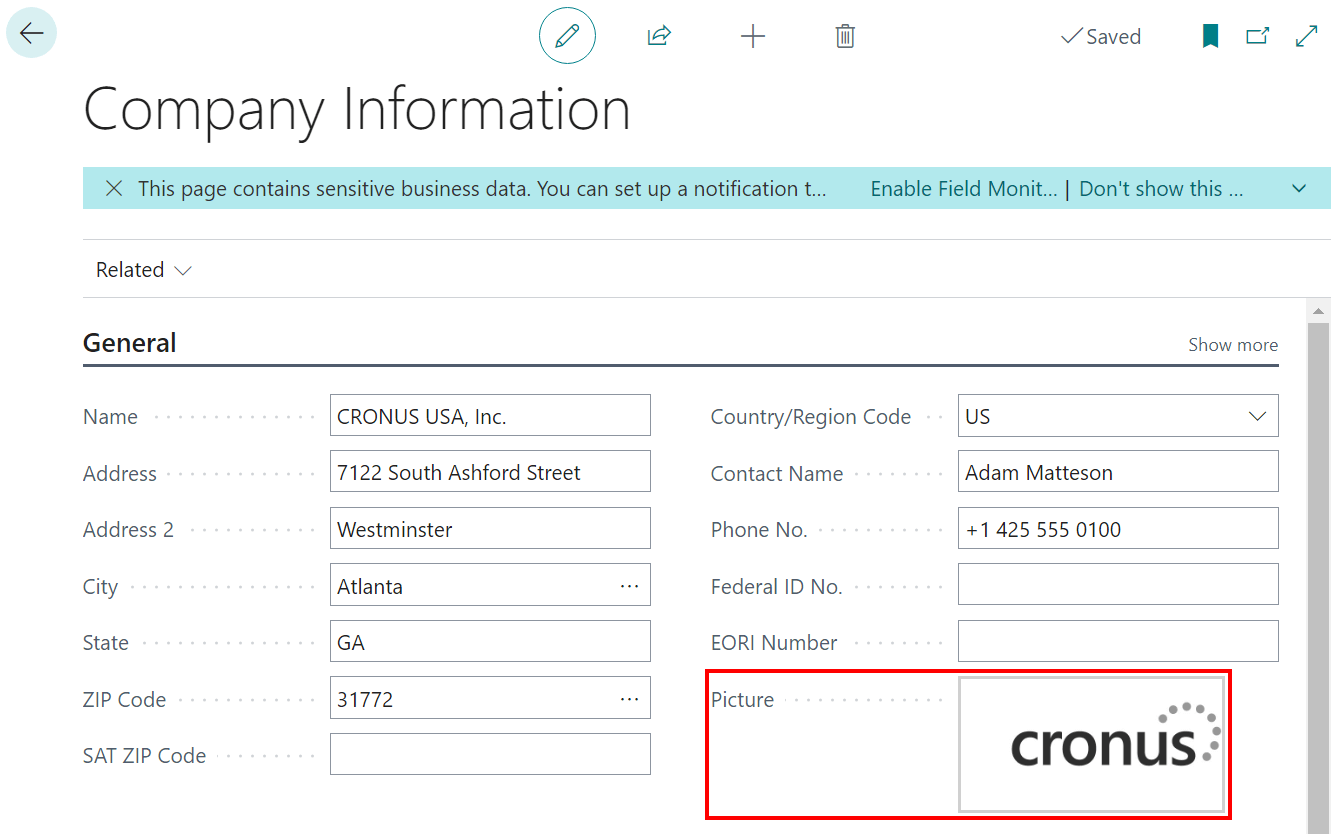
The Picture field in the General fasttab is where the logo can be uploaded; an existing logo will display:
Clicking on the current picture, or placeholder, will open the Select Picture dialog; either click it to select the new image or you can drag and drop:
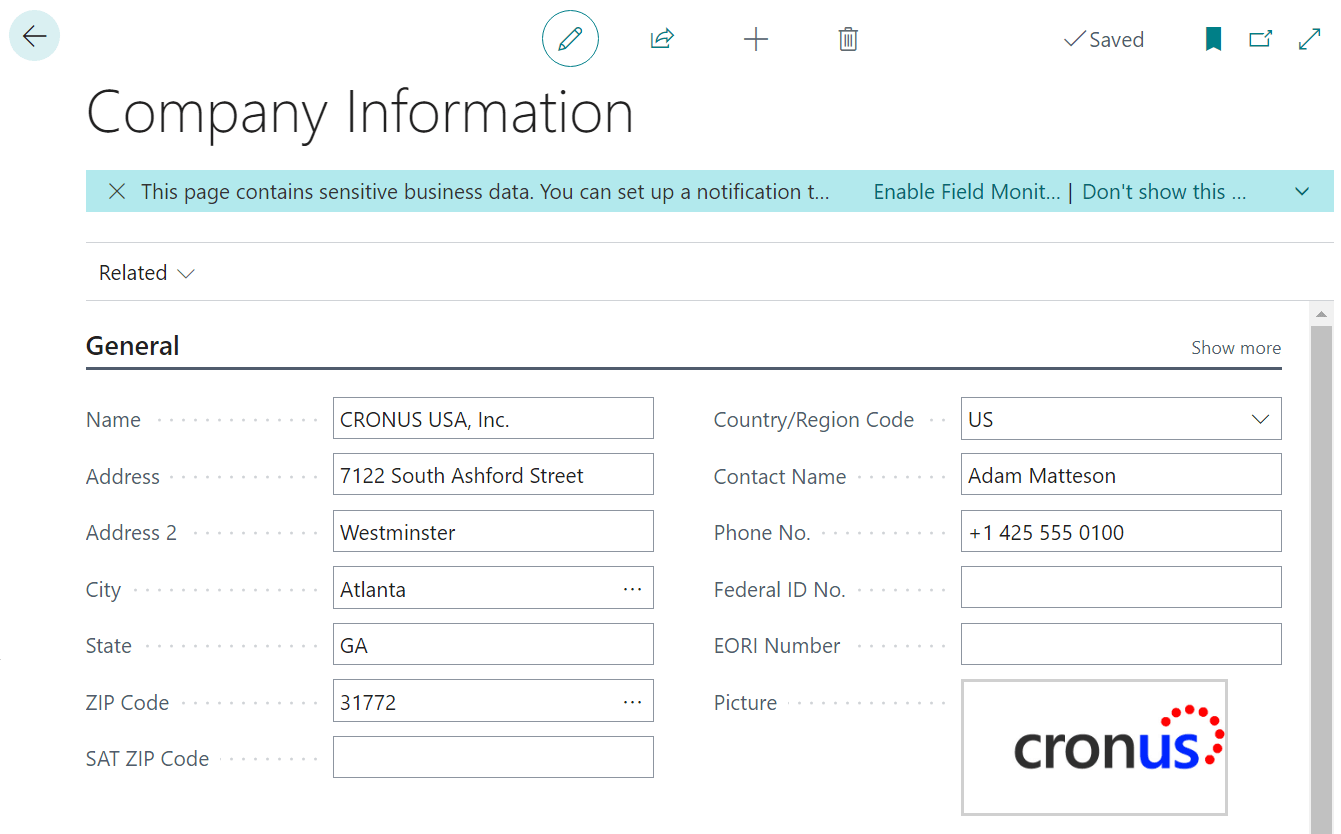
After the new image is selected, the Company information page will refresh to show the new logo:
Any documents printed or emailed after this point will use the new picture; I couldn’t find any guidelines from Microsoft for a recommended size, but I’d generally stick with one of a same size as the Cronus example, which is 600 by 300 pixels. If you use a different size you’ll need to test the documents to make sure they still print correctly.
I would also recommend checking on the size of the image file and use a service such as TinyJPG to compress the image you’re going to use.
In Microsoft Dynamics 365 Business Central, how do I…
In Microsoft Dynamics 365 Business Central (Administration), how do I…
What should we write about next?
If there is a topic which fits the typical ones of this site, which you would like to see me write about, please use the form, below, to submit your idea.


