 This post is part of the Implementing SmartView for Microsoft Dynamics GP series were I am taking a look at the SmartView product from eOne Solutions which provides another way of using SmartLists.
With the first of the clients installed, we can now do the required configuration. There are only a small number of steps we need to take to prepare SmartView for use.
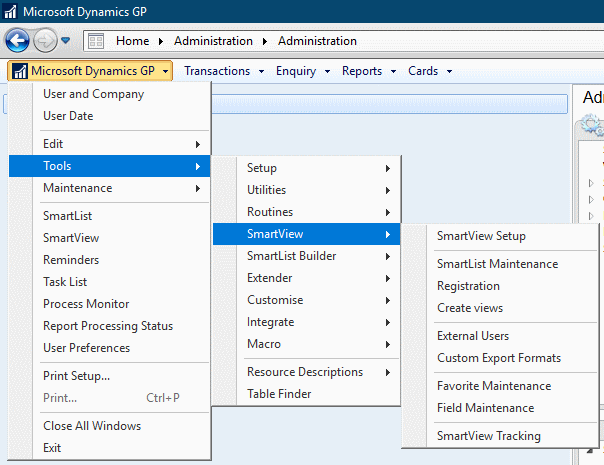
All of the configuration options are available within Dynamics GP off the Microsoft Dynamics GP menu:
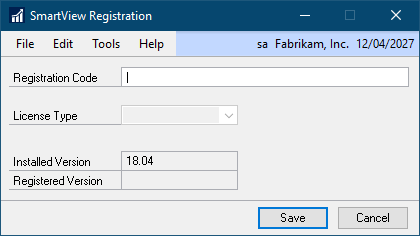
The first option to select is Registration and input your Registration Code which will enable the functionality of SmartView and click Save:
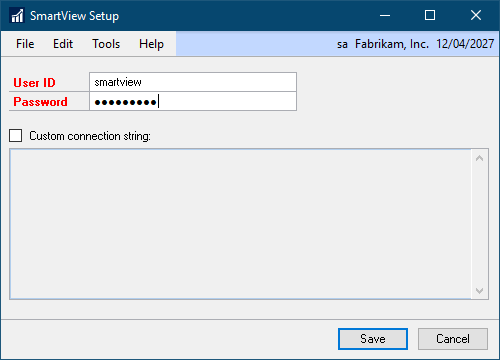
Next, select SmartView Setup and set a new password for the smartview user; one is set at installation, but I would recommend changing it so that it doesn’t have a default value. Click Save once changed:
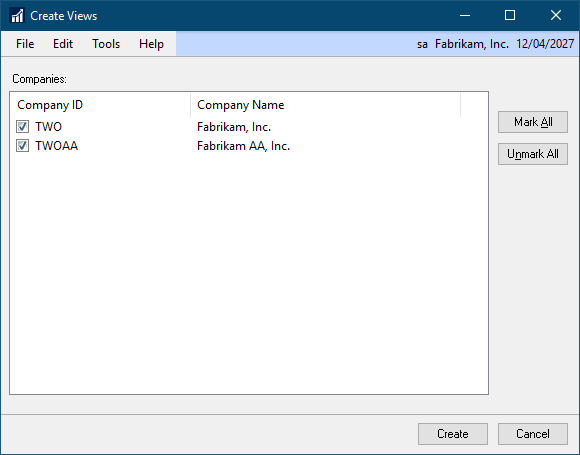
The final setup which we need to complete on the SmartView menu is to deploy the SmartView views. Open the Create Views window from the menu, click Mark All to deploy views to all companies and click Create:
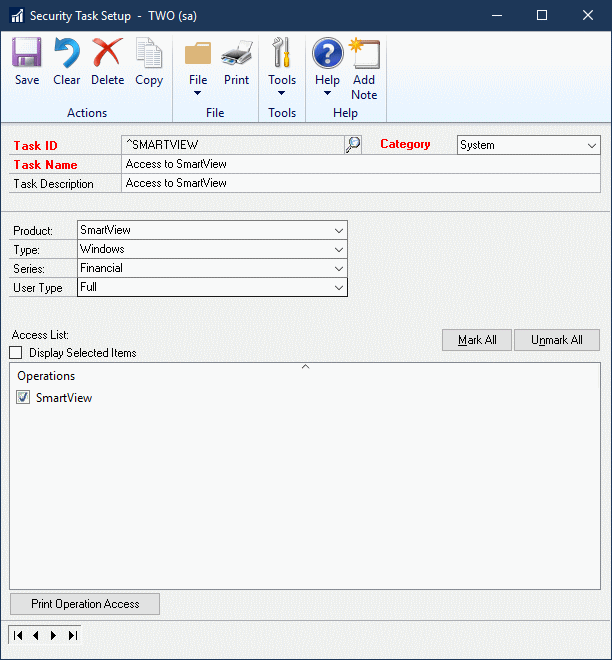
There is one final task which needs to be done and this is to create a security task to give access to the SmartView window (or amend an existing task). The SmartView window is available under ():
Once the task is created/updated it will need to be added to a security role and assigned to users, after which they will be able to access SmartView.
With SmartView configured, it is now ready for use and the other Dynamics GP clients can have SmartView installed on them.
What should we write about next?
If there is a topic which fits the typical ones of this site, which you would like to see me write about, please use the form, below, to submit your idea.


