 This post is part of the website analytics with Matomo where I am taking a look at Matomo which bills itself as a Google Analytics alternative that protects your data and your customers’ privacy.
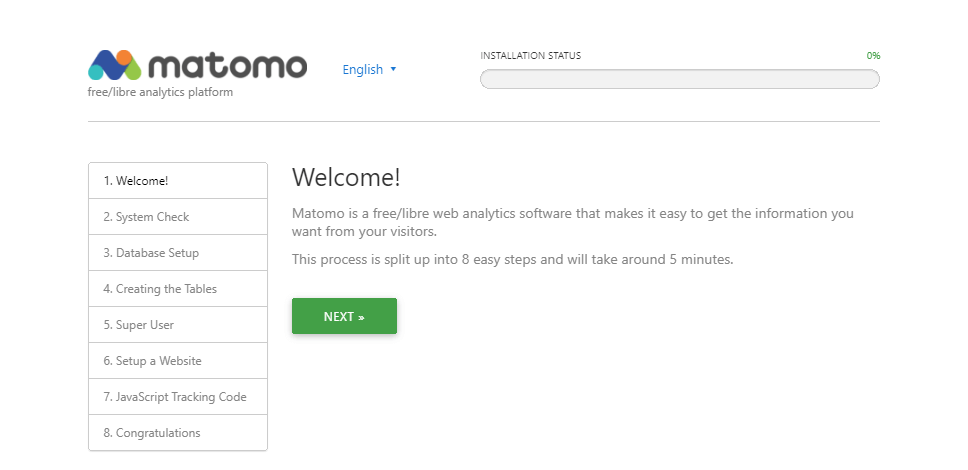
With the zip file of the Matomo On-Premise downloaded you need to upload that to your website. Once you’ve done that navigate to the domain name where you should see the Welcome! screen.
Click Next to begin:
Matomo will check to ensure that your server meets the requirements; you should see a screen like the below with green marks against all entries. Click Next to continue:
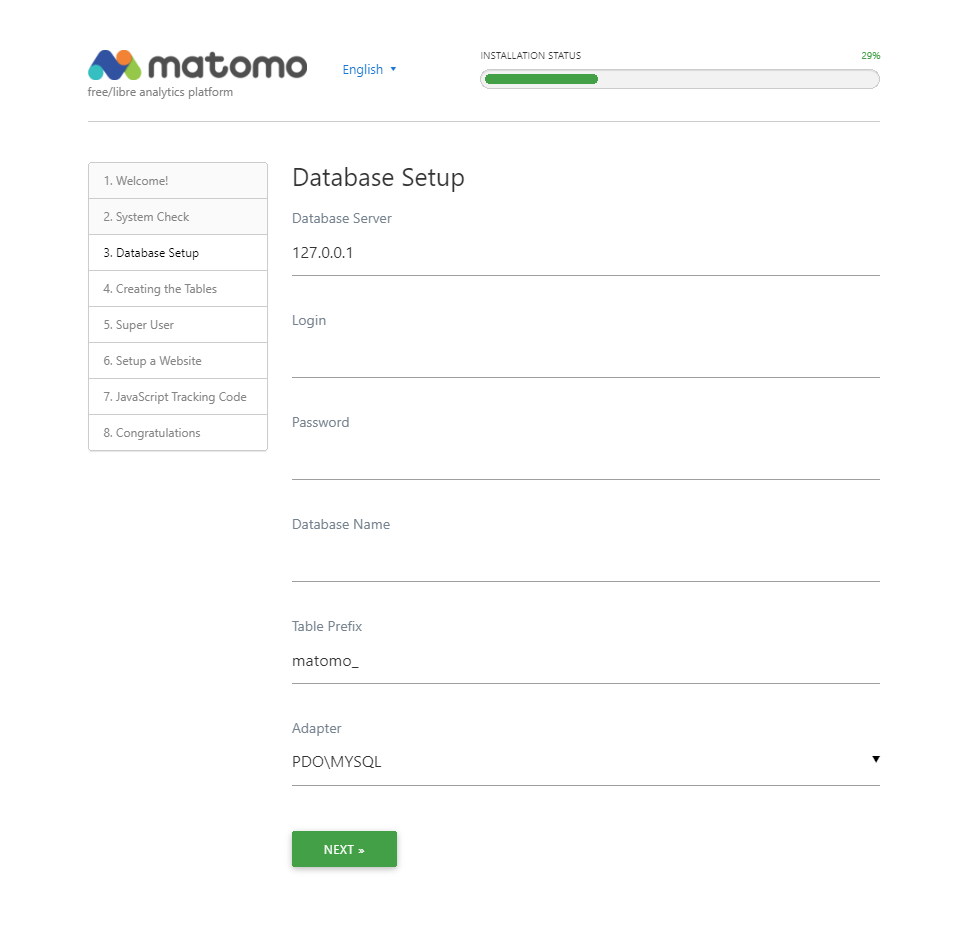
Complete the Database Setup page by entering the login and password of the mySQL/MariaDB login to be used by the site as well as he database name and table prefix and then click Next:
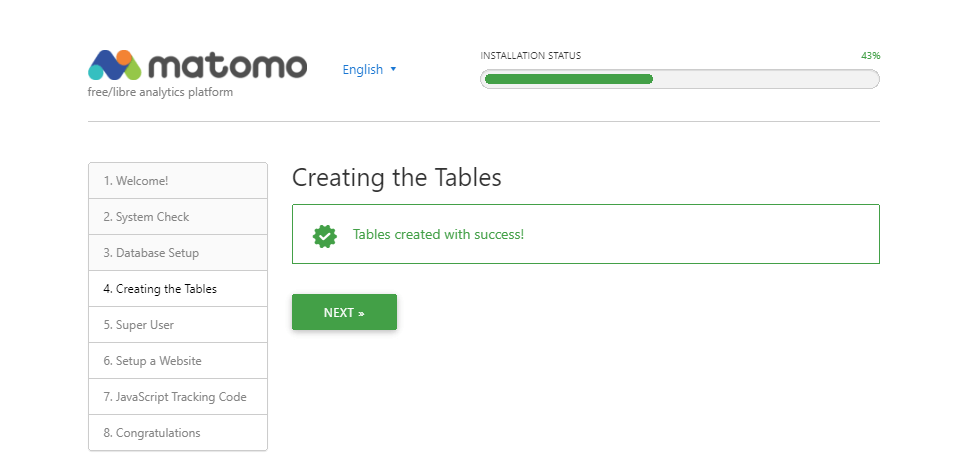
When tables have been created successfully, click Next:
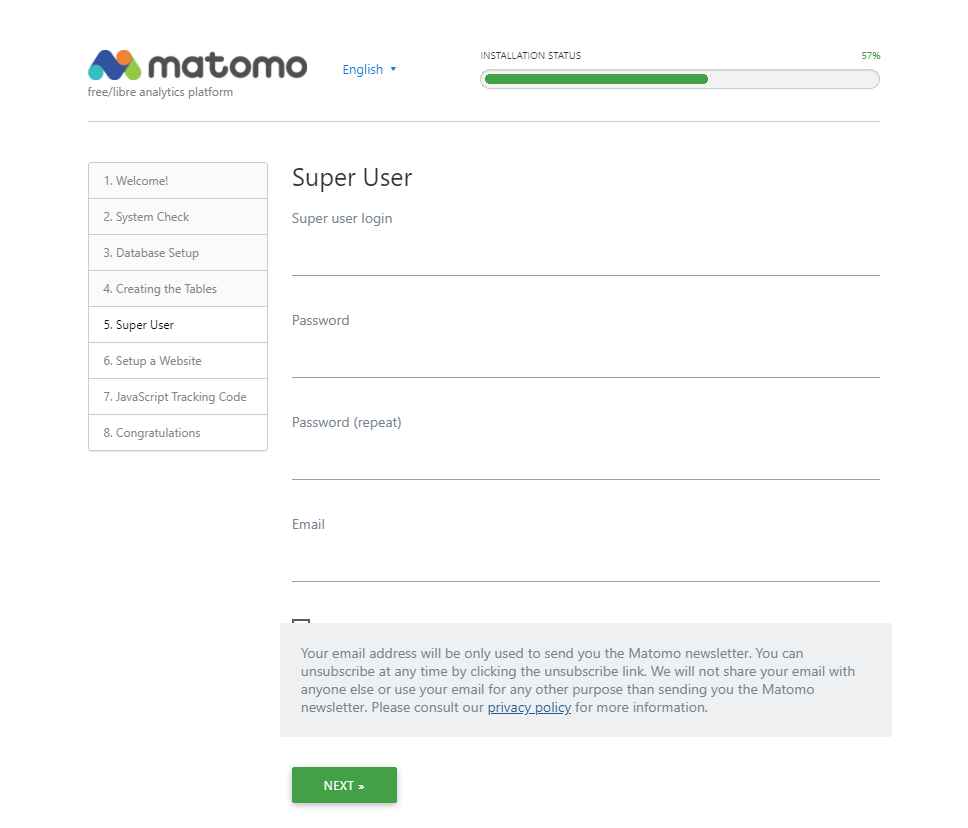
Enter the details of the “Super User” (the login, password and email); this is the user you will log into Matomo with the first time and will be your primary admin account. Click Next:
 Exclamation!
It is important you do not lose these credentials as there is only one super user login per installation of Matomo. You would use this account for administrative tasks such as adding websites and users, and enabling plugins.
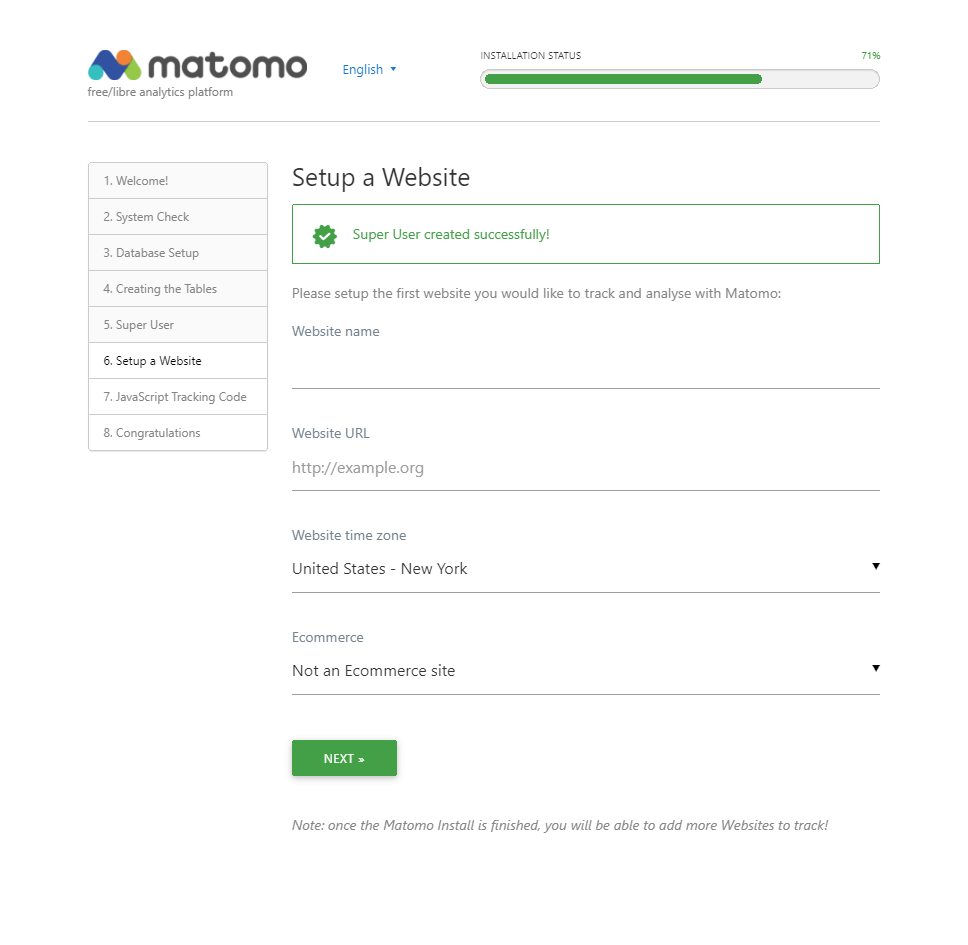
With the super user created, you need to add the first website to track. Add the website name, URL and time zone and then click Next:
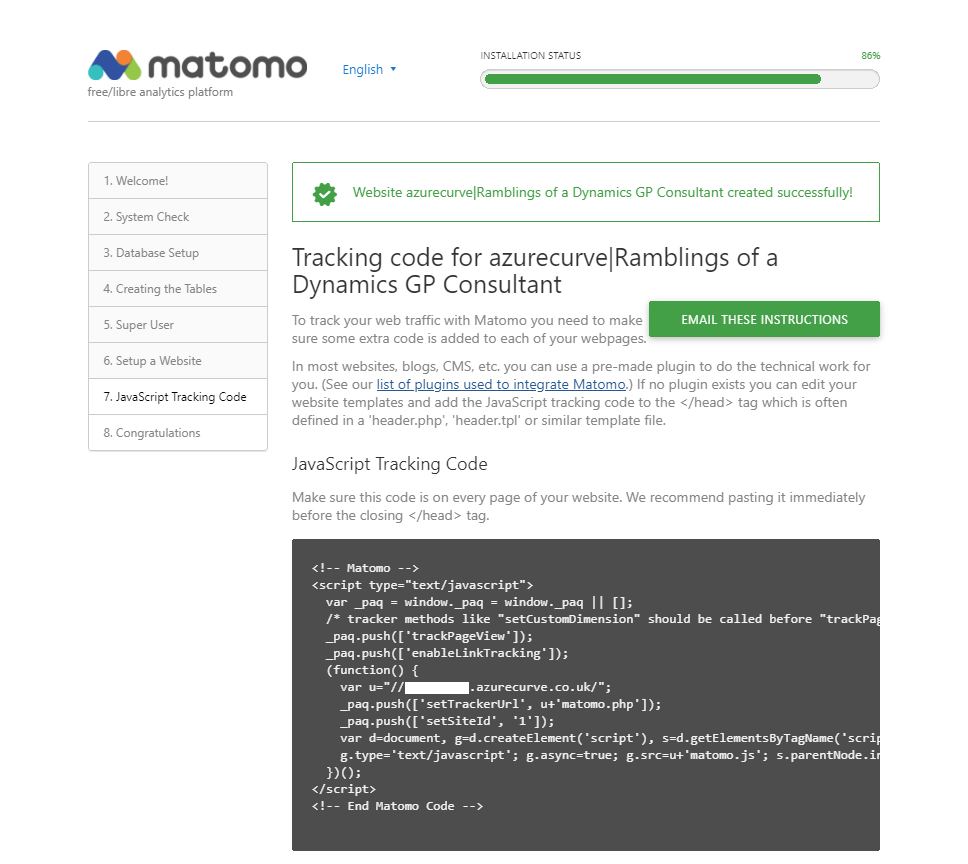
The tracking code for this first website will be displayed; this needs to be included on every page of your website with the recommended place being just before the closing </head> tag:
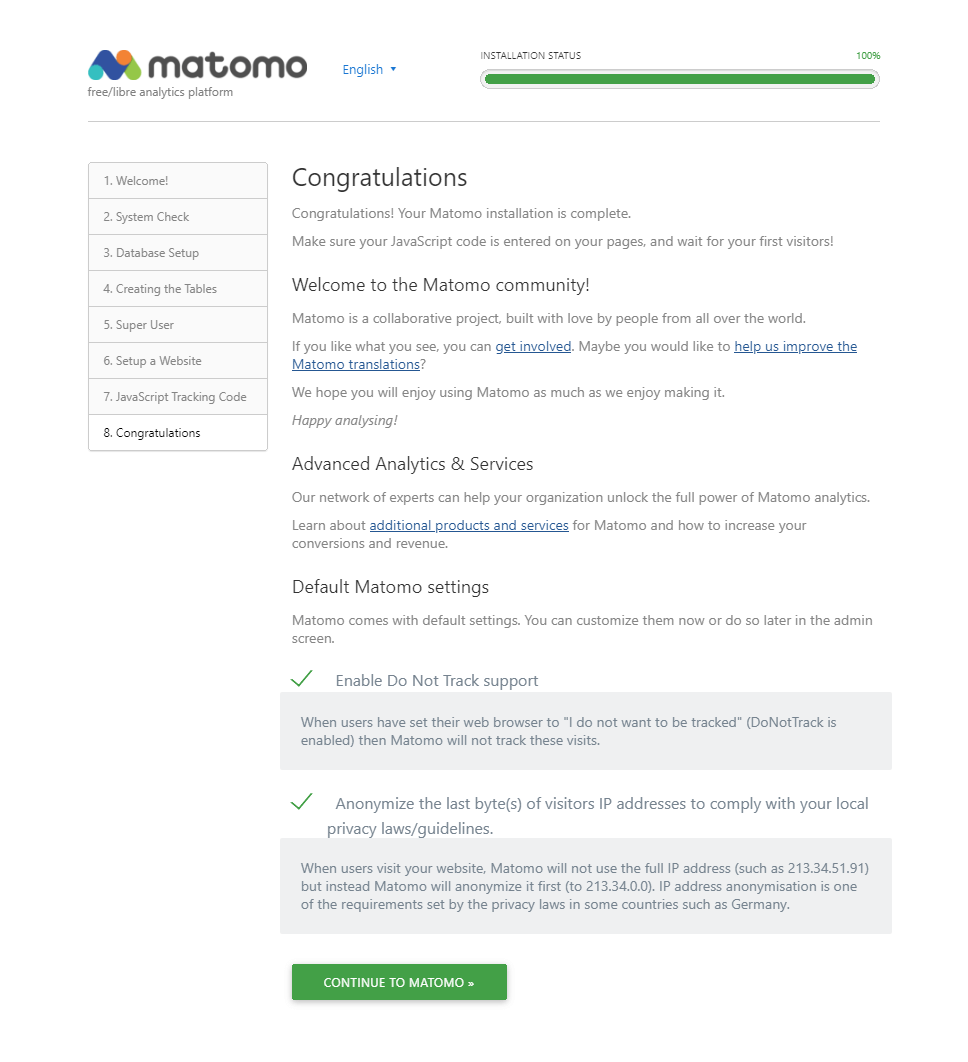
Matomo is now installed with one site being tracked. You can close the page or continue and log in by clicking the large green Continue to Matomo button.
What should we write about next?
If there is a topic which fits the typical ones of this site, which you would like to see me write about, please use the form, below, to submit your idea.


