Simple Audit for Microsoft Dynamics GP: Create Triggers for Audit of Customer Items

Microsoft Dynamics GPThis post as been added as part of the series on creating a simple audit for Microsoft Dynamics GP, but wsn;t part of the original series.

I recently used the simple audit to add an audit to the Sales Customer Item Cross Reference (SOP60300) table to allow a client to keep an audit of changes to customer items. They wanted to keep track of all changes so this means three triggers are required on:

  1. INSERT
  2. UPDATE
  3. DELETE

These triggers will record all customer items which are added, amended or removed. The Customer Items window contains a few fields, but the only ones with sensitive dta which needs to be audited are:

  1. Customer Item Number
  2. Customer Item Description

The first trigger creates the trigger which runs when data is inserted:

/*
Created by Ian Grieve of azurecurve | Ramblings of an IT Professional (http://www.azurecurve.co.uk) This code is licensed under the Creative Commons Attribution-NonCommercial-ShareAlike 4.0 International (CC BY-NC-SA 4.0 Int). */
CREATE TRIGGER utr_AZRCRV_SOP60300_AuditInsert ON SOP60300 AFTER INSERT AS INSERT INTO ut_AZRCRV_Audit SELECT 'Sales Customer Item Cross Reference' ,CAST(RTRIM(I.ITEMNMBR) AS VARCHAR(30)) + '|' + CAST(RTRIM(I.CUSTNMBR) AS VARCHAR(15)) ,'Insert' ,SYSTEM_USER ,GETDATE() ,'' ,'Customer Item Number = ' + CAST(RTRIM(i.CUSTITEMNMBR) AS VARCHAR(30)) + ' | ' + 'Customer Item Description = ' + CAST(RTRIM(i.CUSTITEMDESC) AS VARCHAR(30)) FROM inserted AS i GO

Continue reading “Simple Audit for Microsoft Dynamics GP: Create Triggers for Audit of Customer Items”

SQL Stored Procedure to Get the Next Microsoft Dynamics GP Sales Document Number

Microsoft Dynamics GPThis stored procedure can be executed to generate the next sequential sales document number; this script was created to get the next sales invoice number for a transaction to be inserted into Microsoft Dynamics GP through eConnect. I write stored procedures as a wrapper around the eConnect stored procedure as we are often working with the clients IT department or a third party and this abstracts the call way from the other application so any changes by Microsoft can be managed within the wrapper stored procedure rather than the application.

This particular example is for generating a sales order number, but can be used to generate a document number for any of the sales document transactions. To do this, change the first highlighted parameter to one of the following numbers:

  1. Quote
  2. Order
  3. Invoice
  4. Return
  5. Back Order
  6. Fulfillment Order

The second parameter should be set to the Doc ID which will vary depending on how you have configured Sales Order Processing.

The stored procedure to get the next sales document number is:

-- drop stored proc if it exists[/sqlgrey]
IF OBJECT_ID (N'usp_AZRCRV_GetNextSOPDocumentNumber', N'P') IS NOT NULL
	DROP PROCEDURE usp_AZRCRV_GetNextSOPDocumentNumber
GO
-- create stored proc
CREATE PROCEDURE usp_AZRCRV_GetNextSOPDocumentNumber AS
/*
Created by Ian Grieve of azurecurve | Ramblings of an IT Professional (http://www.azurecurve.co.uk) This code is licensed under the Creative Commons Attribution-NonCommercial-ShareAlike 4.0 International (CC BY-NC-SA 4.0 Int). */
BEGIN DECLARE @return_value INT DECLARE @I_tSOPType TINYINT = 2 DECLARE @I_cDOCID CHAR(15) = 'STDORD' DECLARE @I_tInc_Dec TINYINT = 1 DECLARE @O_vSopNumber AS VARCHAR(21) DECLARE @O_iErrorState INT EXEC @return_value = taGetSopNumber @I_tSOPType = @I_tSOPType, @I_cDOCID = @I_cDOCID, @I_tInc_Dec = @I_tInc_Dec, @O_vSopNumber = @O_vSopNumber OUTPUT, @O_iErrorState = @O_iErrorState OUTPUT SELECT @O_vSopNumber END GO -- grant execute permission on stored proc to DYNGRP GRANT EXECUTE ON usp_AZRCRV_GetNextSOPDocumentNumber TO DYNGRP GO

You can execute the stored procedure using the below:

-- execute stored proc
EXEC usp_AZRCRV_GetNextSOPDocumentNumber
GO

I’ve written similar stored procedures in the past in other next numbers for other parts of Dynamics GP:

I have also posted a custom solution which can be used to generate a next number when there isn’t a method available in eConnect.

Website Analytics With Matomo: Update

Useful WebsitesThis post is part of the website analytics with Matomo where I am taking a look at Matomo which bills itself as a Google Analytics alternative that protects your data and your customers’ privacy.

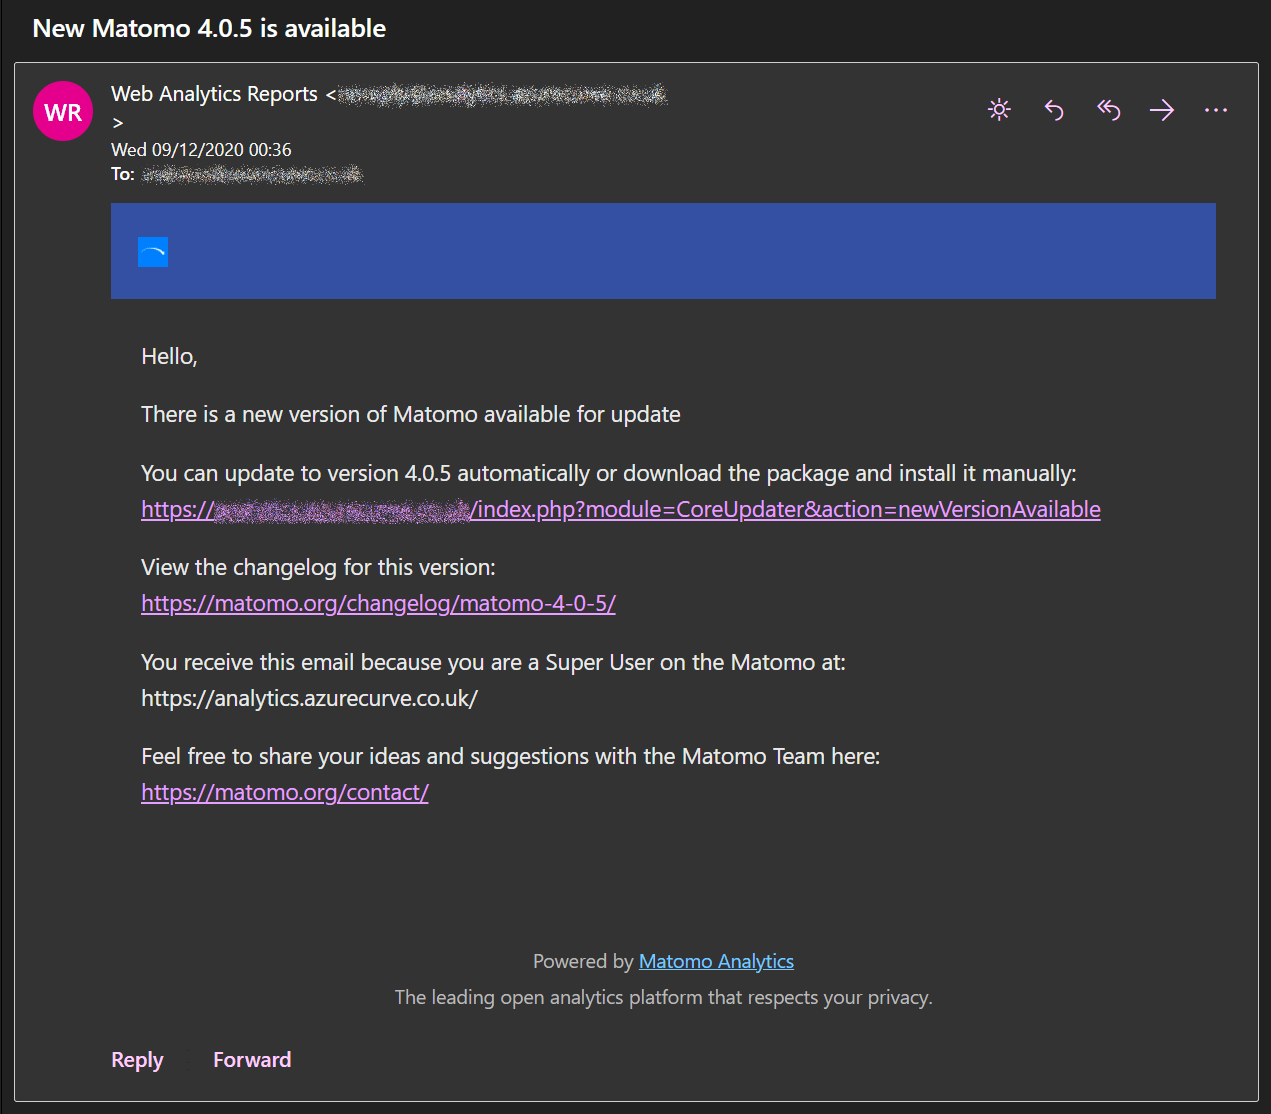
Your Matomo site will send an email to the super user email address when there are updates available. To instal the update click the link on the email:

Matomo upgrade email

Continue reading “Website Analytics With Matomo: Update”

Website Analytics With Matomo: Add a Site

Useful WebsitesThis post is part of the website analytics with Matomo where I am taking a look at Matomo which bills itself as a Google Analytics alternative that protects your data and your customers’ privacy.

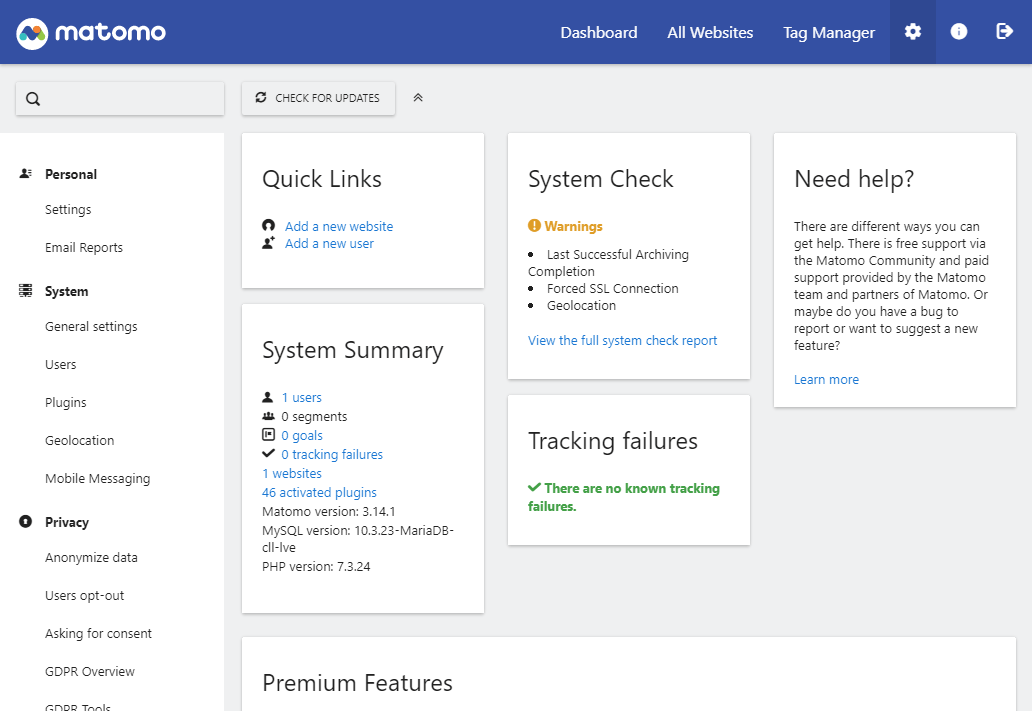
Addin sites to Matomo is easy to do. Click the cog icon to open the administration site of Matomo. In the Quick Links section click Add a new website:

Matomo admin dashboard

Continue reading “Website Analytics With Matomo: Add a Site”

Website Analytics With Matomo: First Run

Useful WebsitesThis post is part of the website analytics with Matomo where I am taking a look at Matomo which bills itself as a Google Analytics alternative that protects your data and your customers’ privacy.

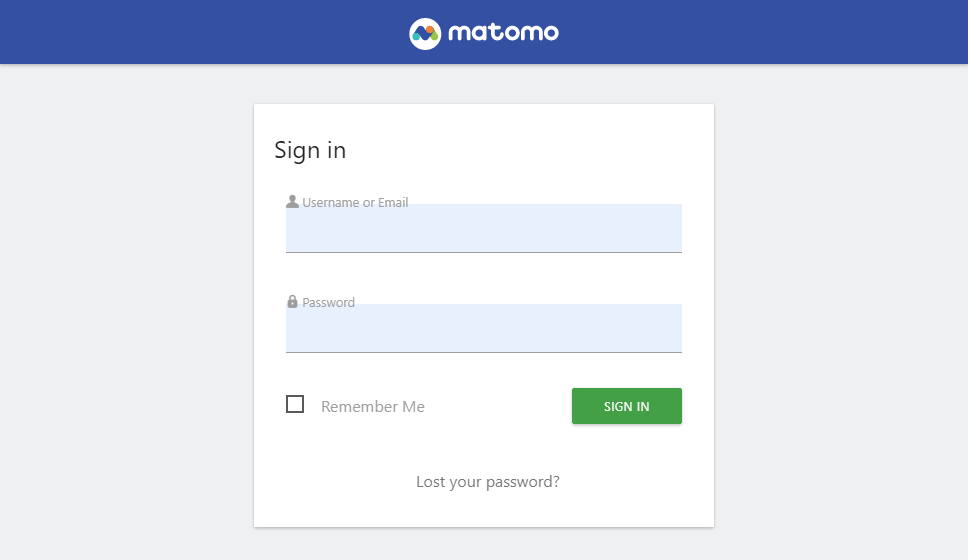
With Matomo installed it is now available for you to log in using your super user account. Navigate to the website and enter the credentials and click Sign In:

Matomo sign in page

Continue reading “Website Analytics With Matomo: First Run”

ClassicPress Plugin Development: Integrating Code Potent’s Update Manager into a Plugin

ClassicPress PluginsThis post is part of the ClassicPress Plugin Development series n which I am going to look at both best practice for developing plugins and how I approach some requirements as well as some of the functions I commonly use.

The process for adding the Update Manager client to a plugin is quite straightforward.

Once you have downloaded the Update Manager, copy the UpdateClient.class.php file into your plugin folder; I add it to the libraries folder. Once you’ve done this, require_once the file in your plugin:

require_once(dirname(__FILE__).'/libraries/updateclient/UpdateClient.class.php');

There are three lines in the UpdateClient.class.php which need to be changed.

The first is in the namespace declaration where you need to change this to your developer name \ your plugin name. The below is an example for my Add Open Graph Tags plugin:

// EDIT: Make this unique. Example: YourDevName\YourPluginName;
namespace azurecurve\azrcrv_aogt;

The second is to set the update server URL; this is the domain of the ClassicPress site which wll be running the Update Manager plugin (I covered this in the previous post):

// EDIT: URL where Update Manager is installed; with trailing slash!
const UPDATE_SERVER = 'https://update.development.azurecurve.co.uk/';

The third needs to be set to plugin as the Update Manager supports themes as well as plugins:

// EDIT: plugin or theme?
const UPDATE_TYPE = 'plugin';

With the above done, Update Manager has been added to the plugin which means this plugin can now server updates to users which they can easily apply to their sites through the admin dashboard. In the next post, I’ll show how to create a plugin update endpoint which servers updates to users.

Click to show/hide the ClassicPress Plugin Development Series Index

ClassicPress Plugin Development: Create a Plugin Update Server Using Code Potent’s Update Manager

ClassicPress PluginsThis post is part of the ClassicPress Plugin Development series in which I am going to look at both best practice for developing plugins and how I approach some requirements as well as some of the functions I commonly use.

WordPress manages plugin updates via the Plugin Repository; ClassicPress are building a plugin directory, but the version which will allow updates to be pushed is some time away. To close this functionality gap, there is a plugin available which allows plugin developers to host their own update site and push updates out for their plugins.

This plugin is the Update Manager plugin from Code Potent. I have integrated this into all of my publicly available plugins so any time I release a new version this is pushed out to all users.

There is a full documentation set available from Code Potent.

The process of creating an update server is quite easy and you can use an existing ClassicPress site if you want. I opted to create a new site rather than adding to an existing one, but the process is no different.

Download the latest Update Manager version and using the Add Plugins page upload the download Update Manager zip and activate the plugin.

Your update server is now up and running; the next step is to add the Update Manager client to your plugin, which I will be covering in the next post.

Click to show/hide the ClassicPress Plugin Development Series Index

Website Analytics With Matomo: Install

Useful WebsitesThis post is part of the website analytics with Matomo where I am taking a look at Matomo which bills itself as a Google Analytics alternative that protects your data and your customers’ privacy.

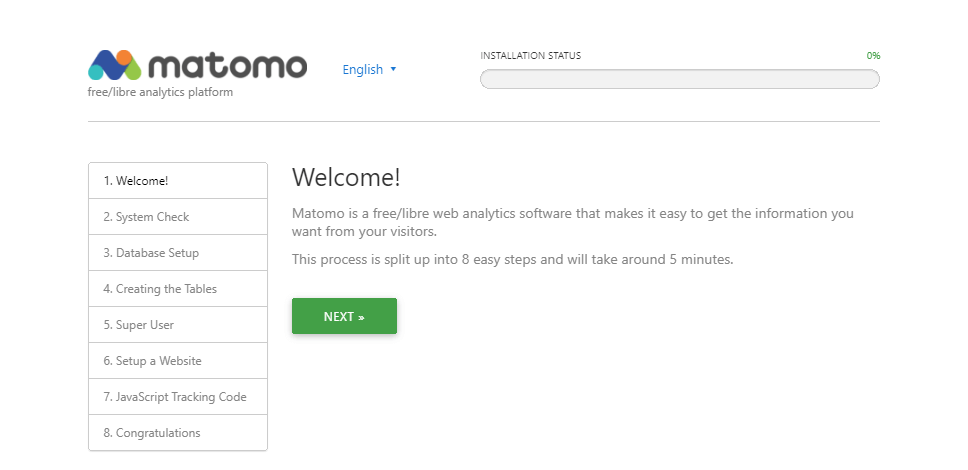
With the zip file of the Matomo On-Premise downloaded you need to upload that to your website. Once you’ve done that navigate to the domain name where you should see the Welcome! screen.

Click Next to begin:

Welcome! page of the Matomo installation process

Continue reading “Website Analytics With Matomo: Install”

Website Analytics With Matomo: Prerequisites

Useful WebsitesThis post is part of the website analytics with Matomo where I am taking a look at Matomo which bills itself as a Google Analytics alternative that protects your data and your customers’ privacy.

The prerequisites for installing the on-premise version of Matomo are quite straightforward:

  • Matomo can be run on any operating system such as Linux (Ubuntu, RedHat, CentOS, Raspberry Pi OS, etc.), Windows, macOS Server or FreeBSD.
  • A webserver such as Apache, Nginx, IIS, LiteSpeed, etc.
  • PHP version 7.2.5 or greater (the previous major vrsion of Matomo will run on PHP version 5.5.9 through to PHP 7x).
  • MySQL version 5.5 or greater or MariaDB
  • PHP extension pdo and pdo_mysql or the mysqli extension.
  • A mySQL/MariaDB database.
  • A mySQL/MariaDB user with permissions to create/alter tables in the database.

If you’re running a high traffic site, there are some resources available covering recommended setup.

Full requirements are available here.

Website Analytics With Matomo: Download Software

Useful WebsitesThis post is part of the website analytics with Matomo where I am taking a look at Matomo which bills itself as a Google Analytics alternative that protects your data and your customers’ privacy.

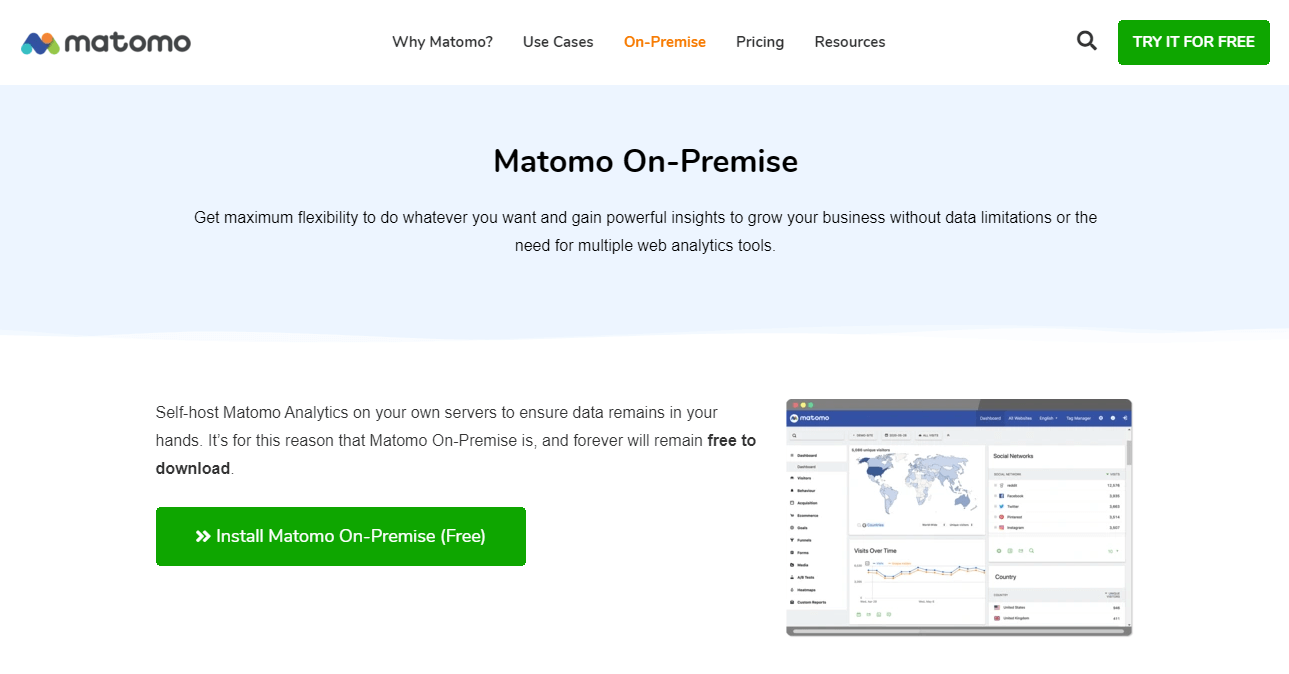
You can download the on-remise version of Matomo by clicking the large green button on the < href='https://matomo.org/matomo-on-premise/'>Matomo On-Premise page:

Matomo software download link

On the next page, click the large green Download Matomo button and save the zip file.