 This post is part of the series on Implementing Post Master Enterprise for Microsoft Dynamics GP from Envisage Software.
With the Windows service configured we can move onto running Post Master Enterprise for the first time.
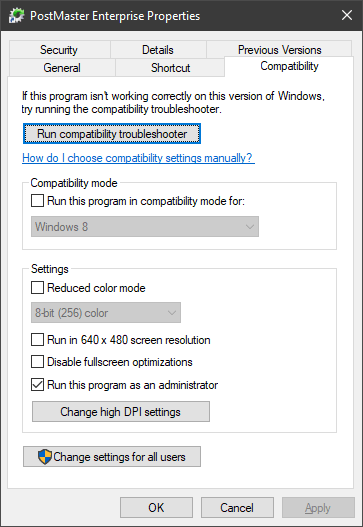
The first thing you need to do is configure it to run as administrator. Do this by right-clicking on the shortcut, selecting the Compatibility tab and mark the Run this program as an administrator:
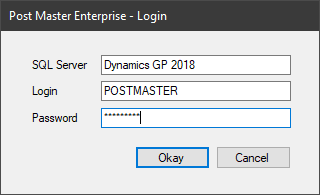
Save the shortcut and start the application. When prompted enter the following:
- SQL Server – the manual says this should be the full SQL Server instance name, but I found only the System DSN would work.
- Login – which is the dedicated Dynamics GP user account created as a prerequisite.
- Password
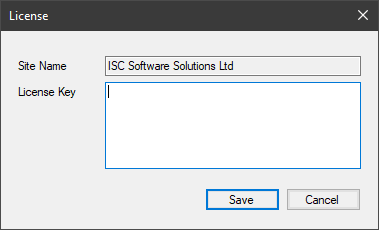
Paste in the licence received from Envisage and click Save:
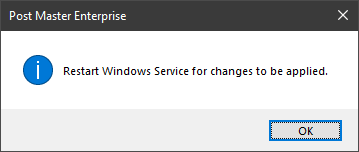
Click OK on the service restart message:
Once Post Master Enterprise has started, there are a few settings to configure.
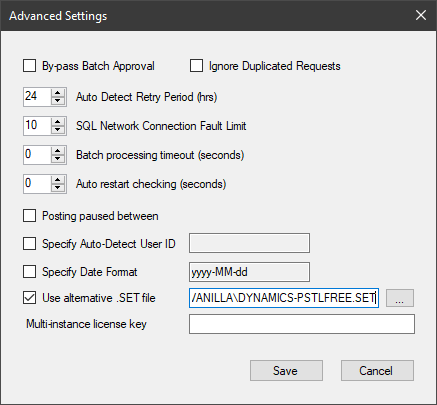
Open Advanced Settings from the menu; the only change I made here was to set Use alternative .SET file as I have a couple of incompatible modules installed:
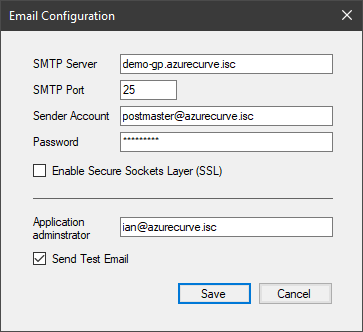
Open the Email Configuration window to set the details which will be used for sending error messages:
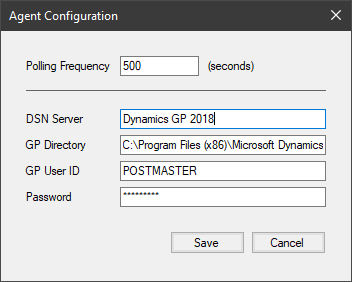
Finally, open the Agent Configuration window and set the details for the Post Master account. You can also change the Polling Frequency which is how often batches waiting to post are checked (the default is 500 seconds:
With this configuration done, the next step is to configure some posting rules, which I will do in the next post.


