 This post is part of the sub-series on Translating a ClassicPress plugin with GlotPress which is part of the Translating a ClassicPress plugin with GlotPress series.
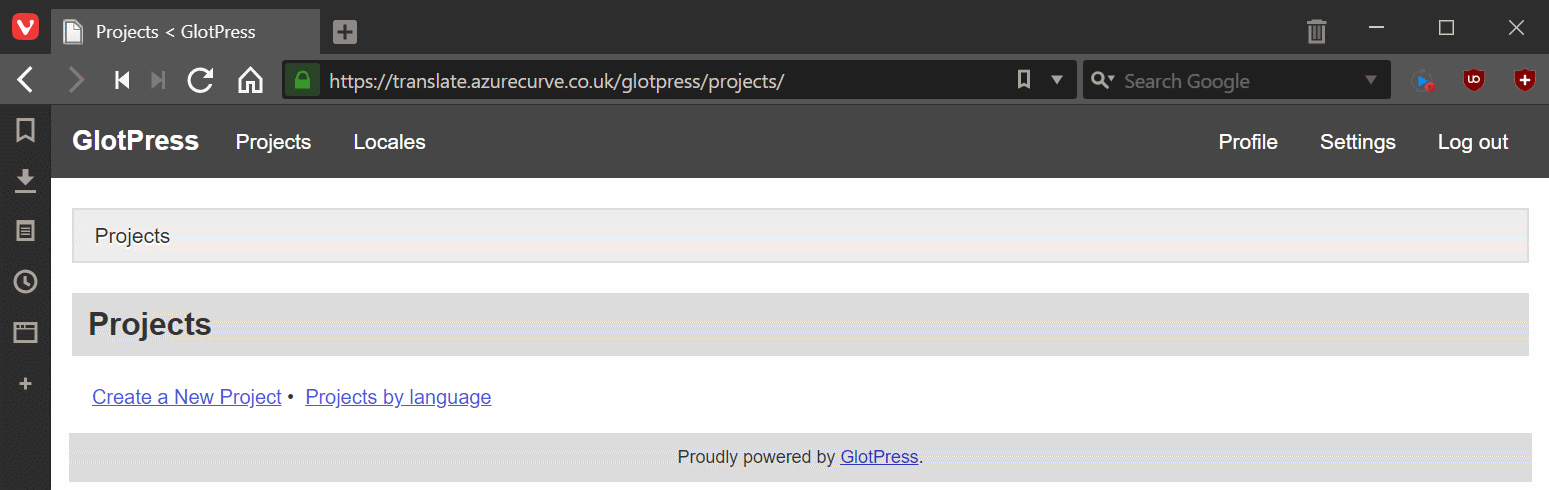
With GlotPress installed, the next step is to create a project. Do this by navigating to the GlotPress page on the site with the plugin installed. The URL will be https://{yourdomain}/glotpress/ (switch out the highlighted section for your websites URL.
Click the Create a New Project link:
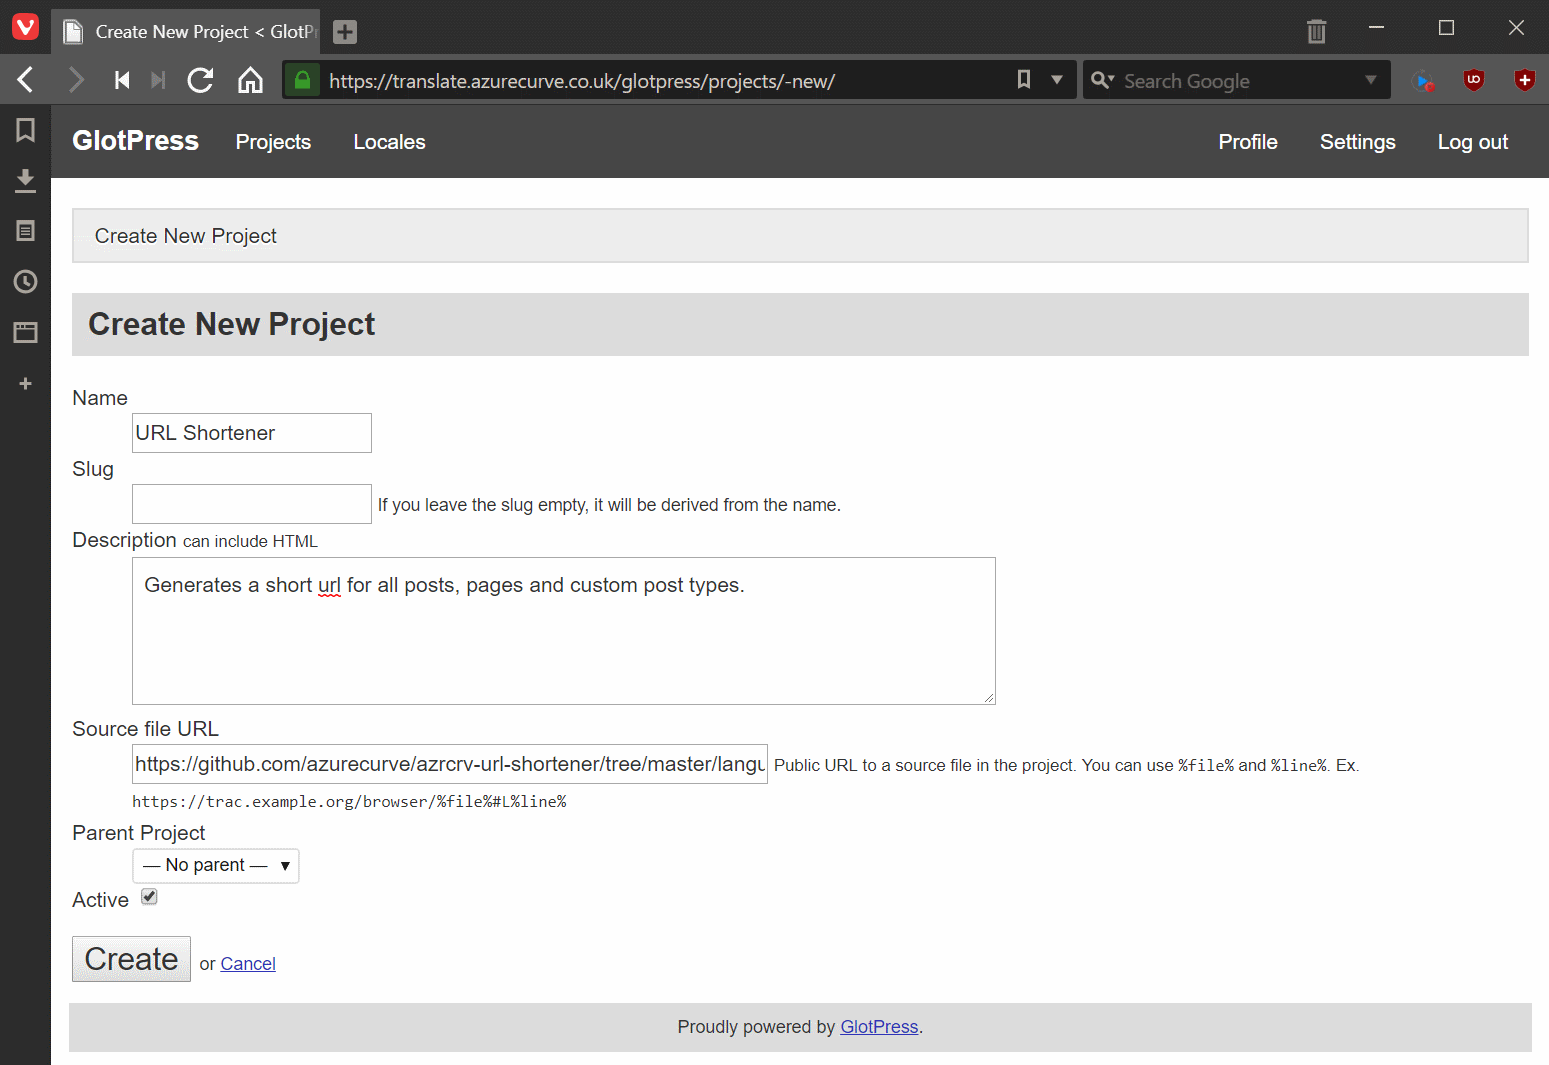
The several several fields to complete:
- Name – is the name of the plugin or theme you’re translating.
- Slug – will be derived from the name if you leave it empty, otherwise enter the required slug.
- Description – is a long narrative describing the project.
- Source file URL – is the link to the source pot file. In my example I am using my URL Shortener where I am pointing at the pot file in the project on GitHub.
- Active – mark the box to make the project active.
Once the fields have been completed, click the Create button:
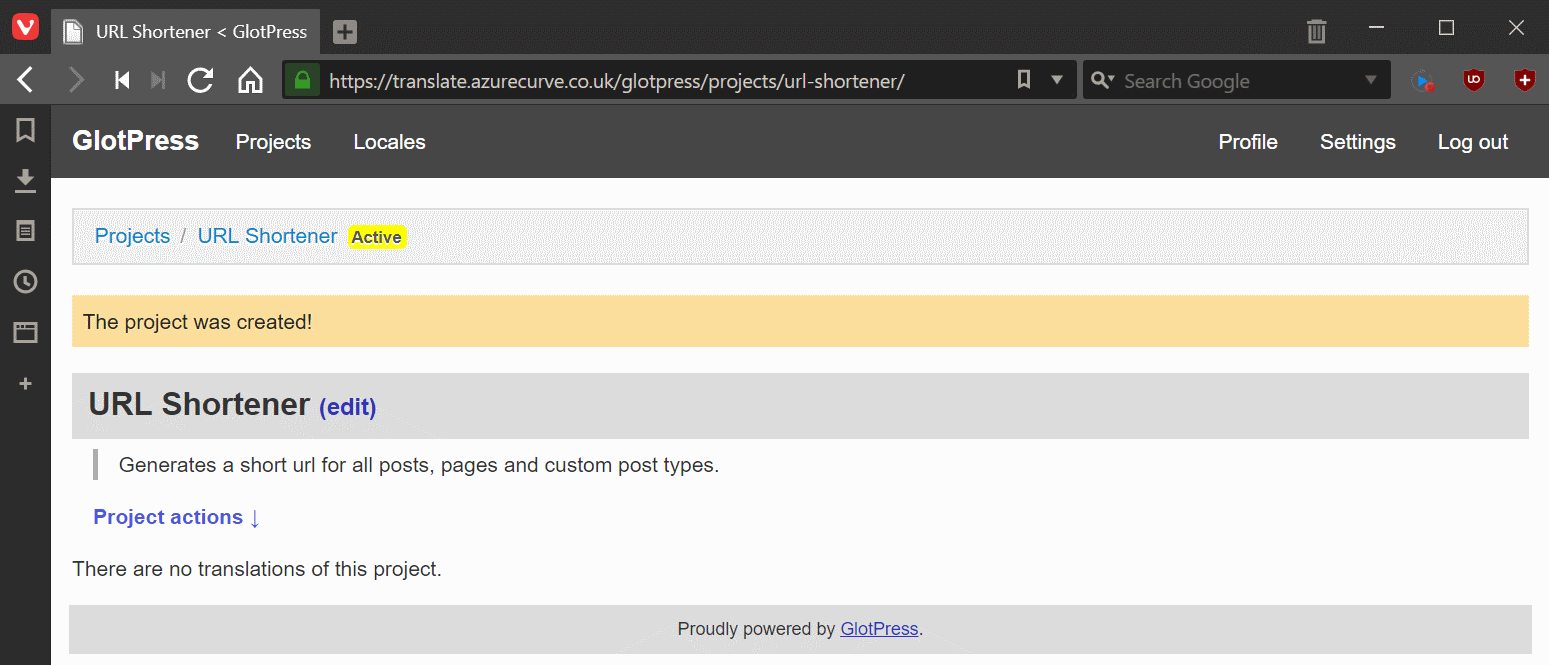
You will be returned to the project page:
Translating a ClassicPress plugin
What should we write about next?
If there is a topic which fits the typical ones of this site, which you would like to see me write about, please use the form, below, to submit your idea.