 This post is part of the Hands On with Microsoft Dynamics GP October 2019 Release series where I am going hands on with the new version of Microsoft Dynamics GP.
With a Microsoft Dynamics client with the Web Client Runtime installed, we can install the web client server components.
There are two types of web client deployment which can be done:
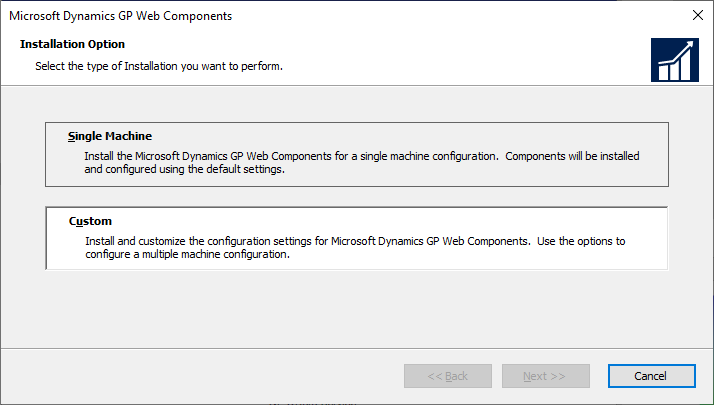
- Single machine – this is where all of the web client components are installed on one server.
- Scale-out – where there is one session central server along with multiple session host machines.
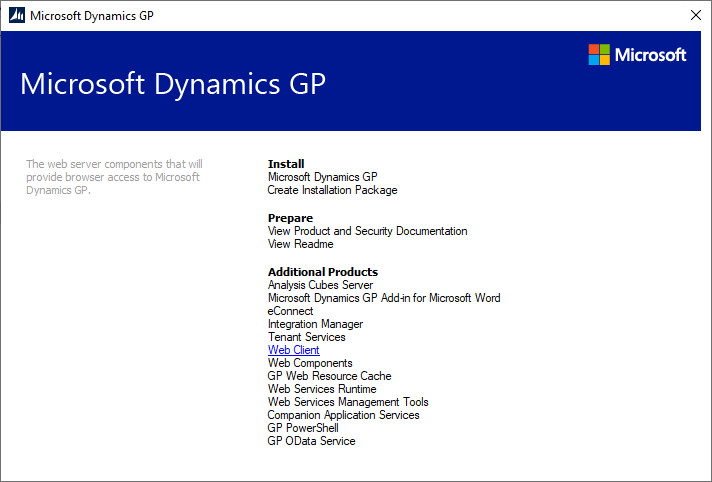
in this series, I will perform the first type, a single machine deployment. To do this, launch the Microsoft Dynamics GP setup utility and, under Additional Products, select Web Client:
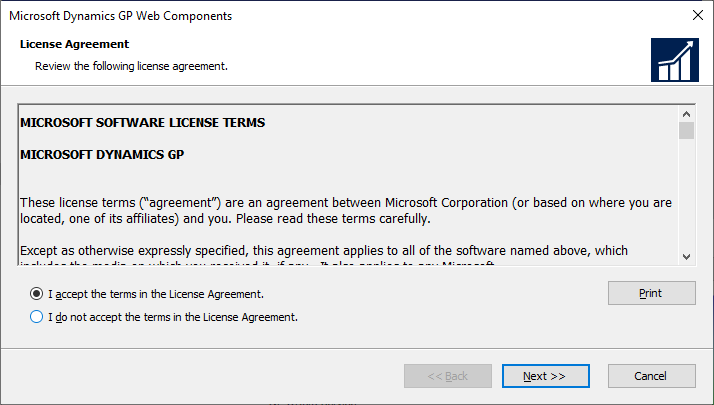
Accept the terms of the License Agreement and click Next:
Click the Custom installation option:
Deselect the Service Based Architecture/SBA features and click Next:
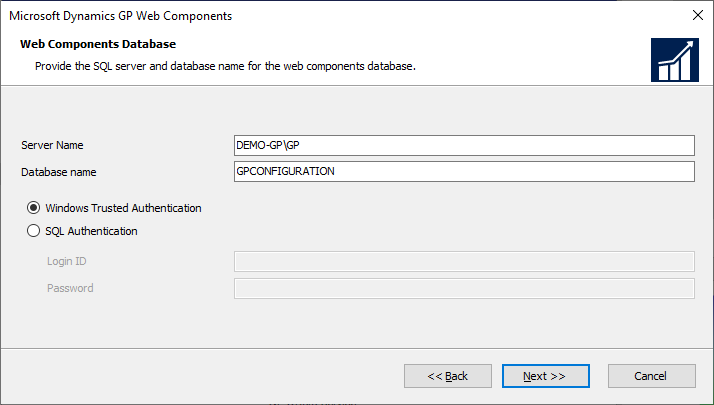
Enter the full instance name of your SQL Server in the Server Name field, change the Database name if required and select your authentication method.
If your Windows user doesn’t have the required permissions to create a database, switch to SQL Authentication and enter a Login ID and Password.
Click Next to continue:
Select your Authentication Type; I am operating on a standard Windows domain so have left it at the default of Windows Account; click Next to continue:
Enter the Web Client Users and Web Management Console Users Domain groups created as part of the prerequisites and click Next::
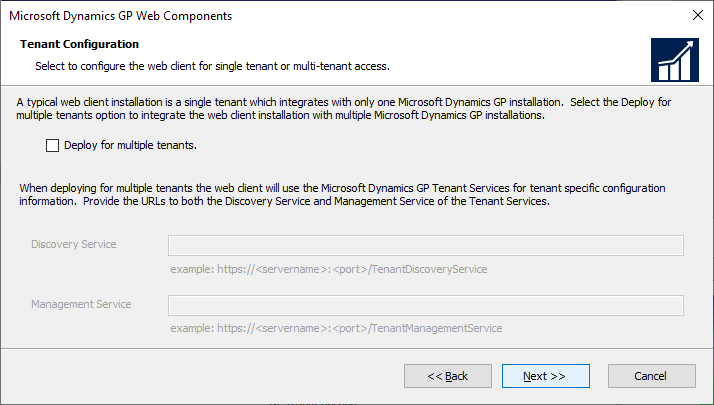
We are not doing a multi-tenant configuration, so click Next:
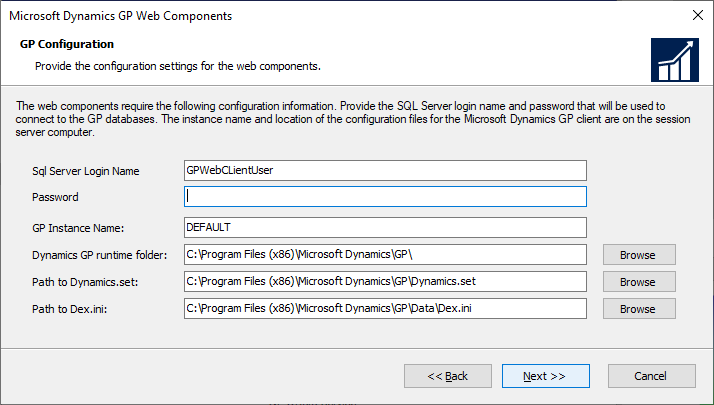
Enter the SQL Server Login Name and Password for the account the web client will connect to the database with (this should be the same as entered when first running GP Utilities. Click Next:
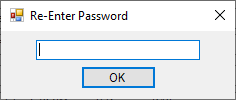
Re-Enter Password and click OK:
The first of the services you need to supply details for, is the Session Central Servie.
The port will default in, but can be changed if necessary.
Select the SSL certificate to use; if you’re using a wildcard certificate you should remove the comma and everything after it.
Enter the credentials of the service account and click Next:
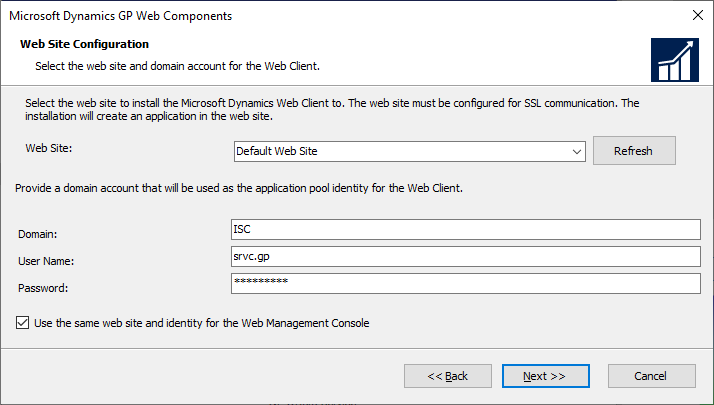
The web client installs into a web site in IIS; the Default Web SIte will be selecte dby default, but can be changed if necessary.
Enter the credentials of the domain account to be used as the application pool identity for the Web Client.
Mark the use the same web site and identity for the Web Management Console.
Click Next:
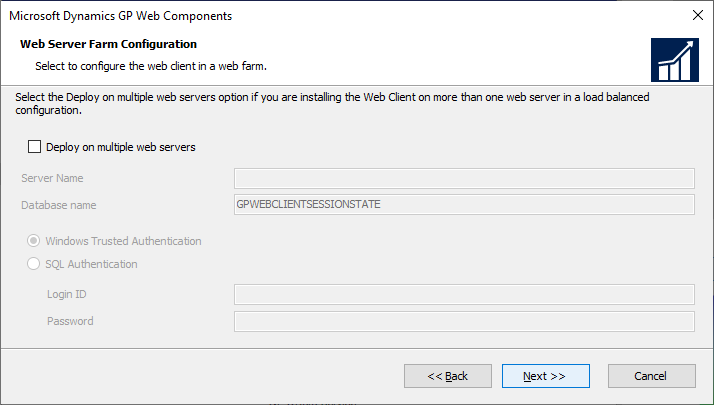
We are not installing into a web server farm so just click Next:
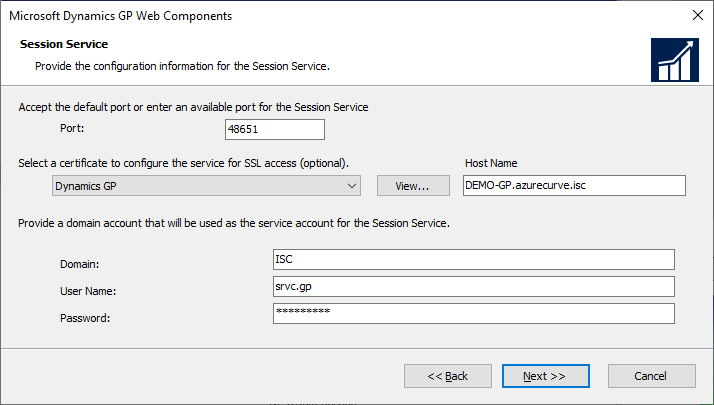
The Session Service needs to be configured in a similar way to the Session Central Service and click Next:
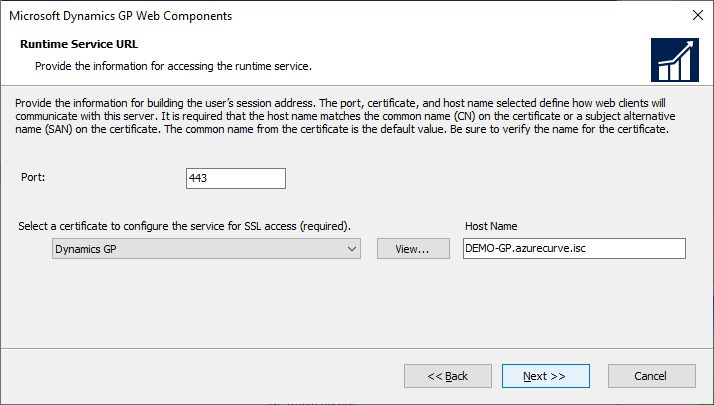
The Port and SSL certificate for the Runtime Service URL need to be specified; the Port defaults to 443 which is the default SSL port for HTTPS access, but can be changed if necessary.
Click Next:
To install the web client components, click Install:
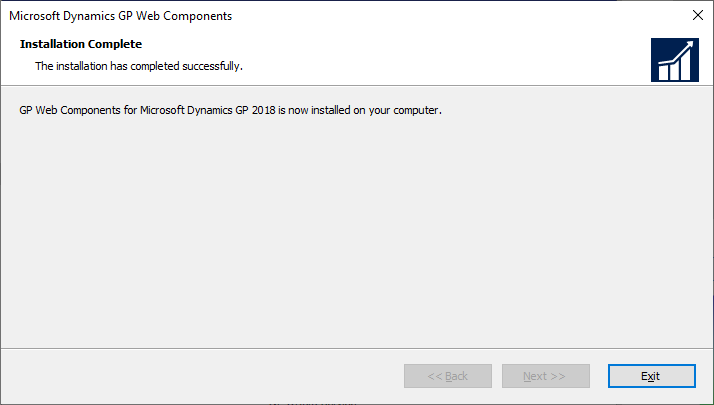
Once the installation is complete, click Exit:
Click to show/hide the Hands On with Microsoft Dynamics GP October 2019 Release Series Index
What should we write about next?
If there is a topic which fits the typical ones of this site, which you would like to see me write about, please use the form, below, to submit your idea.


