This post is part of the Hands On with Microsoft Dynamics GP October 2019 Release series where I am going hands on with the new version of Microsoft Dynamics GP. In a previous post, i downloaded the media so the next action is to install the client.
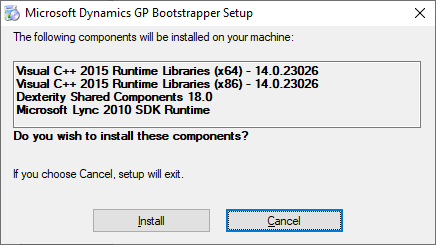
Back in the old days of Microsoft Dynamics GP 9, I would have installed the server components first, but since Dynamics GP 10, the client includes the media. When you launch the Setup Utility from the installation media on a machine for the first time, the Microsoft Dynamics GP Bootstrapper Setup will run.
Click Install to install the listed components:
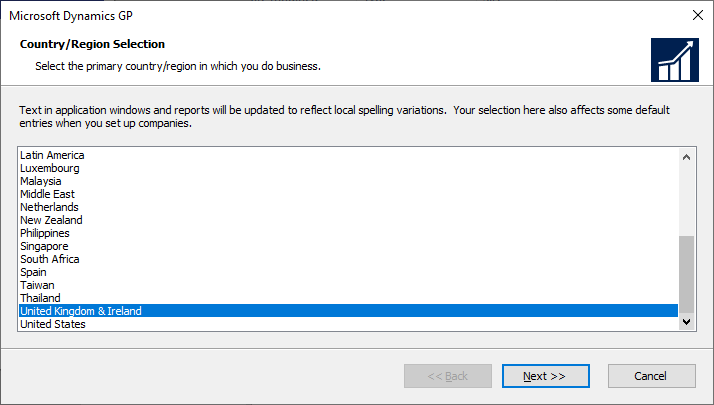
The Setup Utility itself will then launch; under the Install heading, click on Microsoft Dynamics GPNext:
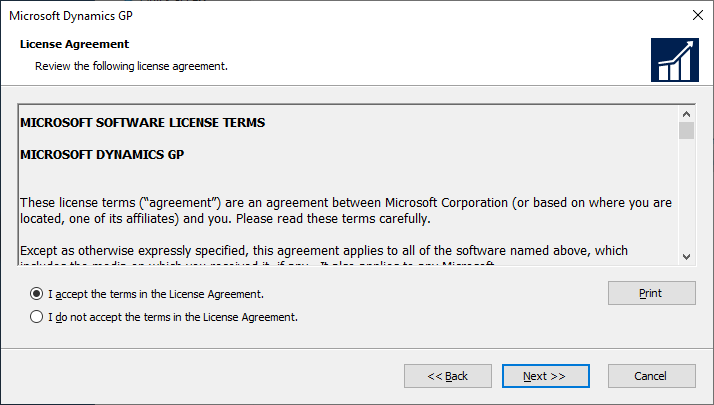
Accept the terms of the License Agreement and click Next:
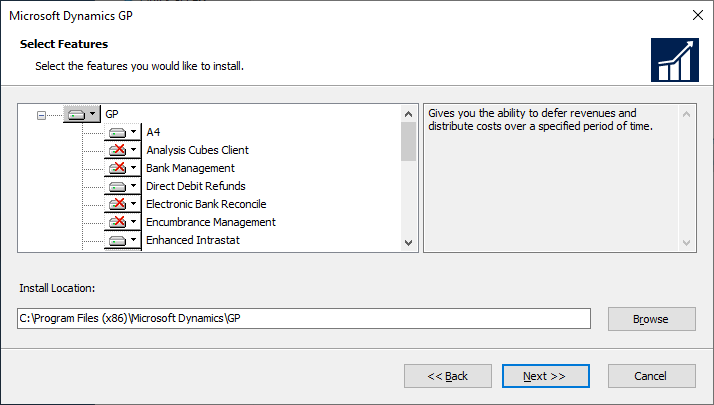
Select the features to be installed and click Next:
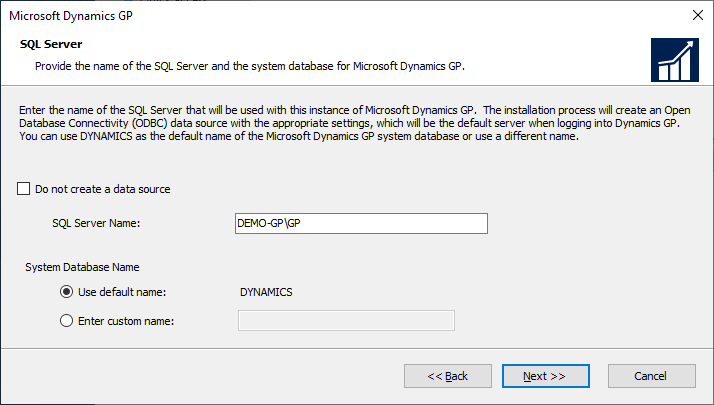
If you’ve had Dynamics GP installed on the machine you’re working on before, mark the Do not create a data source checkbox; if this is a new client, enter the full instance name in the SQL Server Name field.
The machine name I am using is DEMO-GP and the SQL Server instance is GP so I have entered DEMO-GP\GP.
Decide if you’re using a named system database; if you are, mark the Enter cust name radio button and enter the name in the field.
Click Next to proceed:
Click Install to begin installing the client:

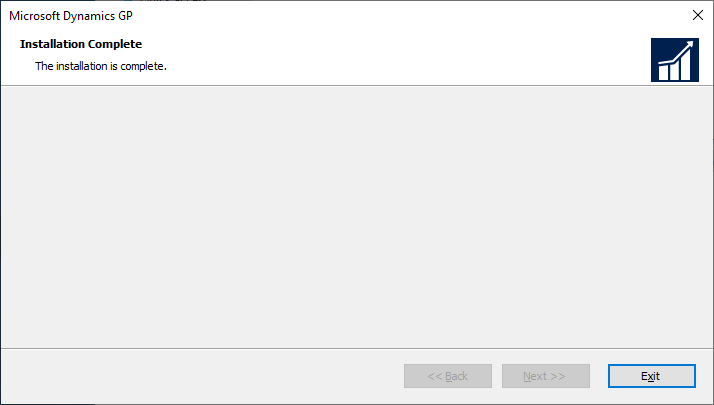
Once the installation is finished, click Exit to close the installer: