 This post is part of the series on building my new Raspberry Pi; this series is a sub-series of the Adventures with a Raspberry Pi.
Installing the Pi-hole was something which I was quite concerned about doing. A week or so before I boguth my Pi-hole I mentioned Pi-hole on Twitter and a friend had a go at installing it on an unsed Raspberry Pi he had. He actually had quite a few problems which put me off for a short time.
However, when he resolved his problems he realised that the problems were his and not Pi-hole in general. So, I decided I was back on for building a Pi-hole.
Once the Raspberry Pi had arrived and been built, I set about installing Pi-hole. It is actually quite straightforward. As with Linux in general, you do not need to download the software as you would on Windows. Instead it is all, usually, handled from the command line.
To download and start the install Pi-hole type this command at the Linux command line prompt:
curl -sSL https://install.pi-hole.net | bash
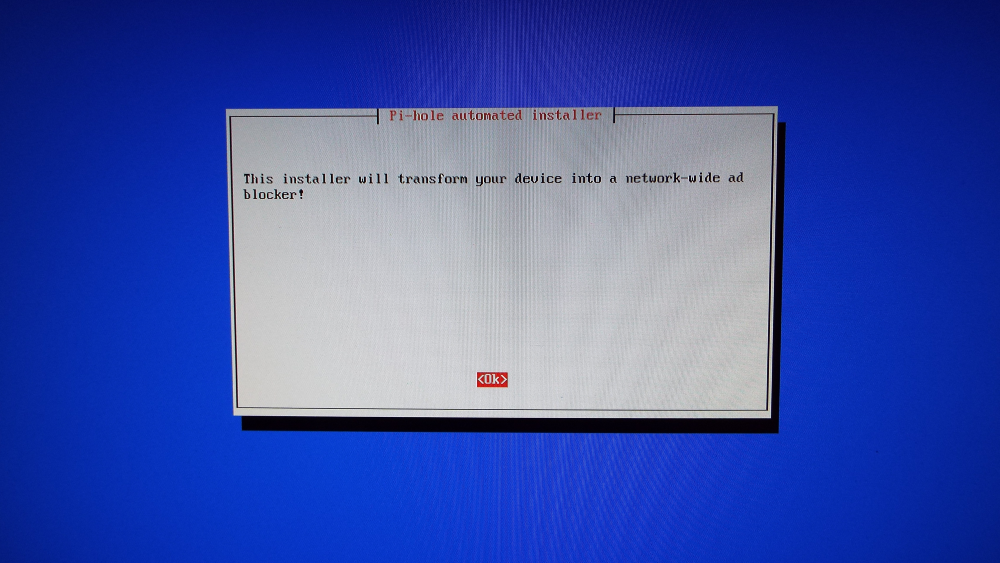
The Pi-hole installer does require some user interaction, but guides you though the process. On the welcome screen, click OK to proceed:
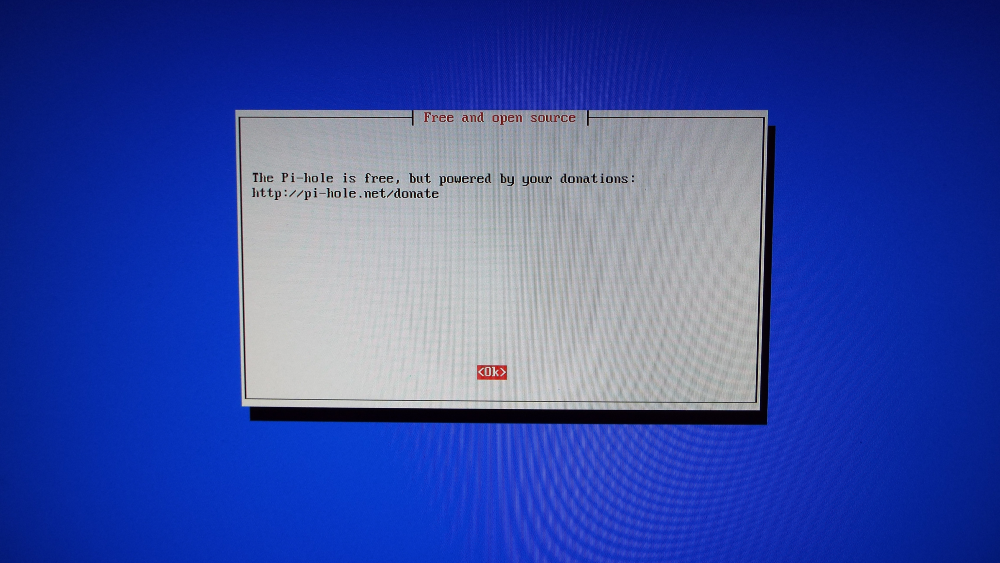
Click OK on the donate step:
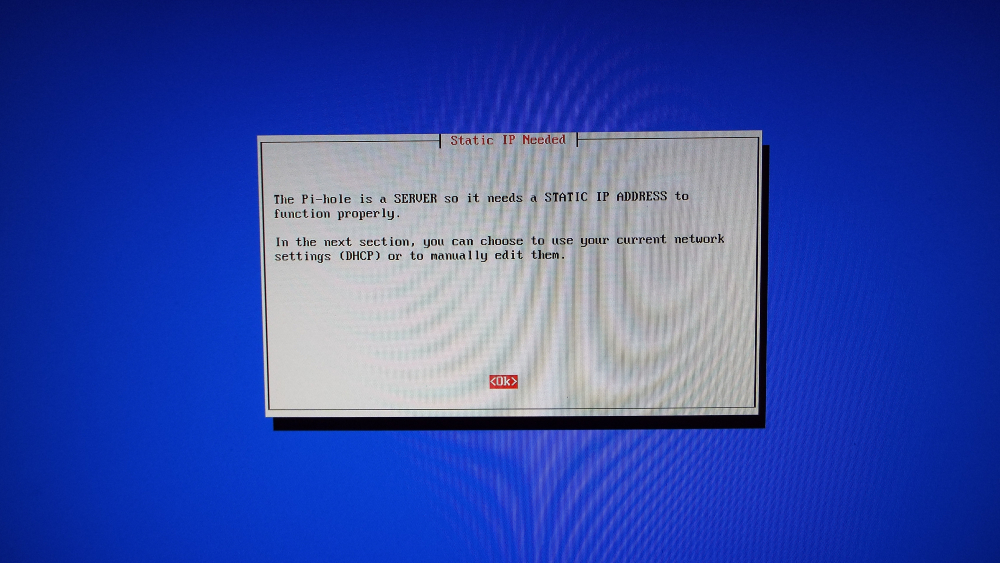
The Pi-hole is a server and requires a static IP address; when informed of this, click OK:
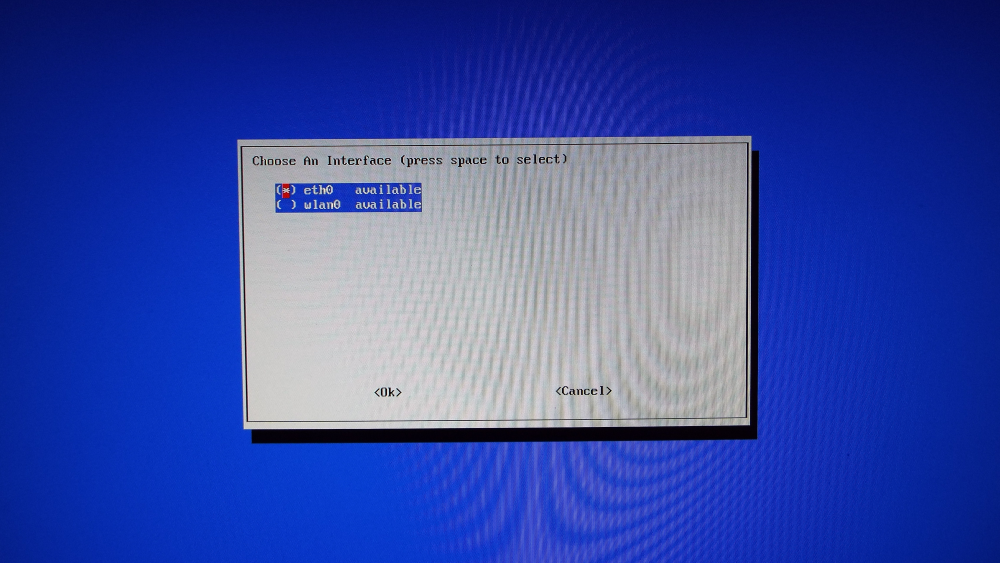
Select which network interface is being used; I have opted for the hardwired connection, rather than Wifi. Use the right cursor key to move down to the OK button and press return:
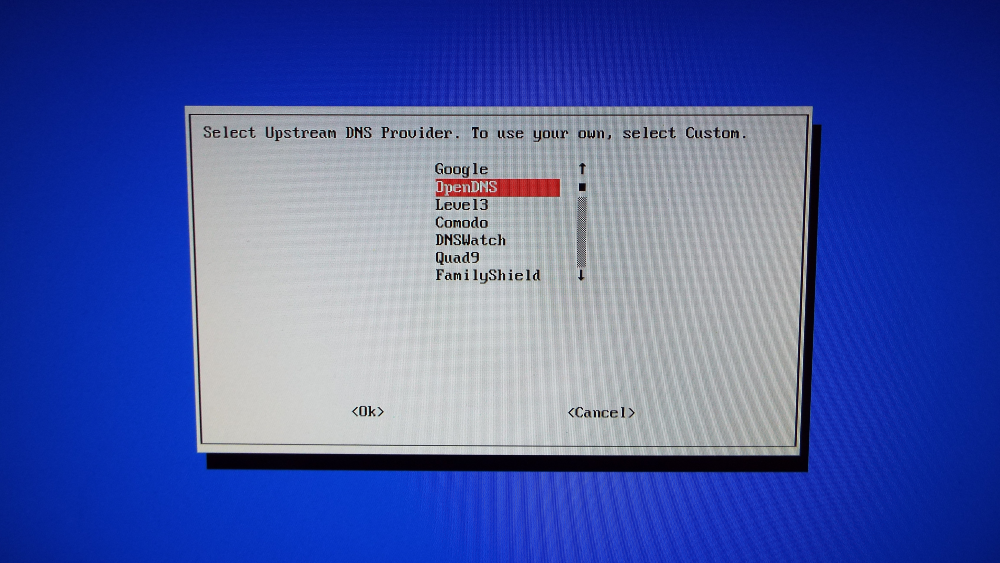
Select the upstream DNS provider; I have opted to use the OpenDNS:
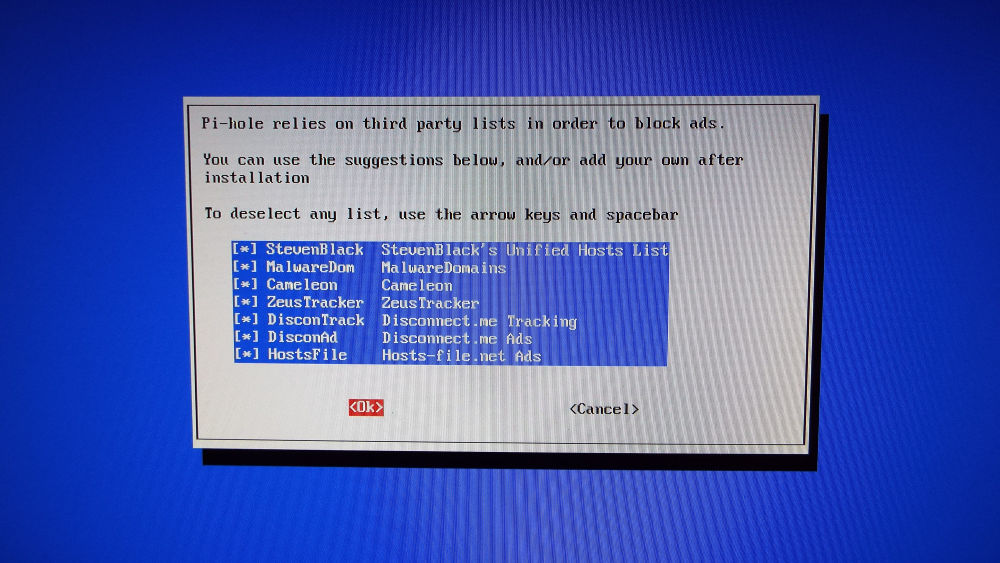
Pi-hole uses third party lists for blocking ads; you can use multiple ads. Deselect the lists you do not want to use:
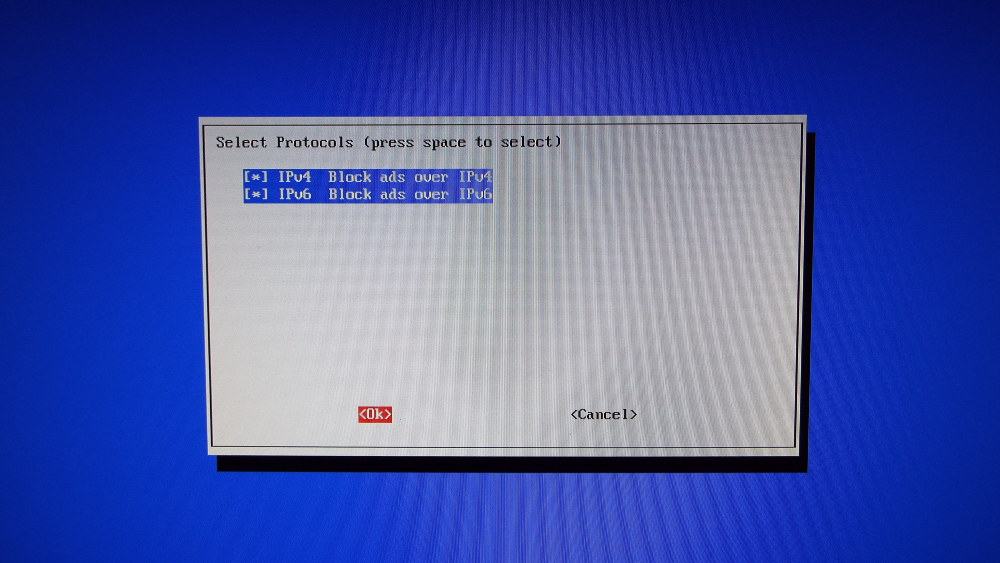
Select the protocols (IPv4 or IPv6) you want to use:
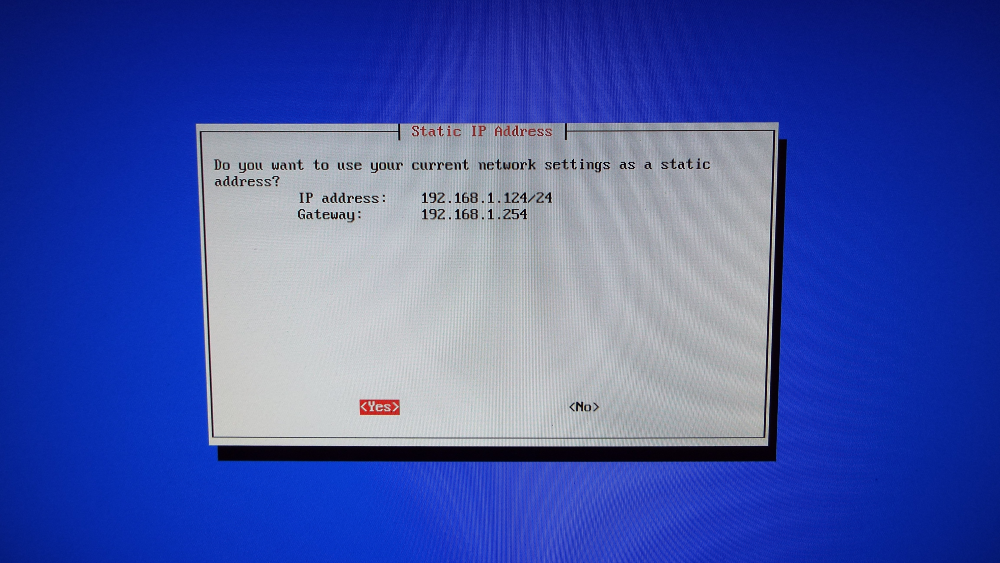
Confirm if you want to use the current IP address as a static address:
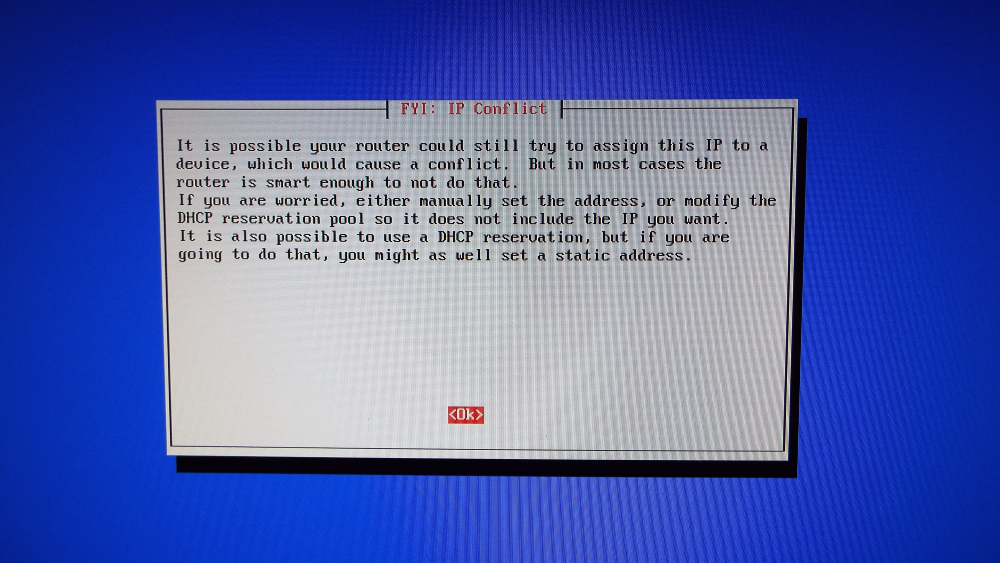
You will be warned to configure your router with this IP set as static so that it doesn;t get assigned to a different computer:
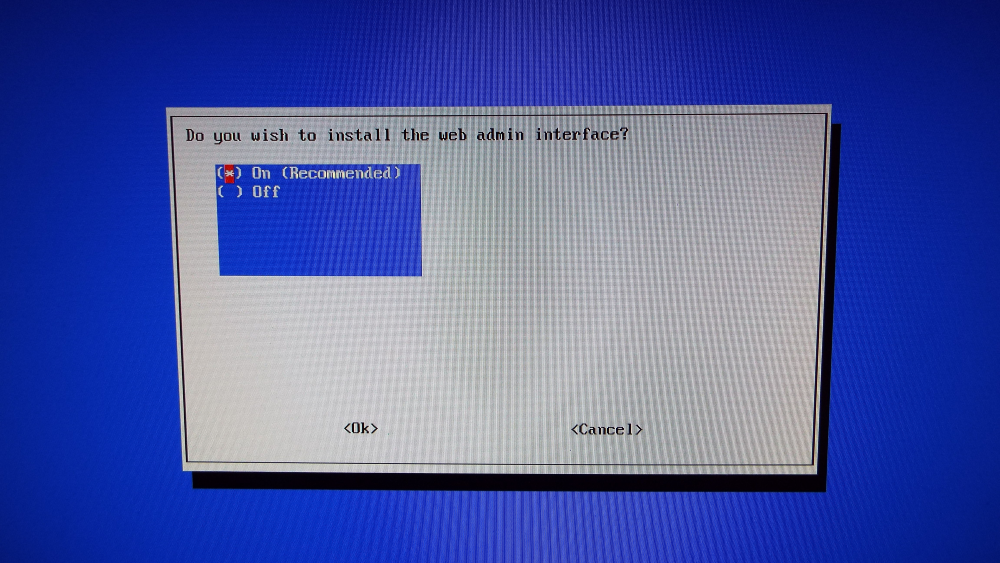
Accept the use of the web admin interface:
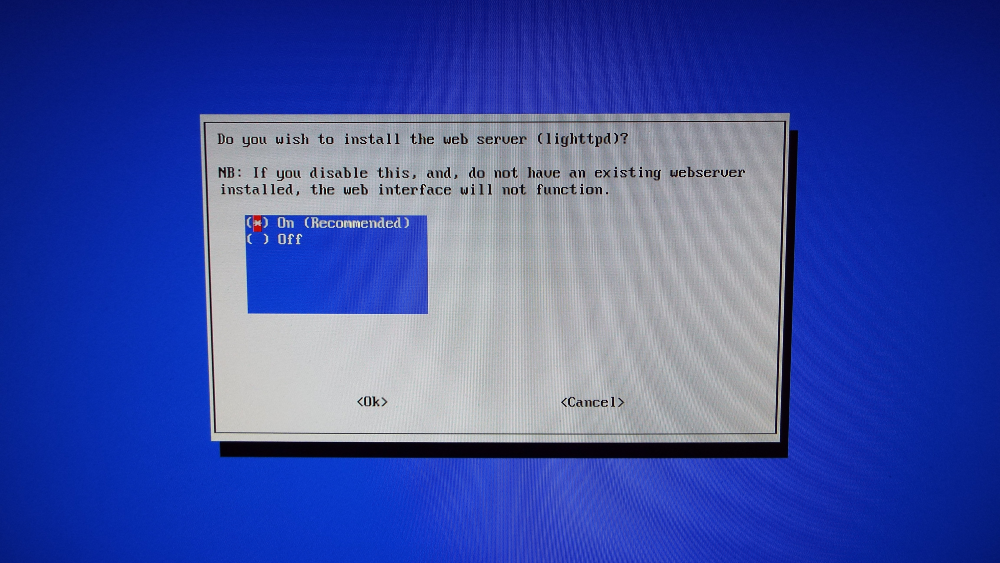
Accept the installation of the web server:
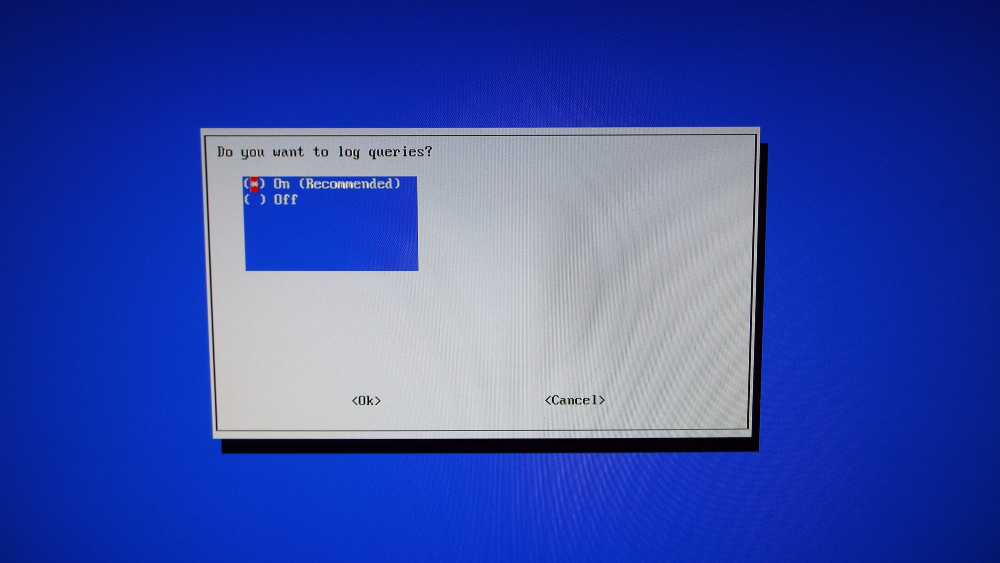
Decide if you want to log queries:
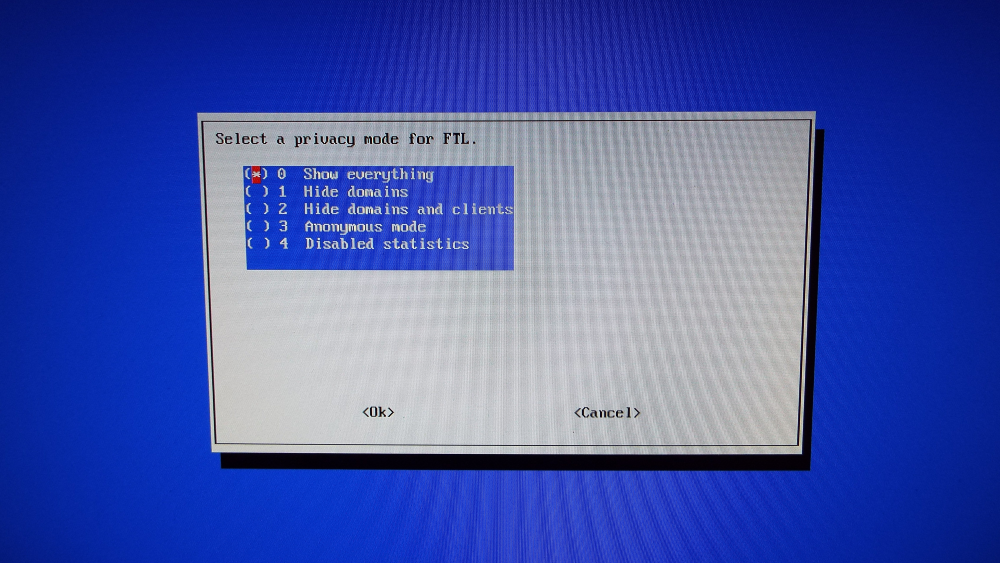
Decide the privacy mode for FTL (which is the custom program created to read the Pi-hole text logs and store the necessary output within RAM. From there, the Web Interface queries FTL and is able to return results extremely quickly). I’ve opted for maximum information:
Installation of Pi-hole is now compelte; a confirmation dialog will be displayed showing the IP addresses configured:
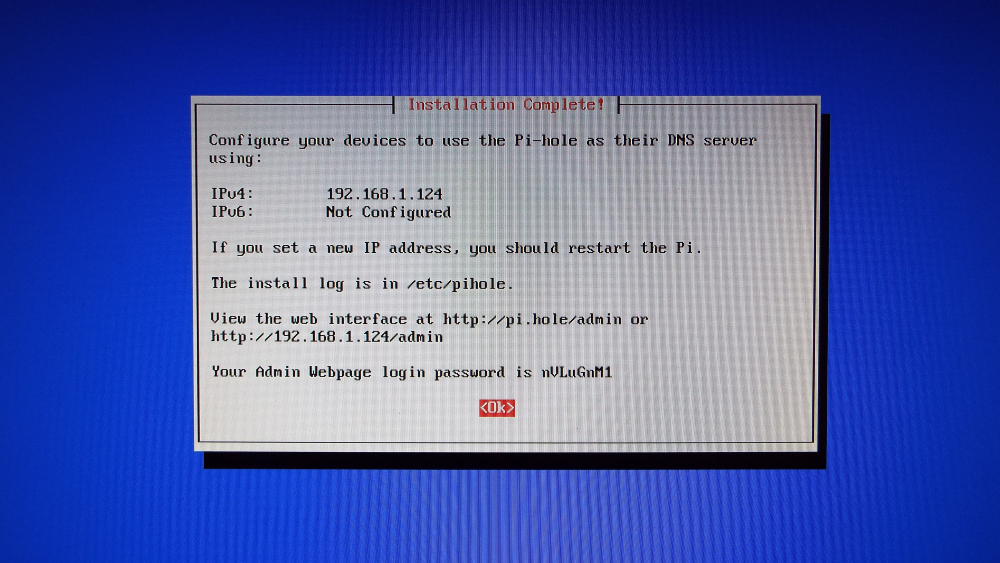
The dialog also shows the web interface address and your admin password.