 This post is part of a series on Implementing SalesHQ Portal, which is one of the GP Elementz Portals from my new employer, ISC Software Solutions.
With SalesHQ configured, it is now available to use. However, the first thing we need t do is grant access to salespeople so that they are able to log in.
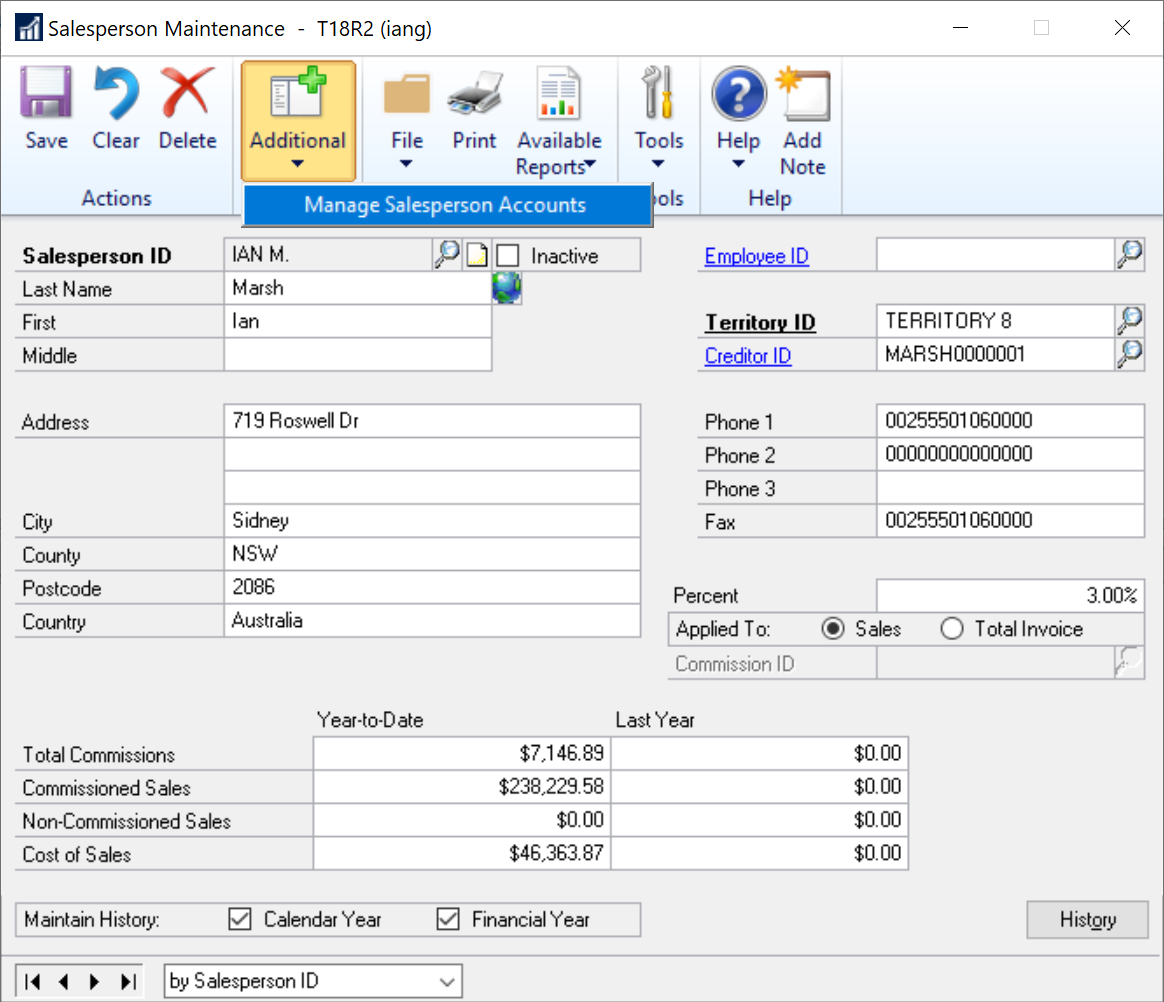
From experience, very few clients actually use salespeople in Microsoft Dynamics GP the way it was intended. So rather than enforcing the use of them, the SalesHQ functionality has been hooked onto the Salesperson Maintenance window ()Sales » Cards » Salesperson) without requiring the salesperson to be assigned to customers.
There are two pieces of setup required against the Salesperson record:
- Assign the login details for the salespeople who can log in against this Salesperson record; multiple logins against a single salesperson is supported.
- Assign customers to a Salesperson record.
To add the users who can login, open the Salesperson Maintenance window and open a salesperson record. Click the AdditionalManage Salesperson Accounts:
Click the Add button on the action pane to add a new user logon:
Enter the login credentials in the first few fields; the checkboxes determine which actions the user can do on the portal (such as entering quotes or orders, or adding prospects).
Click OK to save this user:
The added user will be displayed in the scrolling window on the Manage Salesperson Accounts/em> window. To add customers to this user, select the row and click the User Name hyperlinked column header:
The Edit Sales Person Account window will be displayed; this window allows you to amend the users name or permissions (as well as disable them to prevent logins).
The scrolling window at the bottom will display selected customers; click the Add button on the action pane to add customers:
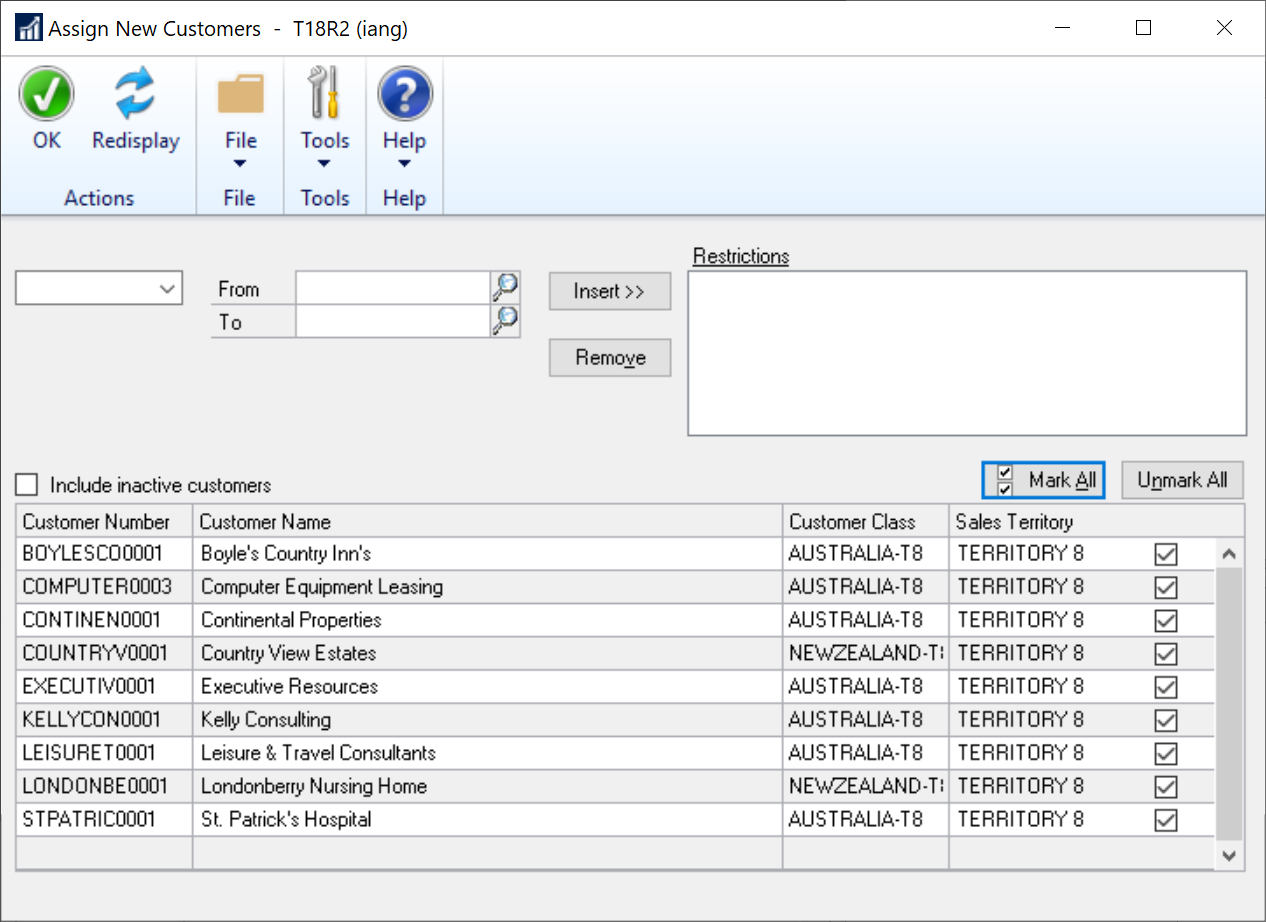
The Assign New Customers window allows customers to be added en masse.
The first drop down list allows you to select on of the following:
- Customer Class
- Territory
- Customer Number
- Salesperson
Once you’ve made a selection in the drop-down list, enter your From and To values and click Insert to add your restriction; multiple types of restriction can be entered.
Once all restrictions have been entered, click the Redisplay button:
The customers matching the criteria will be displayed in the scrolling window; the checkbox in the right-most column can be marked to include the customer; Mark All/Unmark All buttons are available.
When all required customers have been marked, click the OK button to save the changes:
The selected customers will be returned to the Edit Salesperson Account window and displayed in the scrolling window.
Click OK to save the changes:
With users added to the Salesperson record and customers selected; the user can now log into the portal and work with the selected customers.
In the next post, I’ll show how customers themselves can be given access to view their accounts online.


