 This post is part of the Installing FileZilla Client series. FileZilla is a free software, cross-platform FTP application, consisting of FileZilla Client and FileZilla Server. Client binaries are available for Windows, Linux, and macOS; server binaries are available for Windows only. This series is taking a look only at the Windows FileZilla client.
With the FileZilla client downloaded, the next step is to install it. Run the downloaded executable:
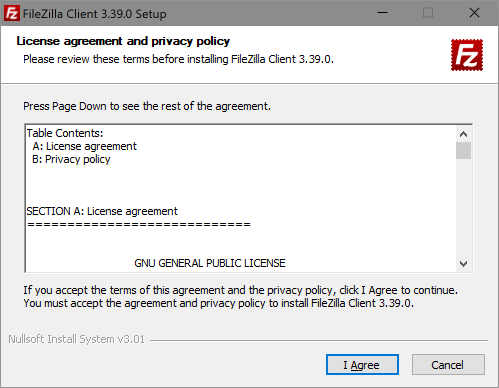
Accept the license agreement and privacy policy by clicking I Agree:
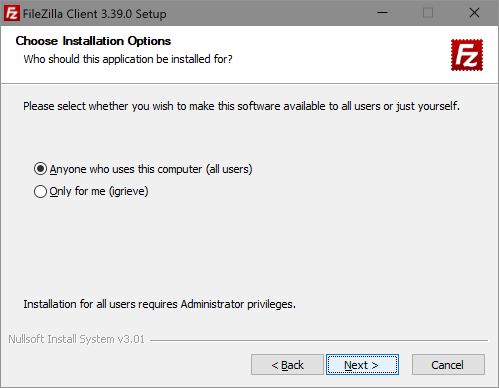
Decide if anyone can use the installed software or only yourself and then click Next:
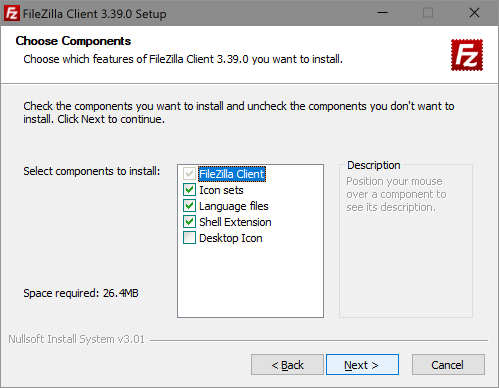
Decide which features should be installed; I have opted for everything except the desktop icon. Click Next to proceed:
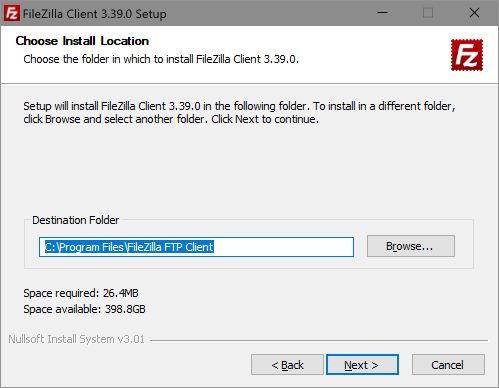
Check the Destination Folder and click Next:
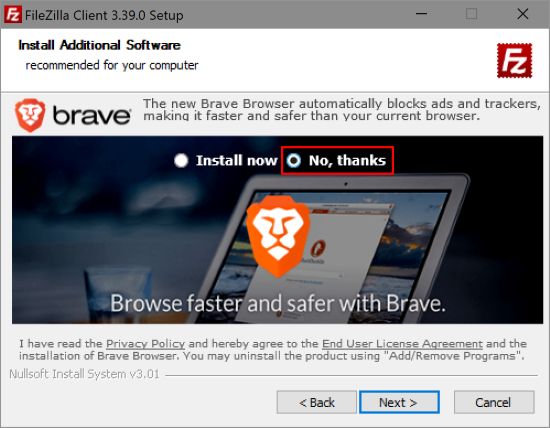
The installer will offer additional software; the No,thanks option is buried in the image; I’ve highlighted it by ringing it in red. Click Next:
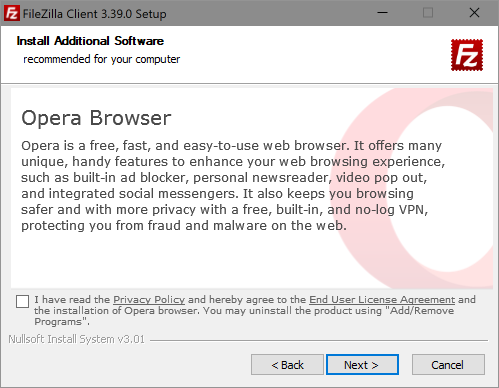
Leave the checkbox unmarked to decline the installation of Opera (I was an Opera 12 user, but when they abandoned their users I migrated to Vivaldi). Click Next to proceed:
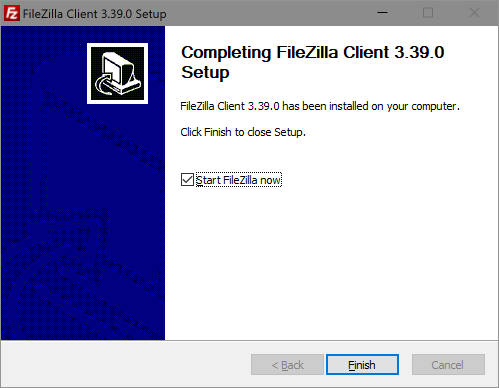
Once the installation has finished, click Finish to close the installer
What should we write about next?
If there is a topic which fits the typical ones of this site, which you would like to see me write about, please use the form, below, to submit your idea.


