 The installation process of Windows has changed a lot over the years; when I started doing installs it was from a 3½ inch floppy disk, but these days it is from a bootable USB drive.
I have previously posted about how to install Windows 8 and even the Windows 10 Technical Preview, but the current Windows 10 install is much different from both.
In this post, I am going to step through the installation of Windows 10 (1607 released on 13/02/2019). Once you have the media available to install, most likely using the US Tool I linked to above), ensure your computer, or virtual machine, is set to boot from the required device.
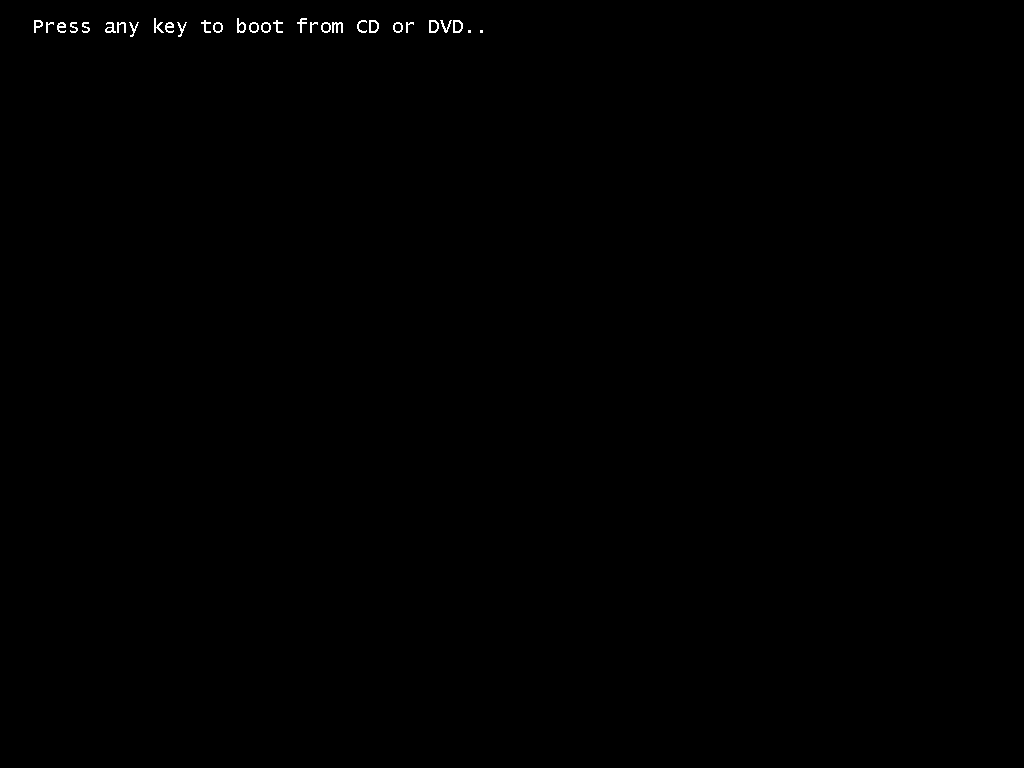
In this example, I am actually creating a virtual machine so have mounted the ISO in Hyper-V. When the VM is started, hit a key to boot from the mounted ISO:
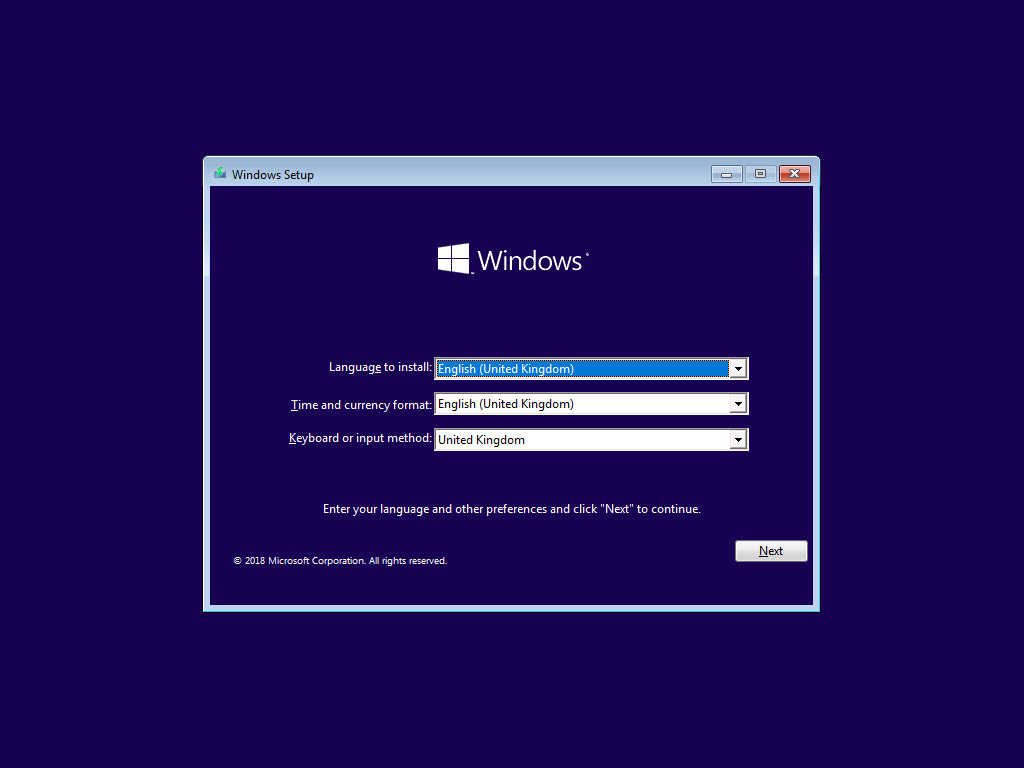
Select your required language; I have opted for
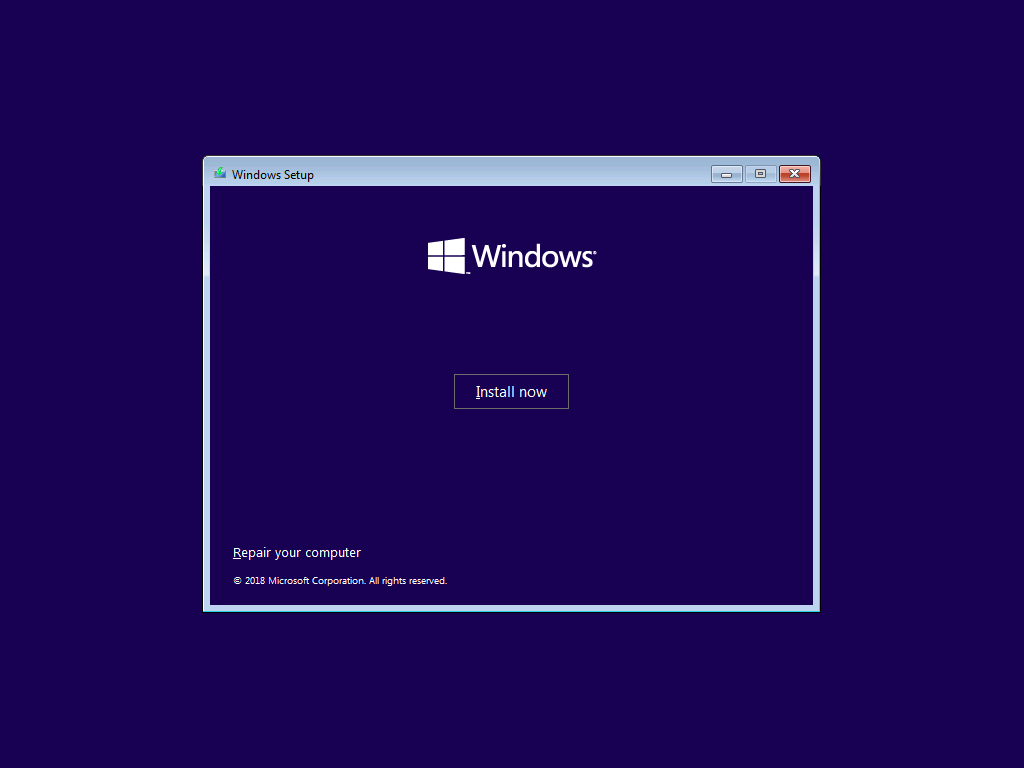
Click the Install Now button:
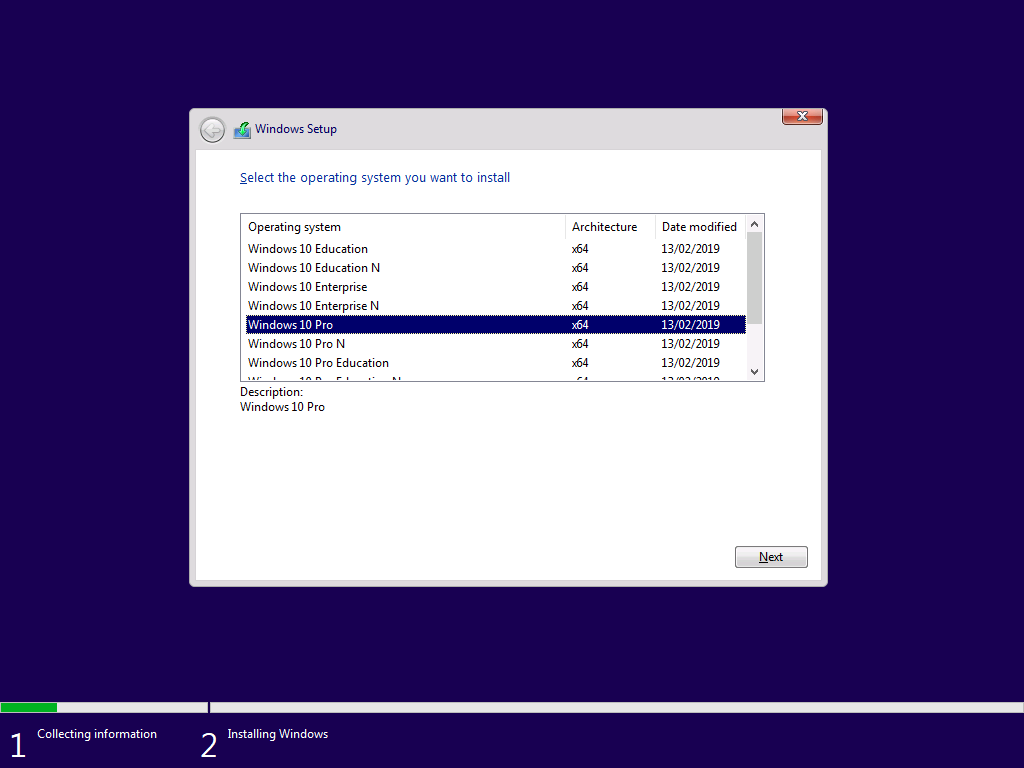
Select the required version of Windows 10; I typically opt for the Pro edition when installing VMs:
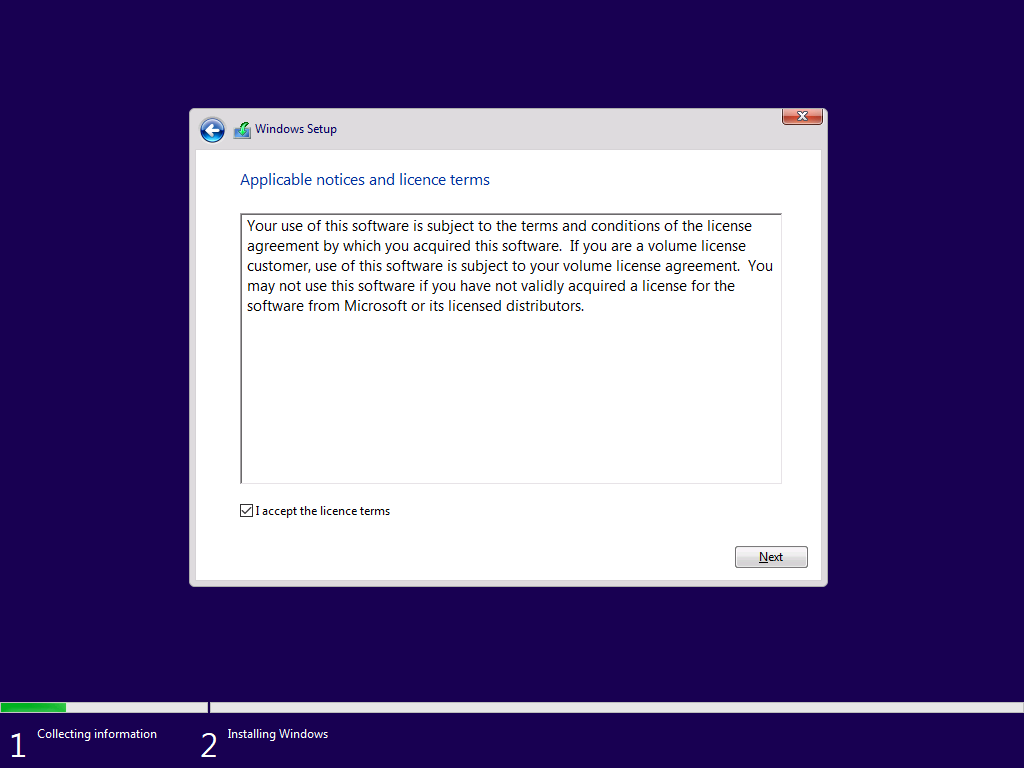
Mark the checkbox to accept the terms of the licence agreement and click Next:
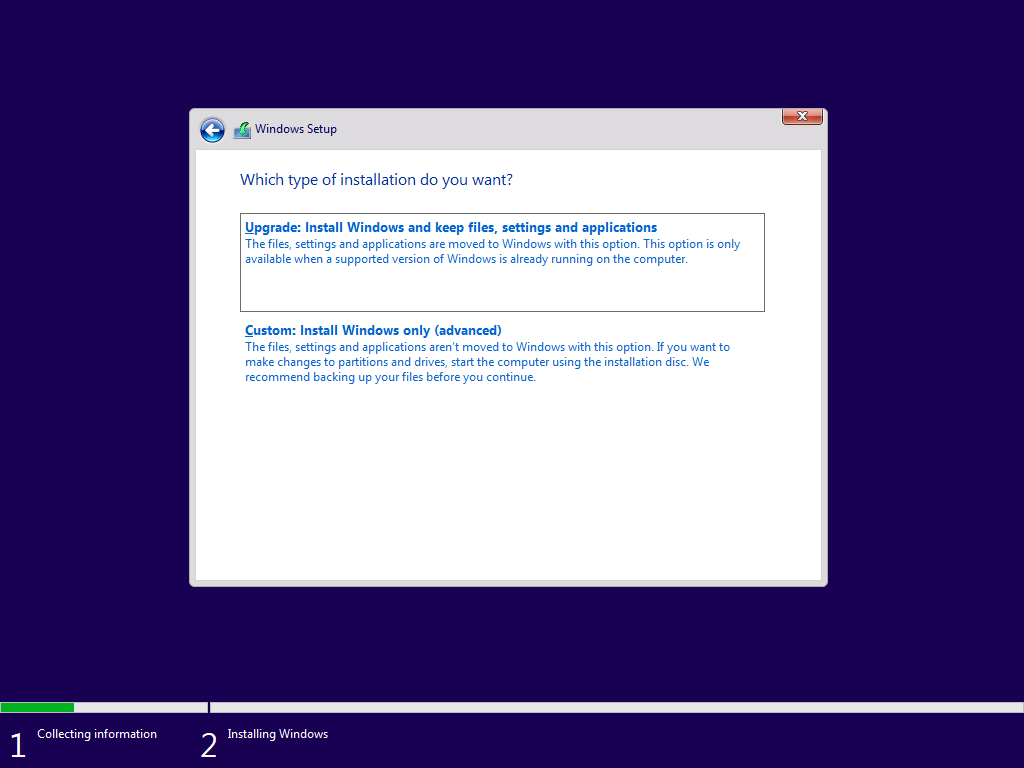
This is a fresh install, so select Custom: Install Windows only (advanced) and click Next:
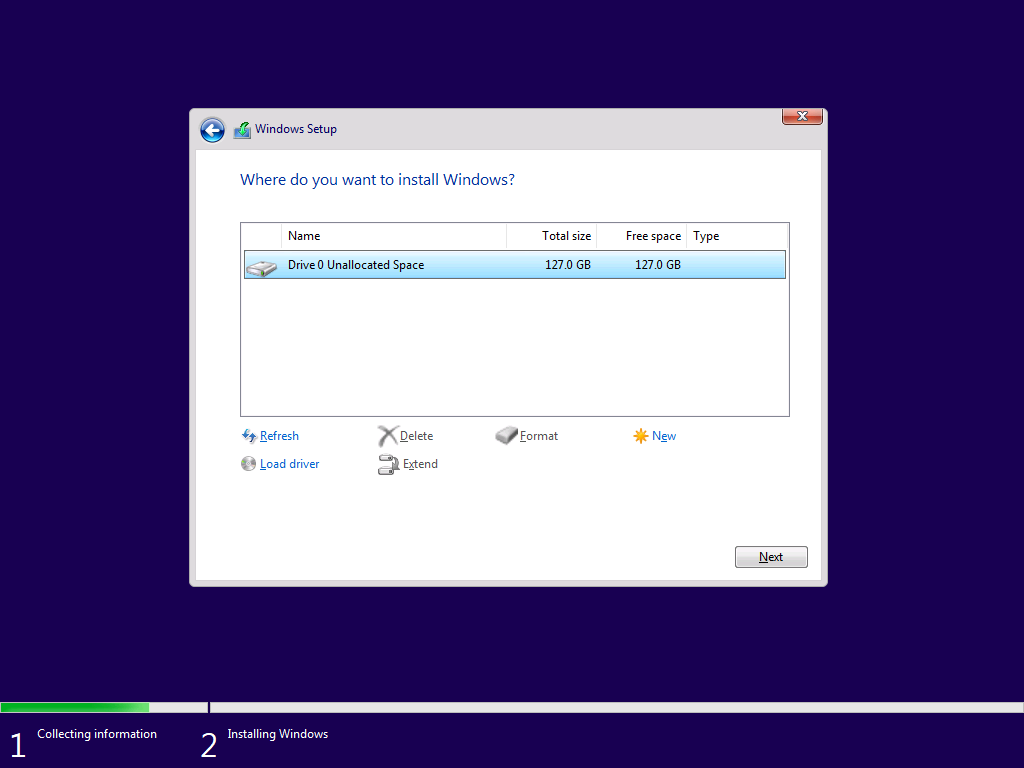
Select the drive on which Windows is to be installed and click Next:
Once the installation has completed, you’ll be moved onto the configuration process.
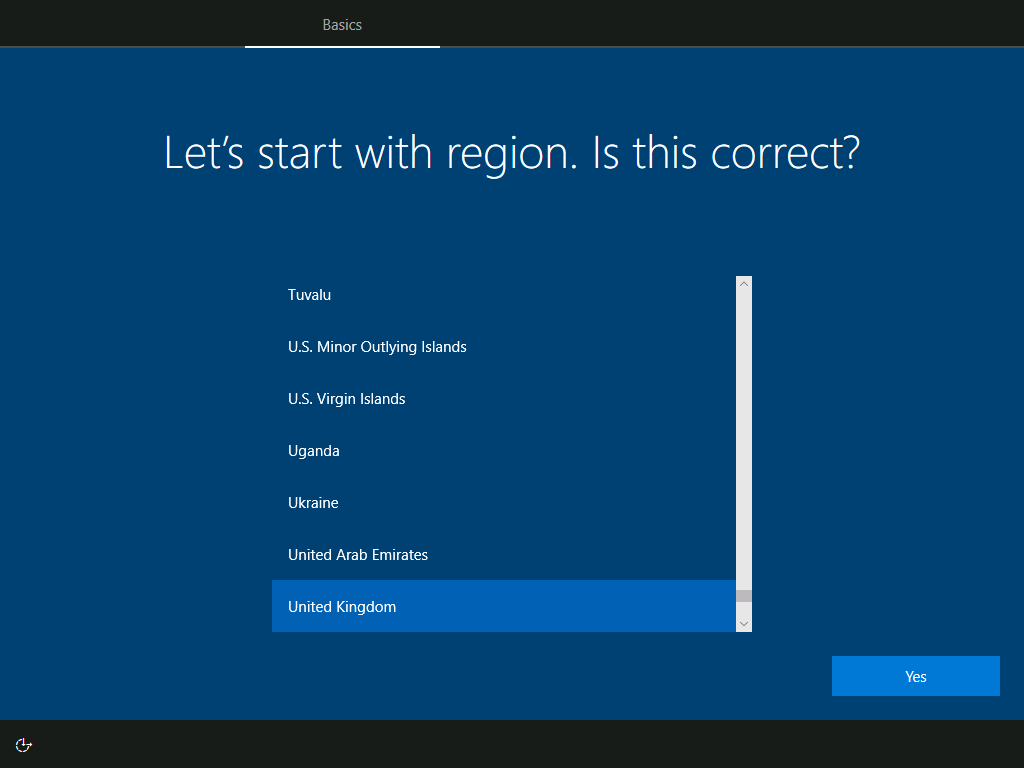
The first step is to select your region; Windows will select a region for you to confirm, or select the correct one. Click Yes to proceed:
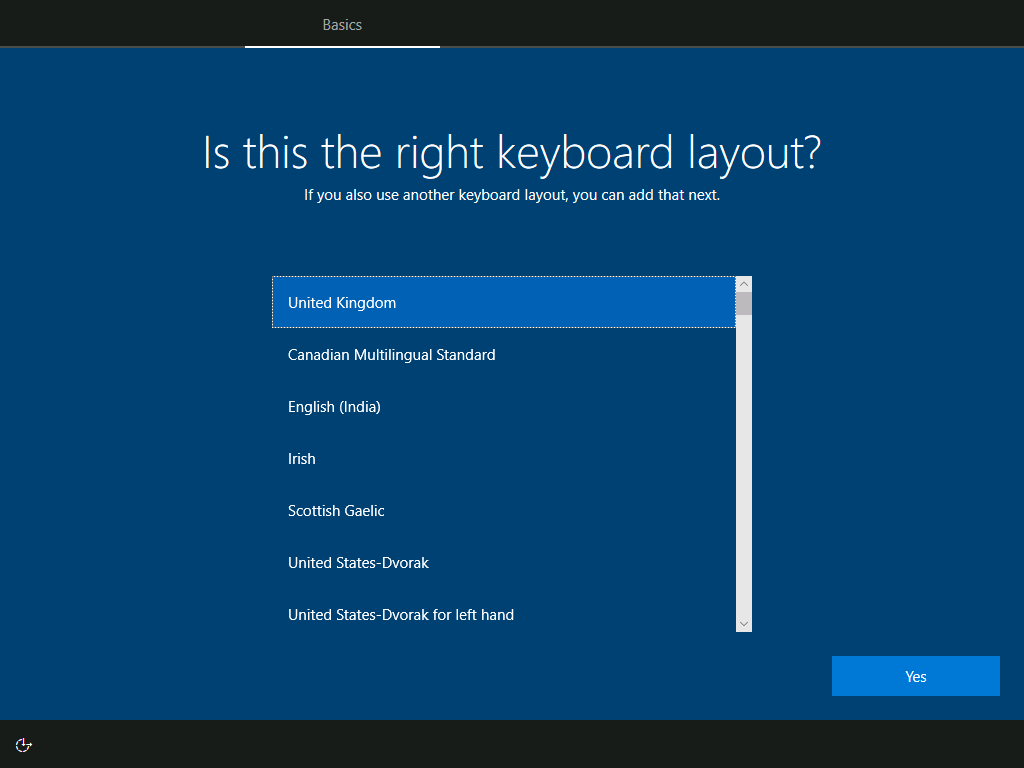
Check that the correct keyboard layout is selected and click Yes:
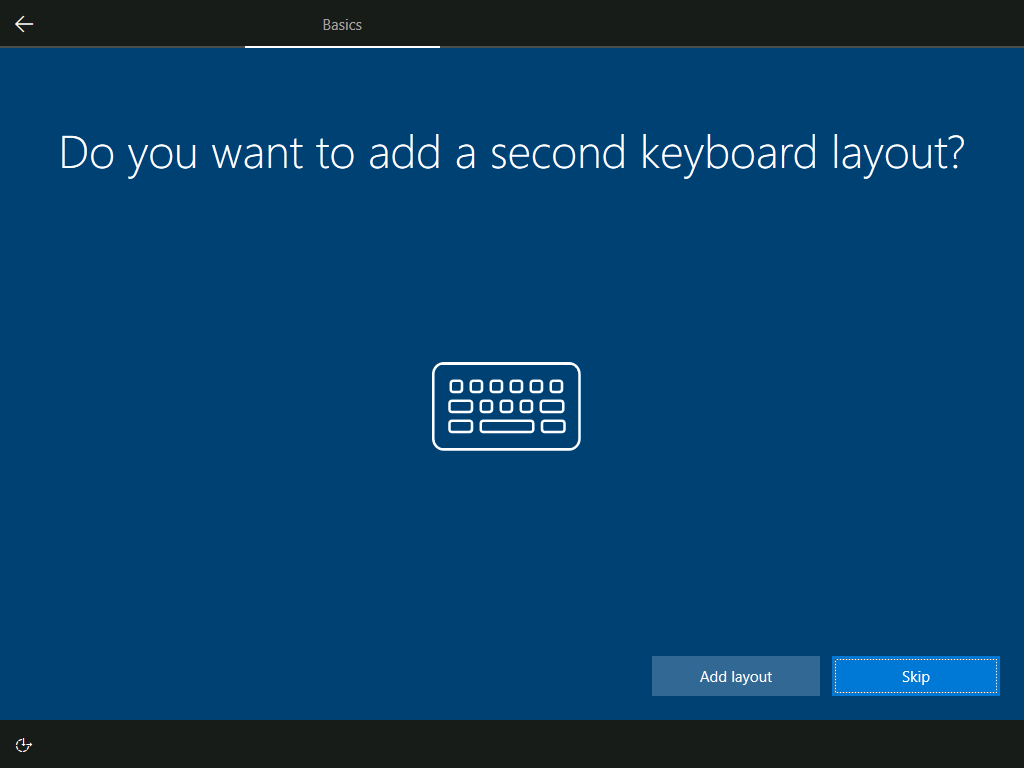
If you want to add a second keyboard layout, click Add layout or click Skip to proceed:
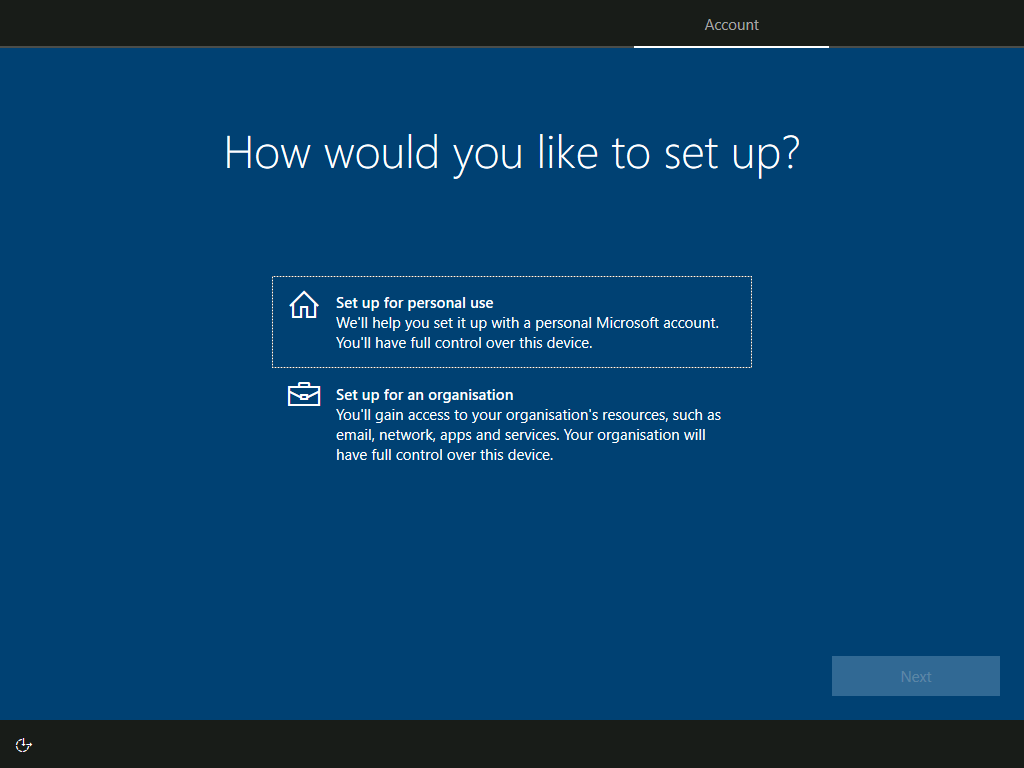
I am settig this VM up as a standalone machine, so leave the setting set to Set up for personal use and click Next:
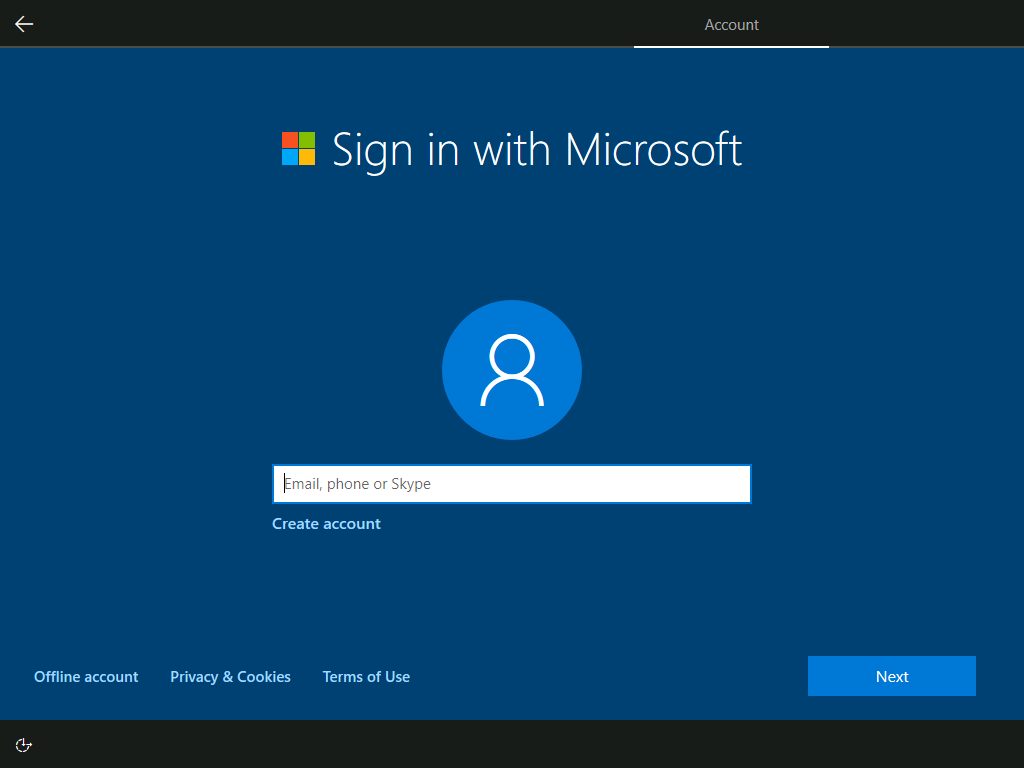
You will be prompted to sign in with a Microsoft account; in this post, I am going to install Windows with an old-style Windows account. To do this click the Offline account button at the bottom left of the Window:
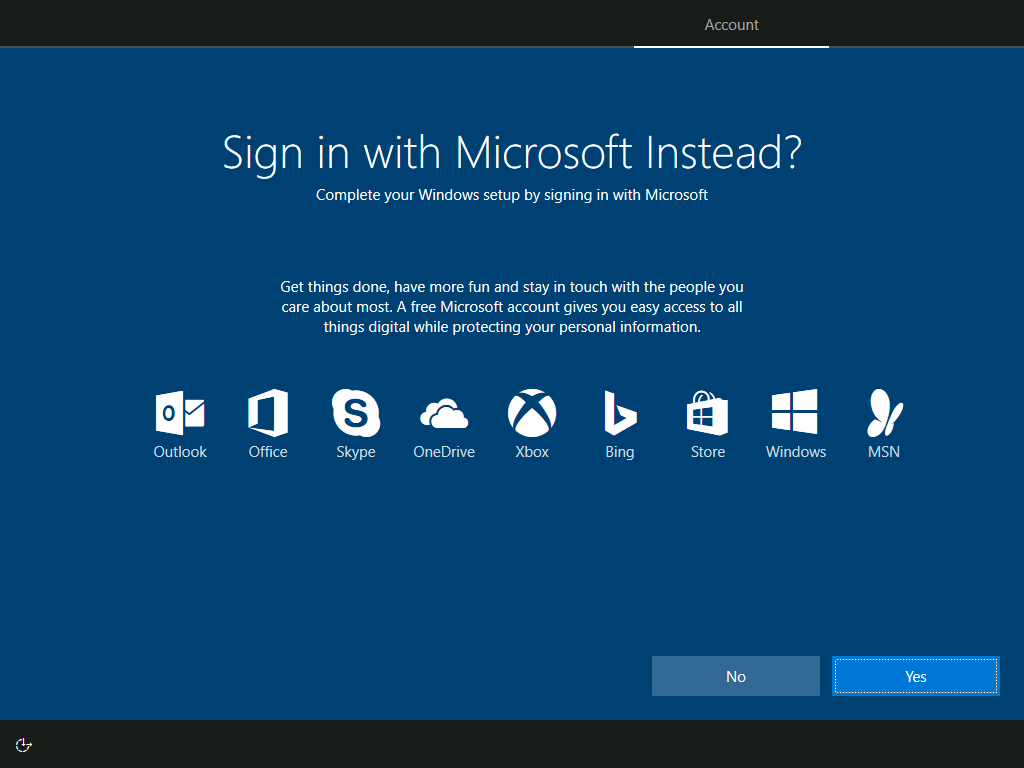
You will be asked to sign in with Microsoft instead; to avoid this, click No:
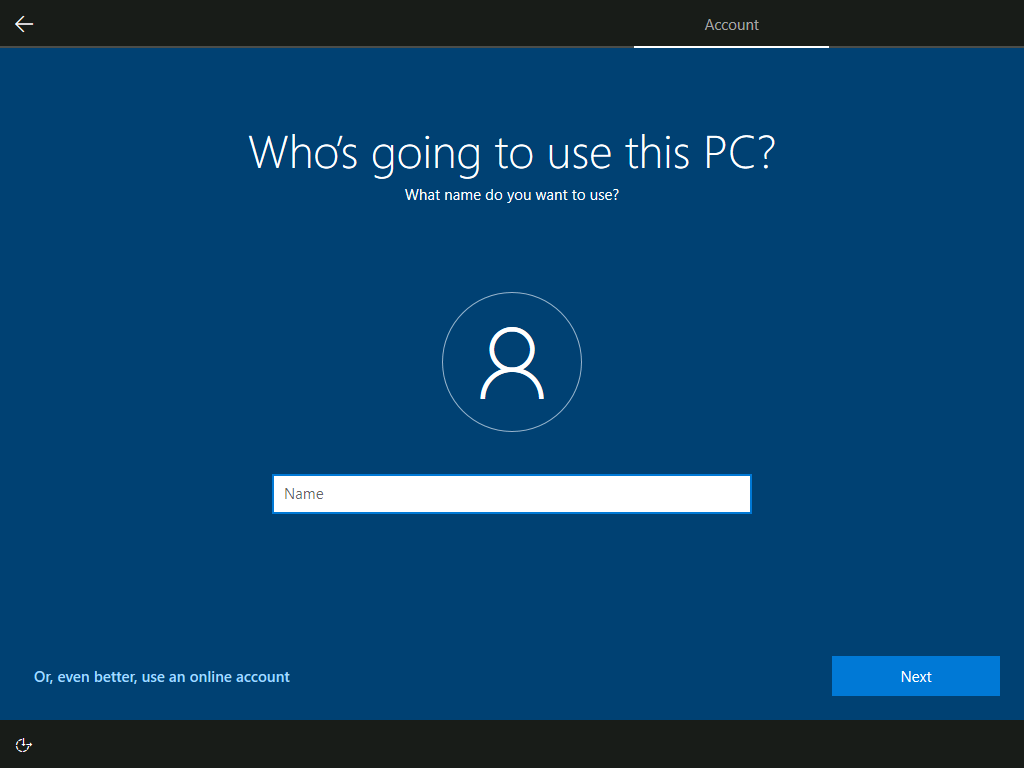
Enter the user name of the Windows account to be created and click Next:
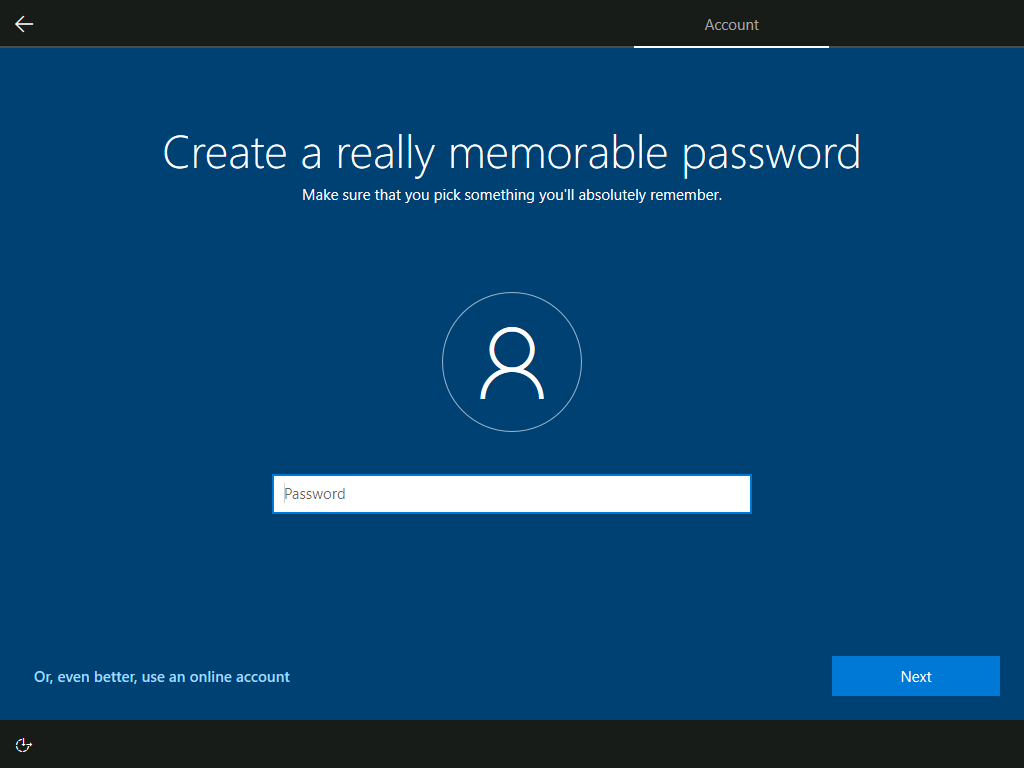
Enter the password and click Next:
Confirm the password and click Next:
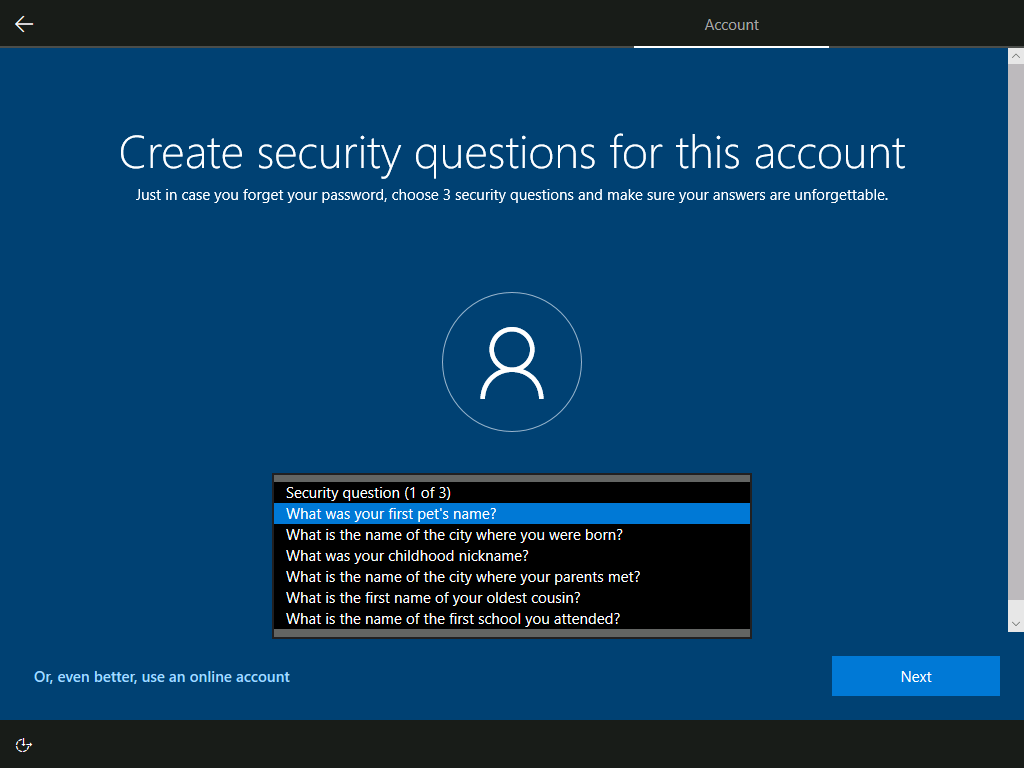
The install of Windows now required you to select and answer three predefined security questions; I hate this sort of “security” as the questions are very basic and the information is often known to lots of other people so are hardly secure.
Select your question, input your answer and click Next:
Repeat the above for two more security questions.
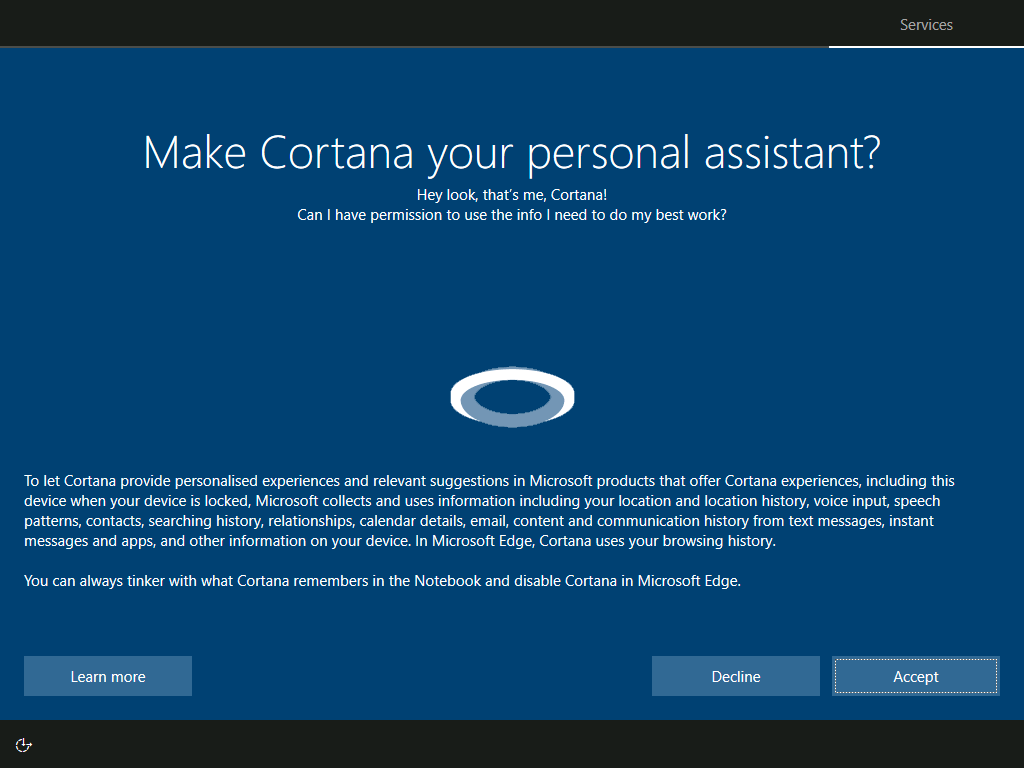
Decide if you want to use Cortana as your personal assistant and click Accept or Decline accordingly:
Decide if you want devices to share access to features, such as Timeline, and click Yes or No accordingly (if you click Yes you should be using a Microsoft account):
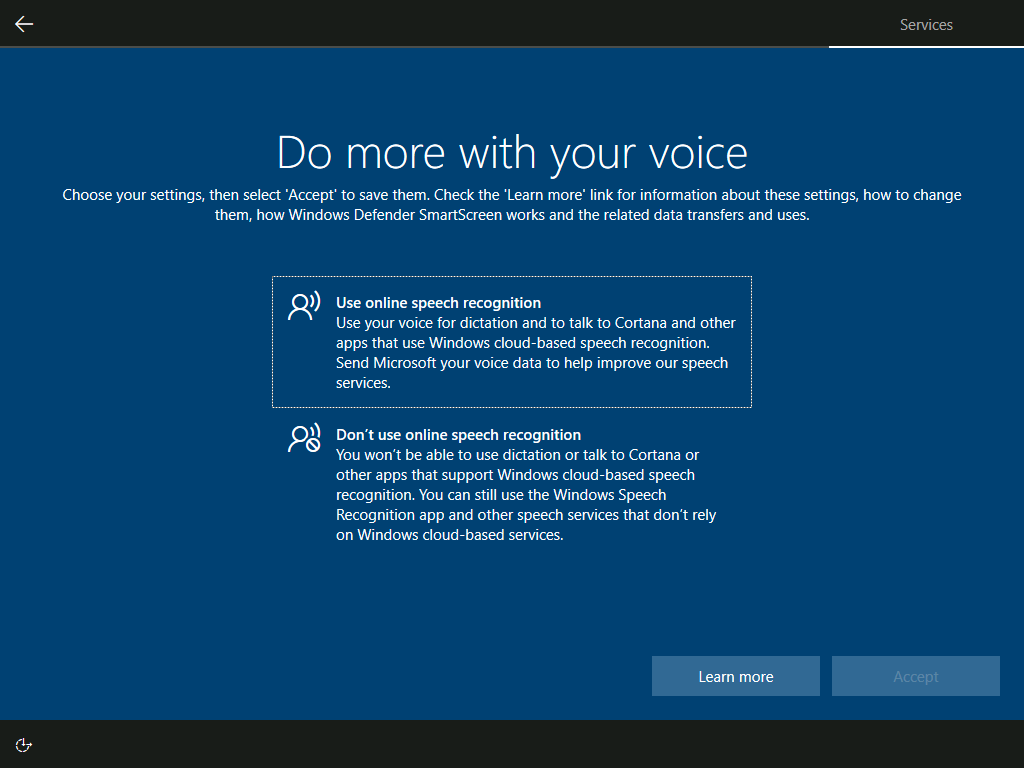
Decide if you want to use speech recognition; I clicked Don’t use speech recognition. Click Accept once you’ve made your choice:
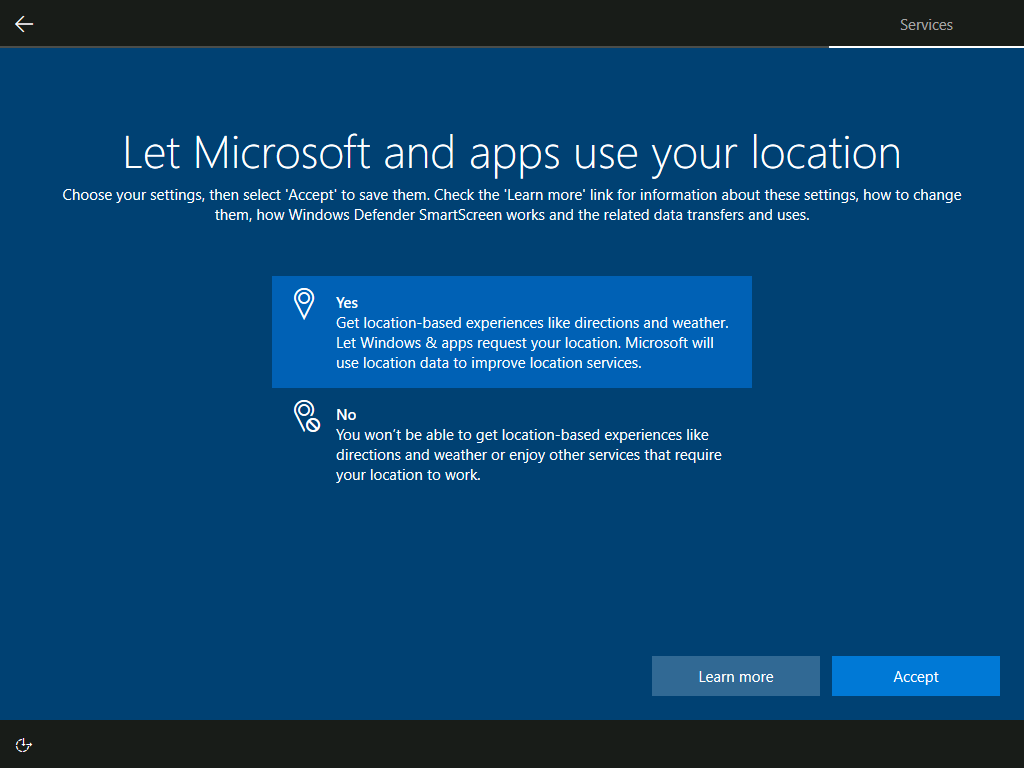
Decide if Microsoft and apps can use your location and click Accept:
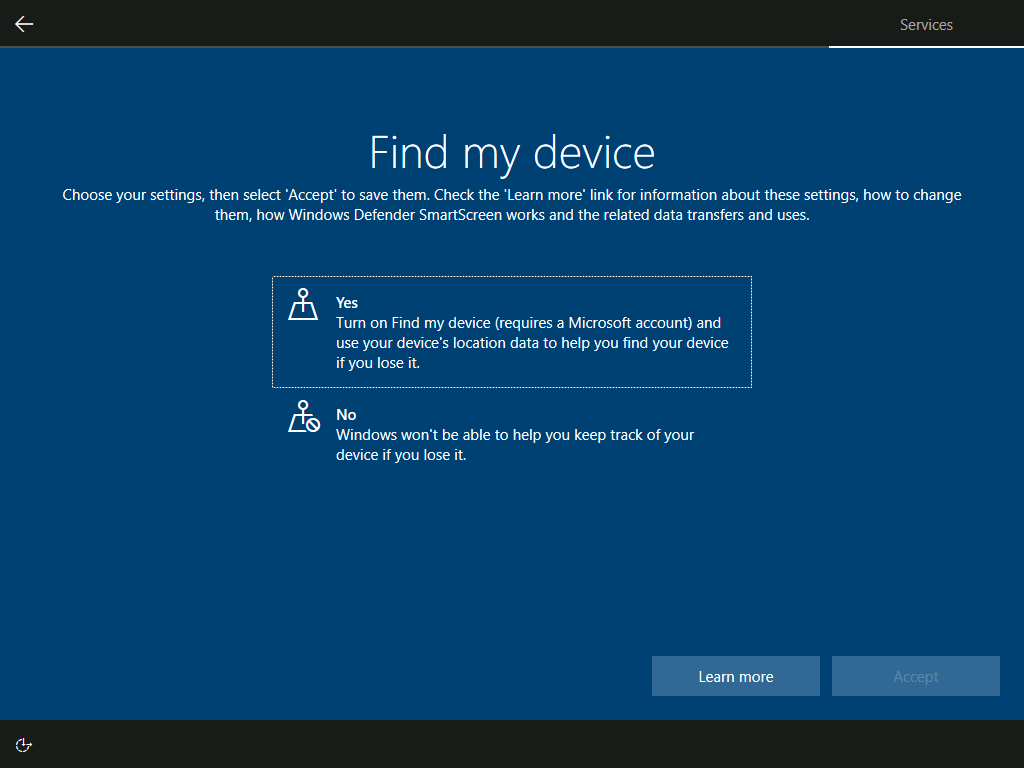
Decide if you watnt to use the find my device feature and then click Accept:
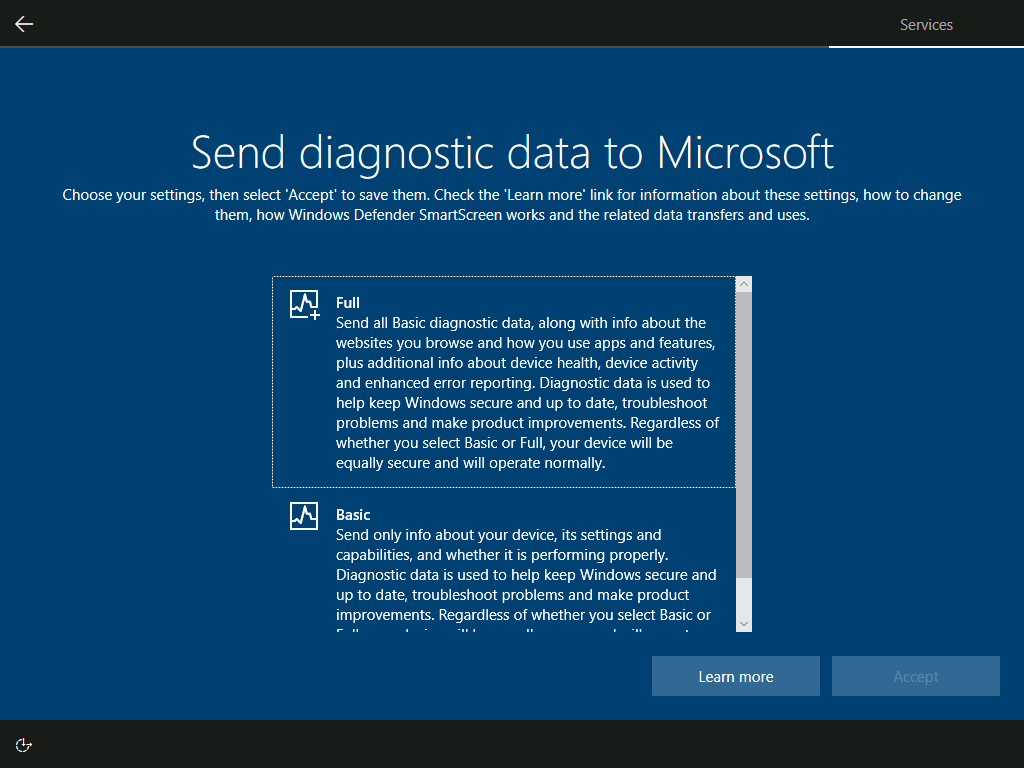
Decide if diagnostic data should be sent to Microsoft and then click Accept:
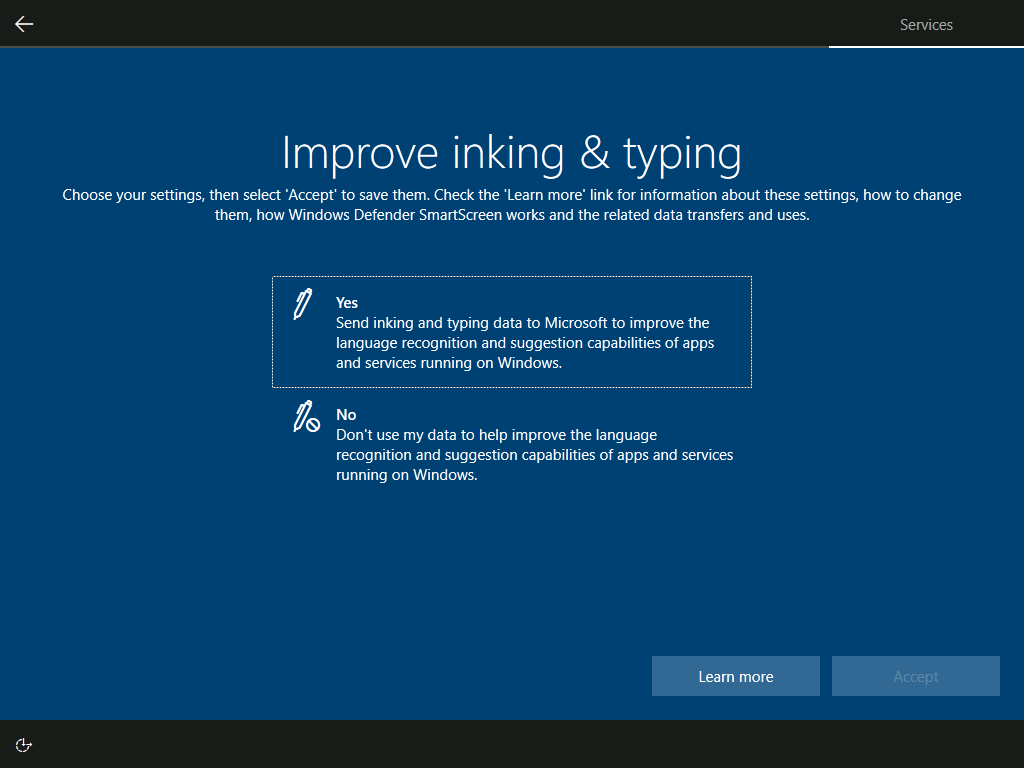
Decide if you want to help improve inking and typing and then click Next:
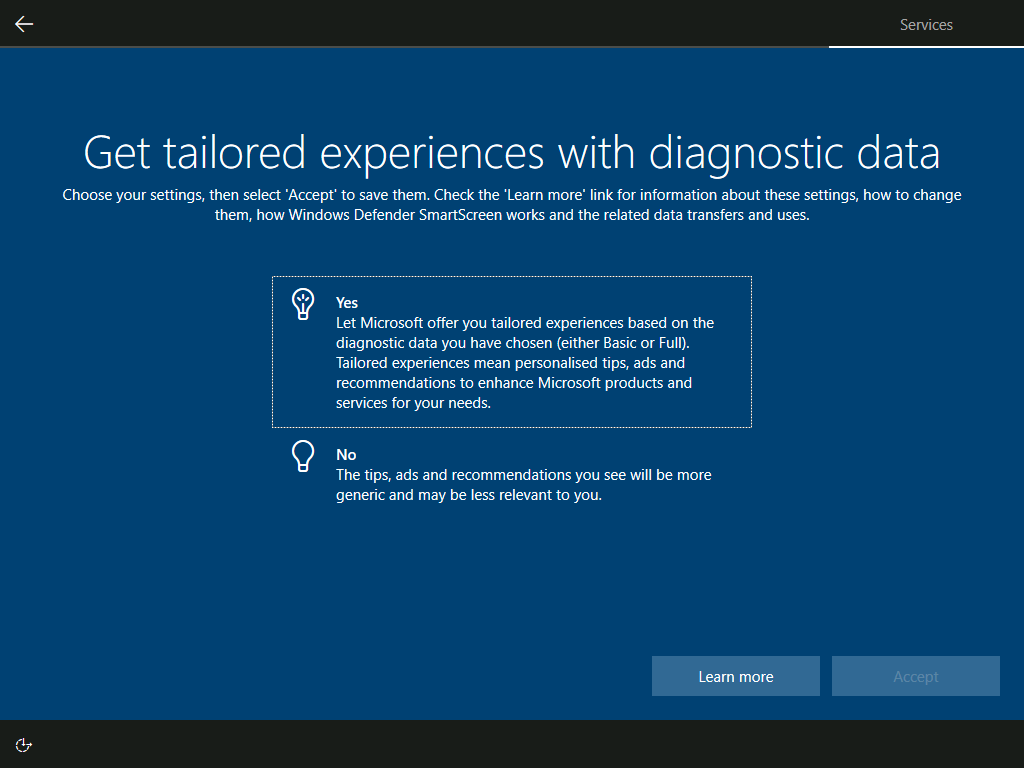
Decide if you want tailored experiences with diagnostic data and click Next:
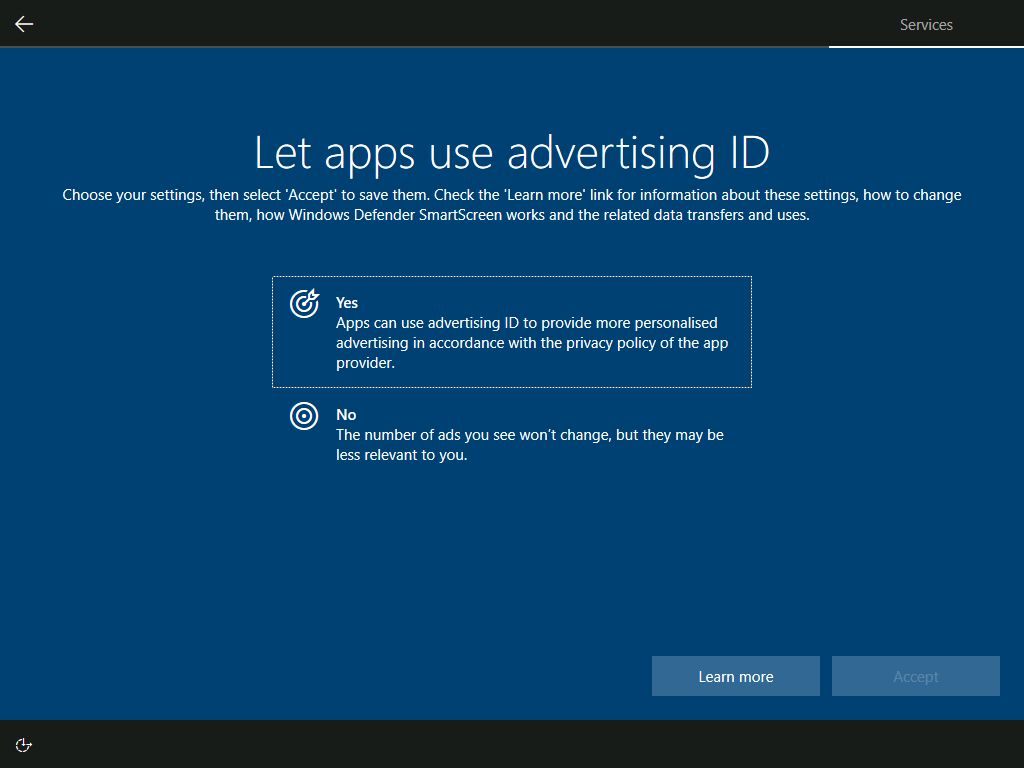
Decide if apps can use advertising ID to give tailored adverts and click Accept:
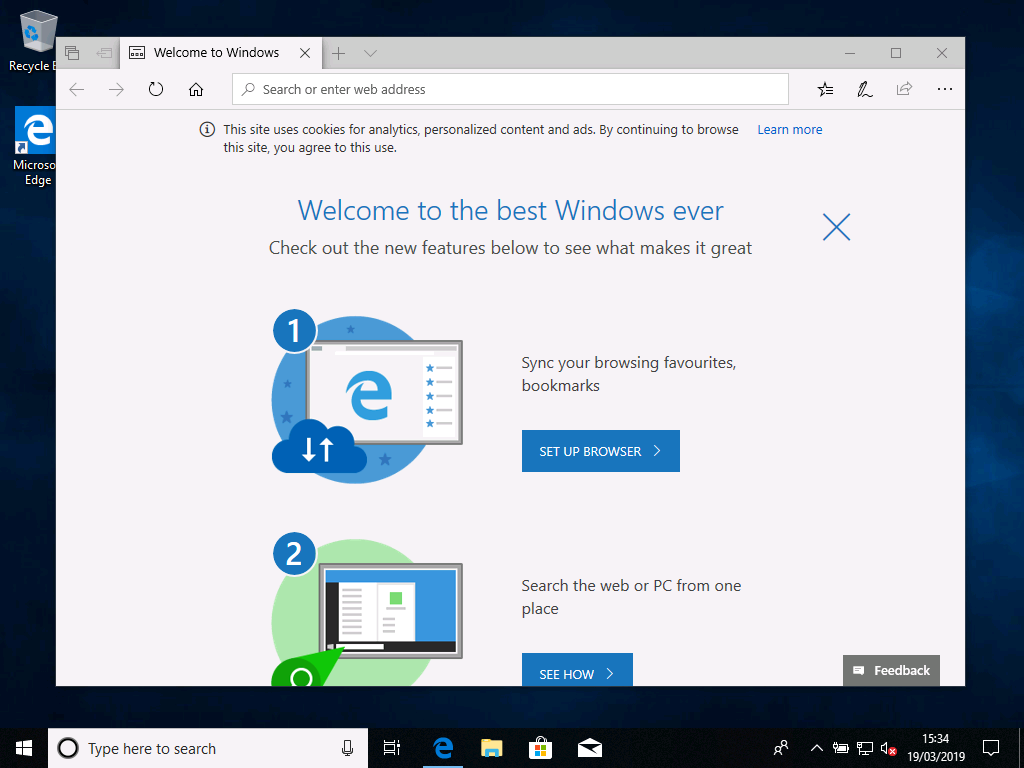
Once windows has finished configuring, you will be presented with the Windows desktop with Edge open on the Welcome to Windows page:
Even typing this post up, I found the number of questions asked to be boring to run through; the old method of one or two pages with checkboxes was far, far, less frustrating than this multi-step approach.




This guide on installing Windows 10 is really helpful! The step-by-step instructions made the process clear and manageable. I followed your tips about backing up files and using a bootable USB, and everything worked smoothly. Thanks for making what could be a daunting task so straightforward!