 This post is part of the series on Installing ClassicPress; ClassicPress is an open source fork of WordPress which aims to target the business market or those looking for a CMS with a focus on security, stability and flexibility.
With ClassicPress downloaded, we can now install it on our website.
The file which was downloaded is a zip file which needs to be unzipped and uploaded to the web site using an FTP client. For this post, I am assuming you have done this already.
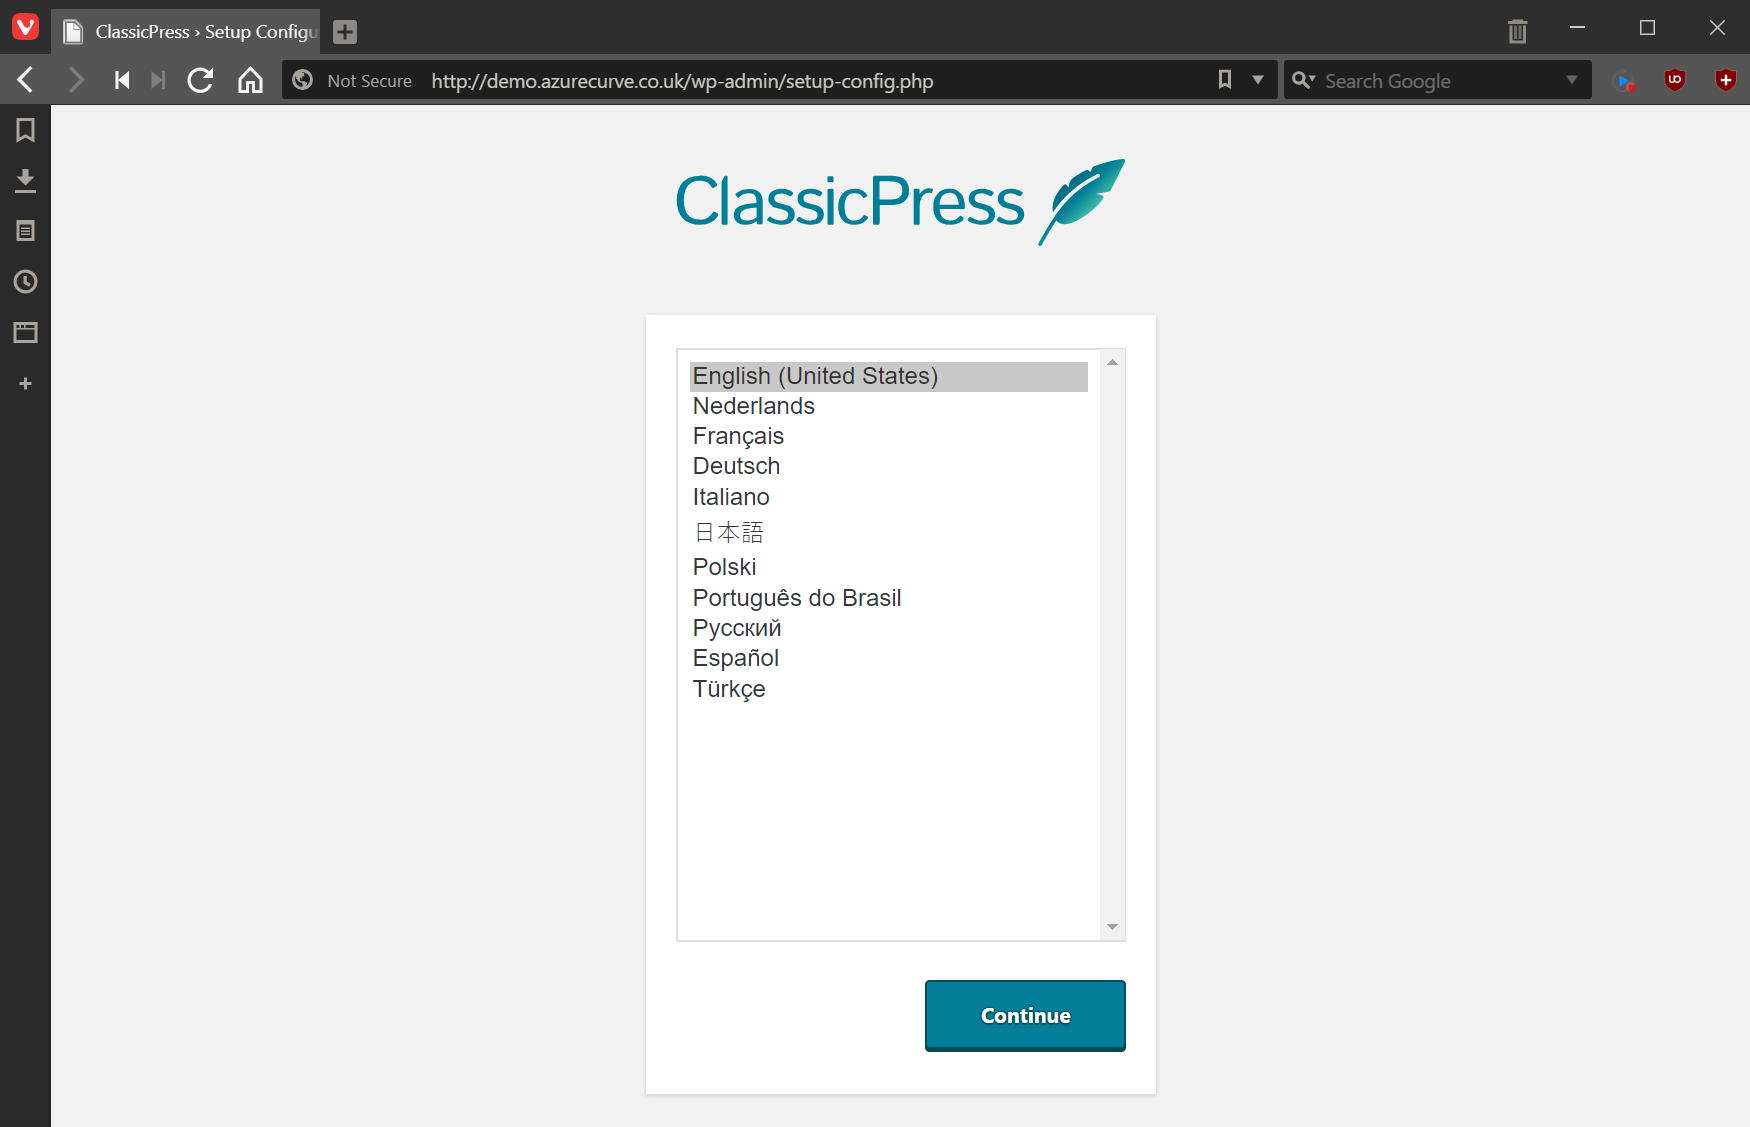
With ClassicPress uploaded, we can navigate to the installation web page; this is your usual web address. When the page loads, select your language and click Continue:
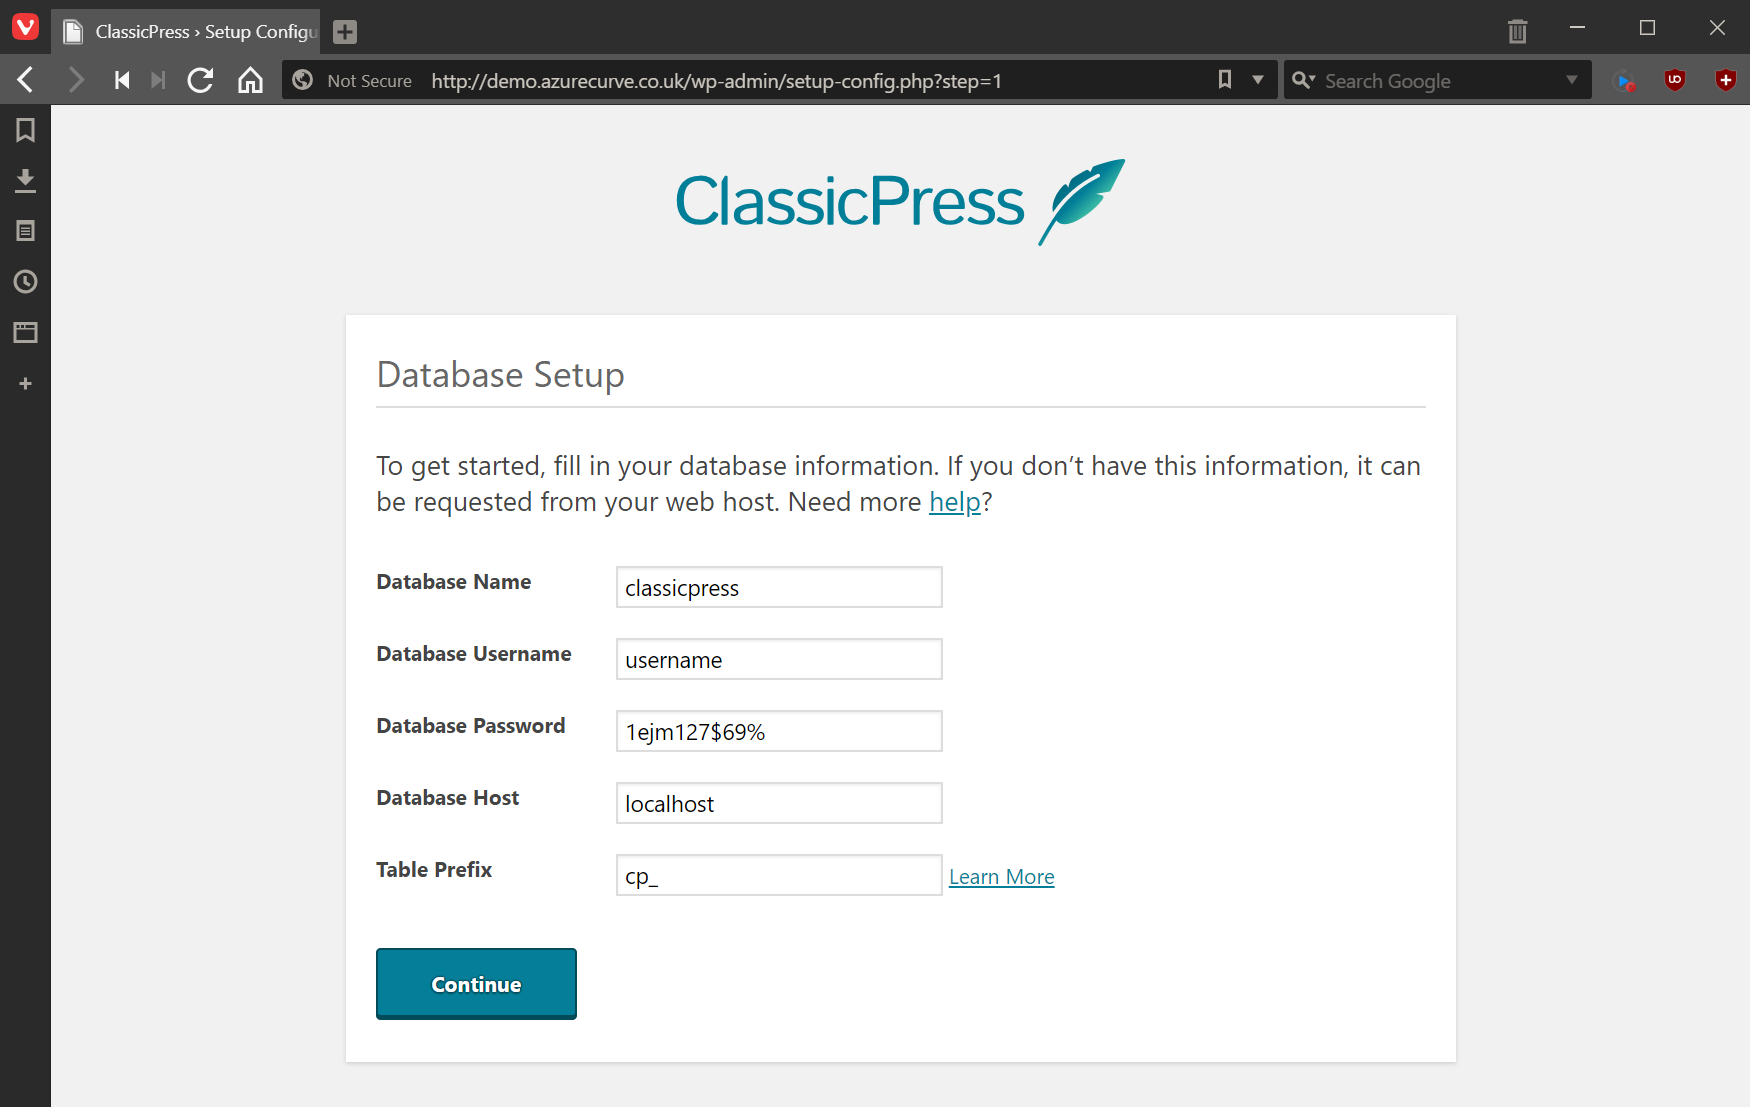
You will need a MariaDB or mySQL database available to hold the ClassicPress tables. Enter the details of your database (the Database Host can usually be left set to localhost and click
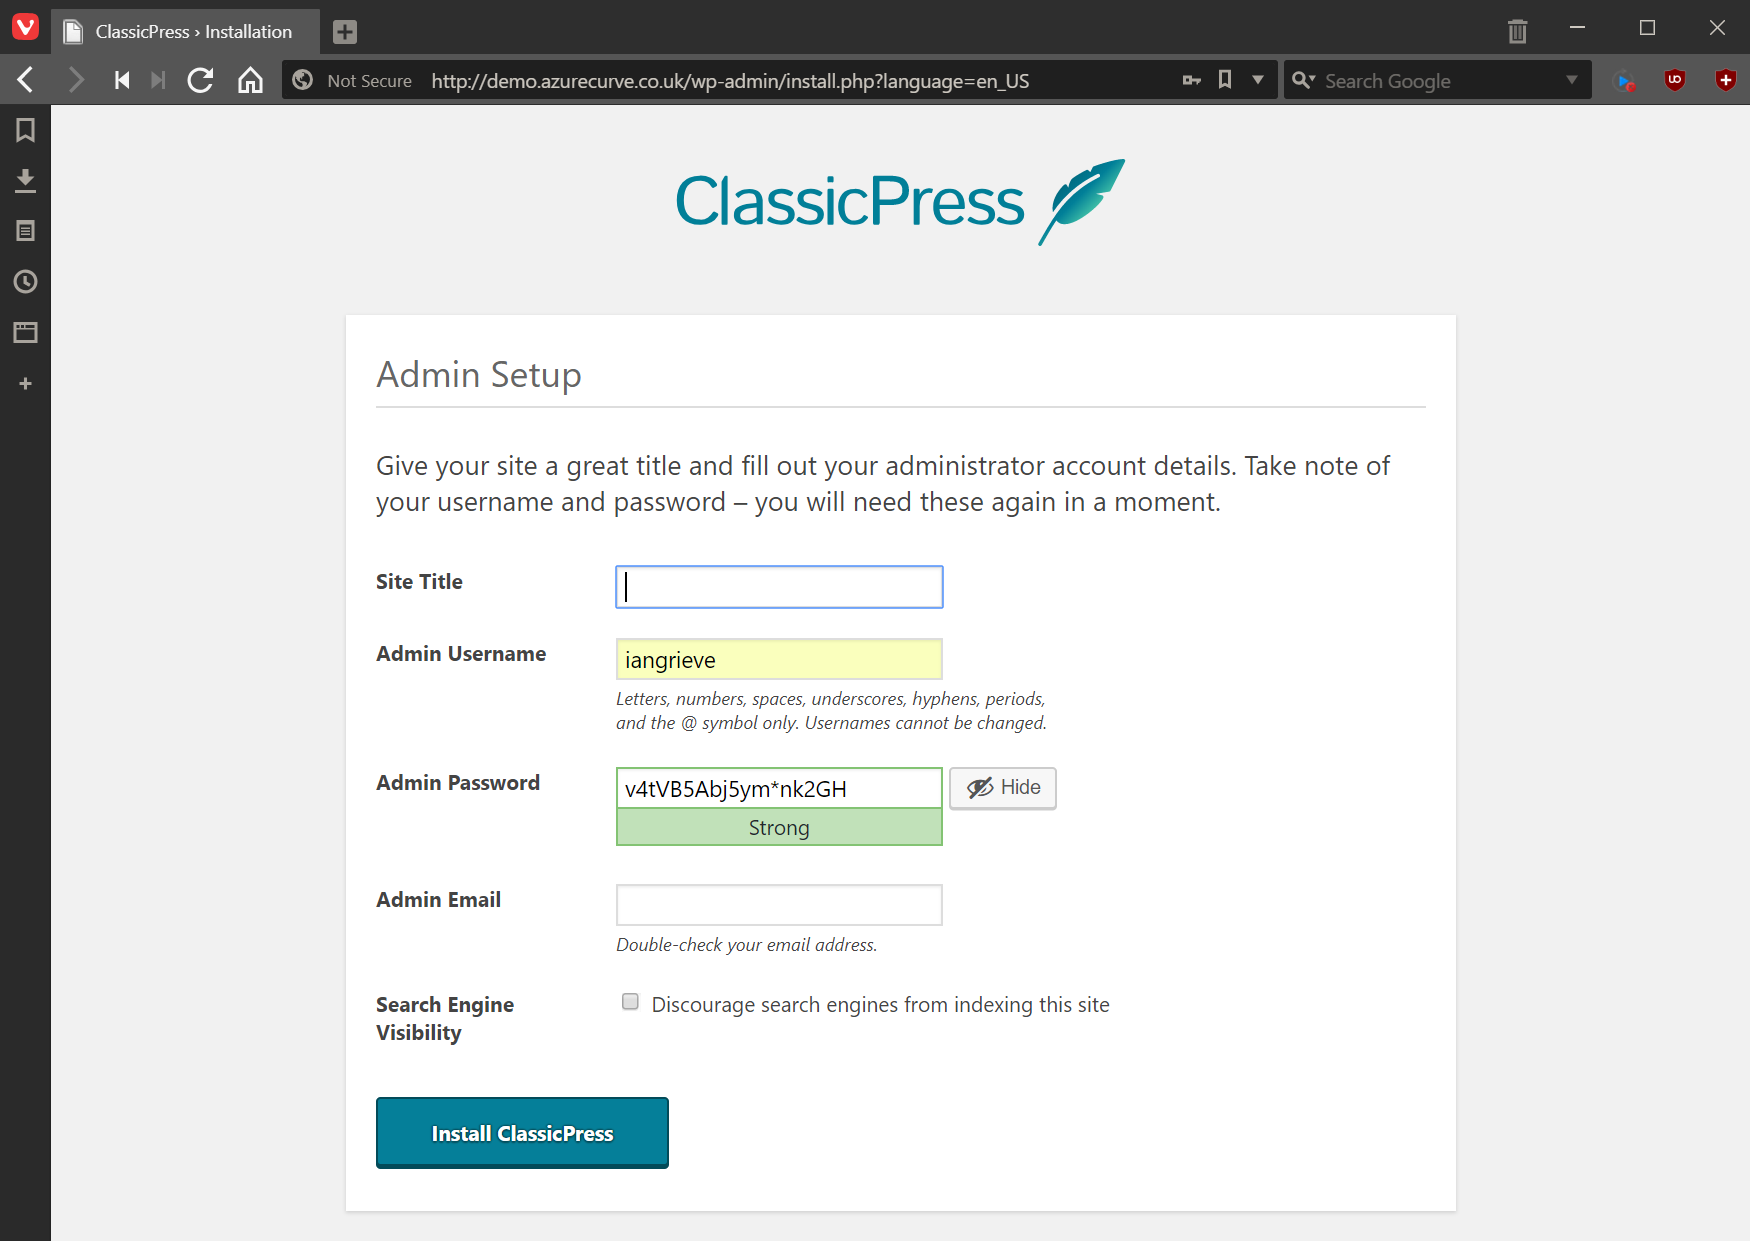
Configure the details of your Admin Setup and click the Install ClassicPress button:
This will start installing ClassicPress, configuring the relevant files and creating the tables in mySQL or MariaDB.
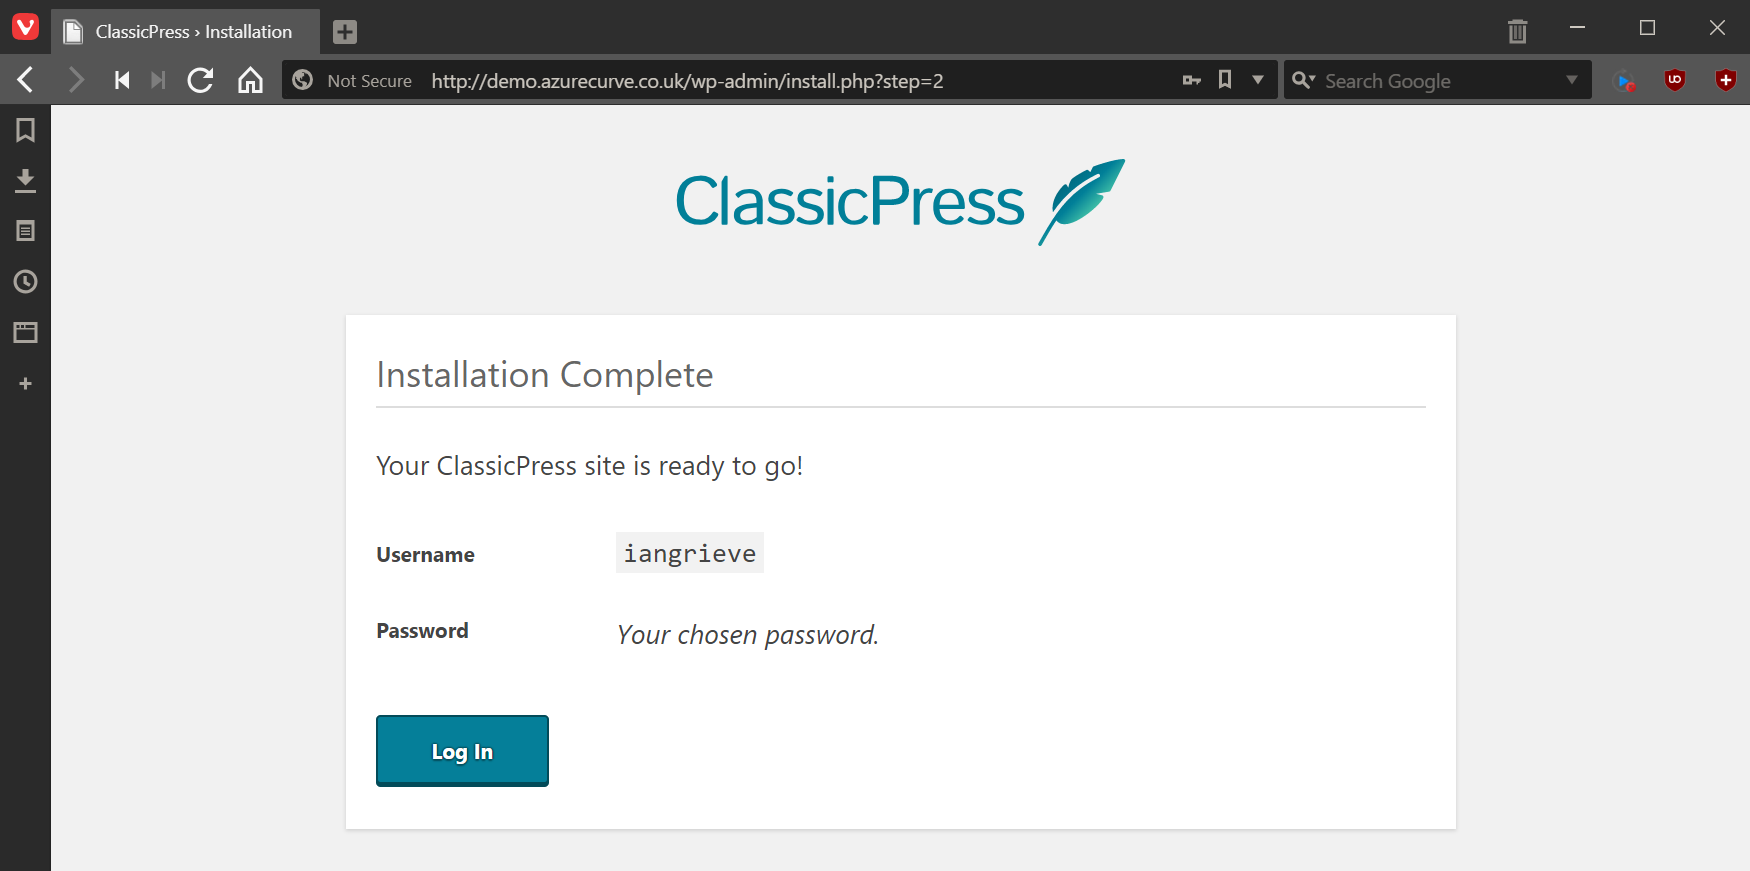
Once this has finished, you will see the Installation Complete page where you can click the Log In button:
Those of you who have installed WordPress may have noticed that the installation of ClassicPress has been streamlined and a couple of pointless steps have been removed. This is a reflection of the desire of ClassicPress to make things easier and more business-like.
This also shows up in the removal of terms like “sparky” in the installer, “Howdy” in the dashboard and the utterly useless plugin “Hello Dolly”.


