 This post is part of the series on Implementing SmartConnect, an integration tool from eOne Solutions, which can take data from any source and integrate it into Microsoft Dynamics GP (and other systems such as Microsoft Dynamics CRM or Sales Force amongst others). It has a drag and drop interface to make creating integrations quick and easy for all users rather than just developers (as many integration tools target).
Over the last few posts, I’ve stepped through the installation of SmartConnect and the GP Addin. With that done we can now log into SmartConnect itself and go through the final steps of preparing it for use.
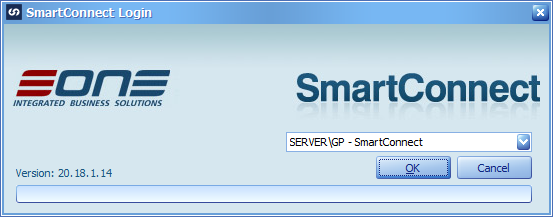
SmartConnect is launched from the Windows Start menu; the first run should be using the account used to install it as this is the first administrator account. The server name will already be displayed, so click OK to login (login used Windows authentication):
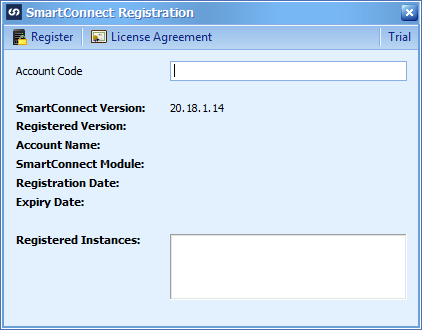
I’m installing SmartConnect as a trial, so have hit the trial button on the toolbar (if you’ve bought SmartConnect, then enter the Account Code and click Register):
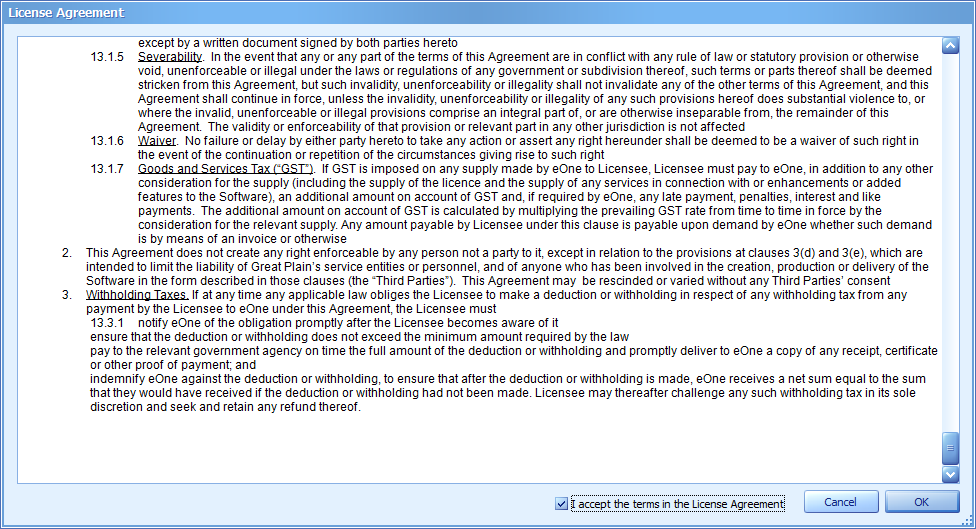
Scroll down to the bottom of the License Agreement, mark the I accept the terms of the License Agreement and then click OK:
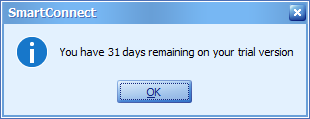
Dismiss the days remaining on trial message and click OK:
When prompted, click OK to run System Maintenance:
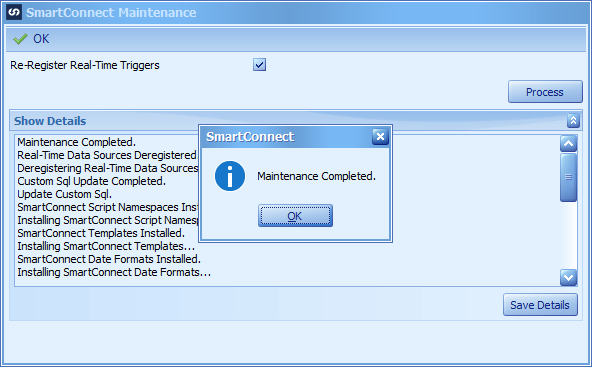
When the System Maintenance has completed, click OK:


