 This post is part of the series on Upgrading to Jet 2019.
With the new 2019 version of Jet Analytics installed, the second step is to configure it.
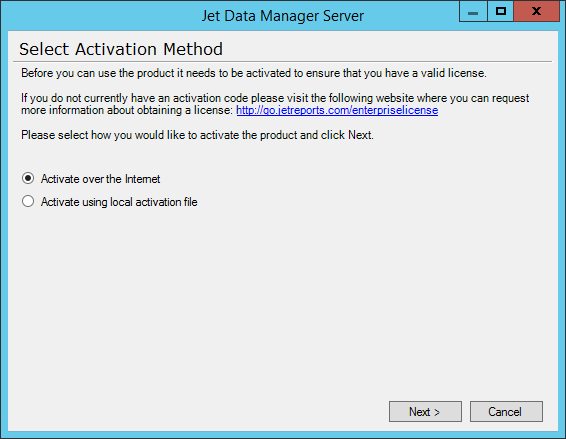
This is done by launching the Jet Data Manager Server. When it launches an activation box will be displayed; select your activation method and click Next:
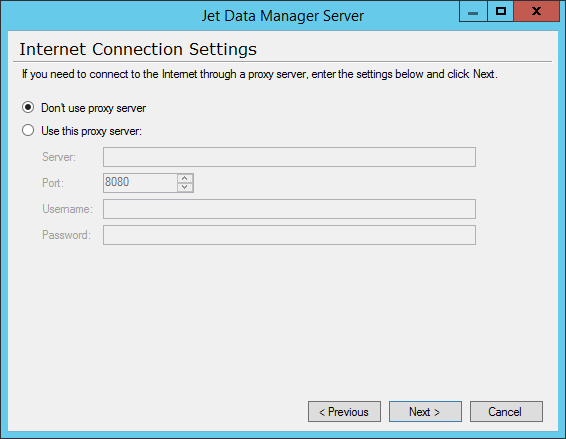
Make changes to the Internet Connection Settings if necessary and then click Next:
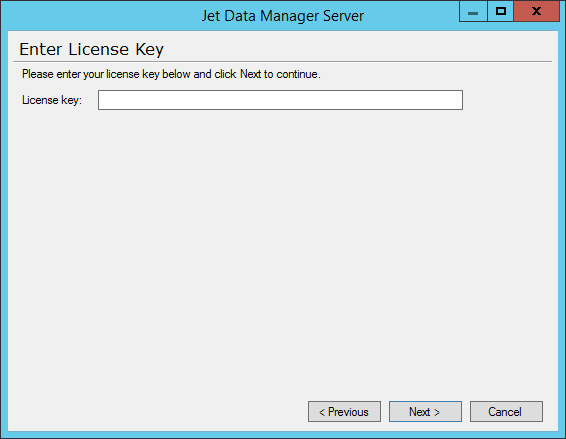
Enter your license key and click Next:
Click OK on the confirmation dialog:
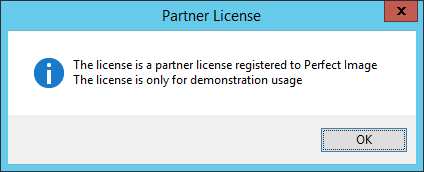
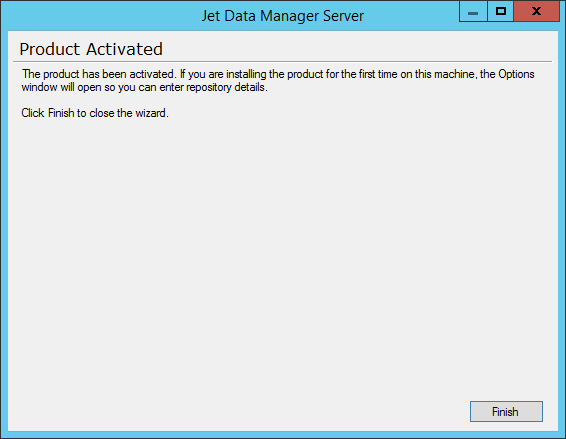
When product activiation is complete, click Finish:
You’ll receive a repository not running message, so click OK:
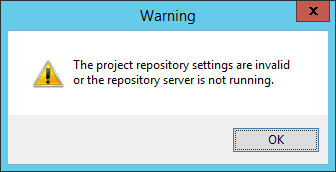
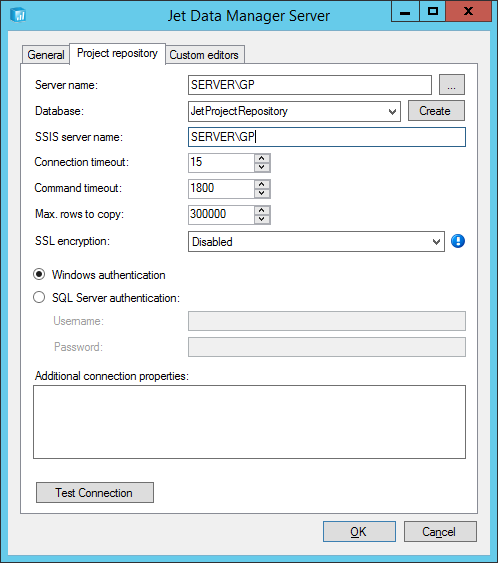
The Project repository window will be displayed.
Enter the full SQL Server Instance name in the Server name and SSIS Server name fields. In the Database drop-down list, select your Jet repository database.
Click OK to proceed:
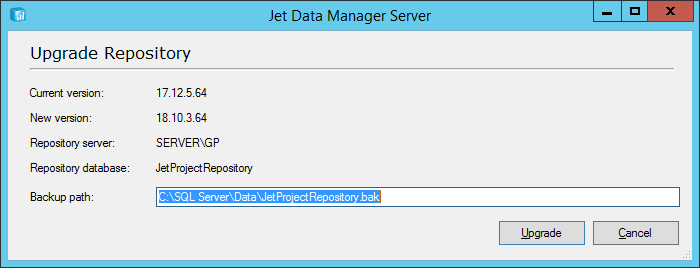
The Update Repository window will popup; change the Backup path to the required folder and click Upgrade:
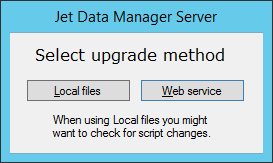
Select the upgrade method of Web service, which will retrieve the required upgrade scripts from Jet:
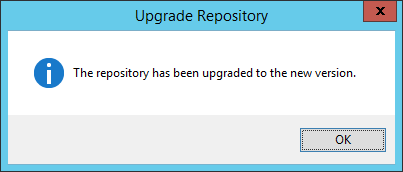
Once the upgrade is complete, click OK:
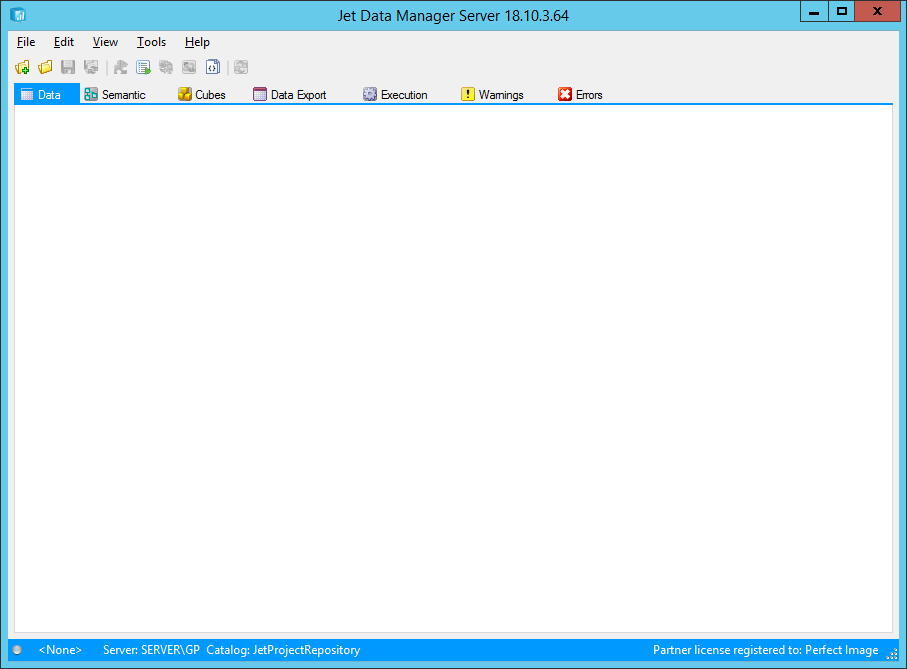
You will then be returned to the main Jet Data Manager Server window:
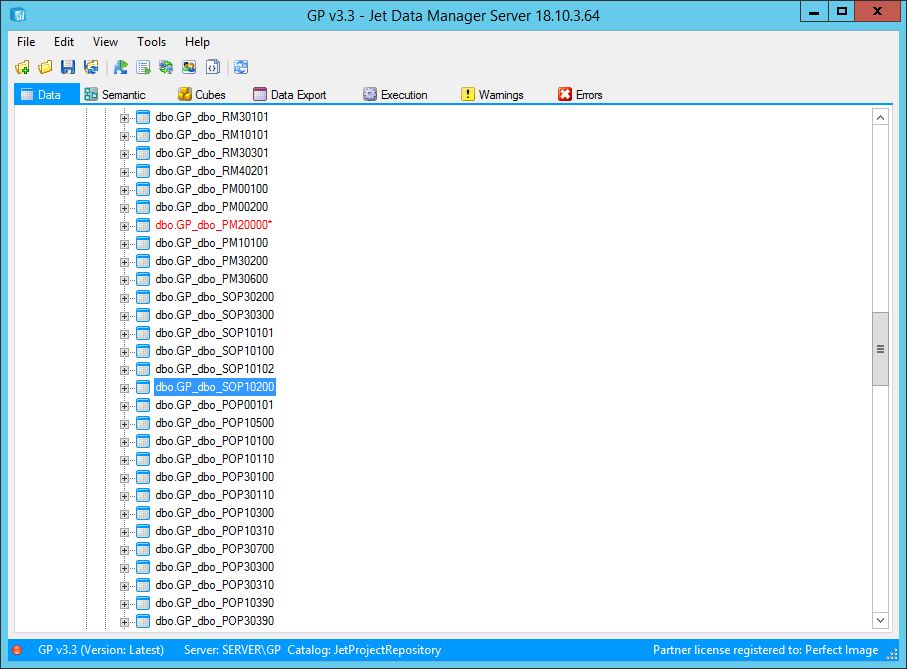
I’d recommend opening a project and verifying that you can see everything:


