 Microsoft Dynamics GP 2018 R2 was released on the 2nd October. In this series of posts, I’ll be going hands on and installing the majority of the components; some of them, such as Analysis Cubes for Excel, which are little used, I won’t be covering.
The series index will automatically update as posts go-live in this series.
With the media downloaded and unzipped, the first item I’m going to cover, is the installation of the client. The first client is also the one which I’ll be using to depoly thr server objects.
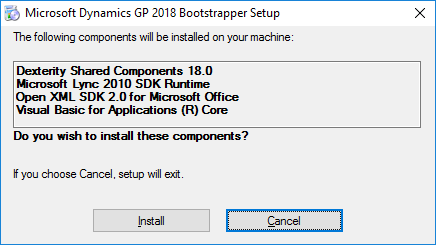
Launch the setup.exe and you will be presented with the Microsoft Dynamics GP 2018 Bootstrapper Setup; click Install to install the prerequisites:
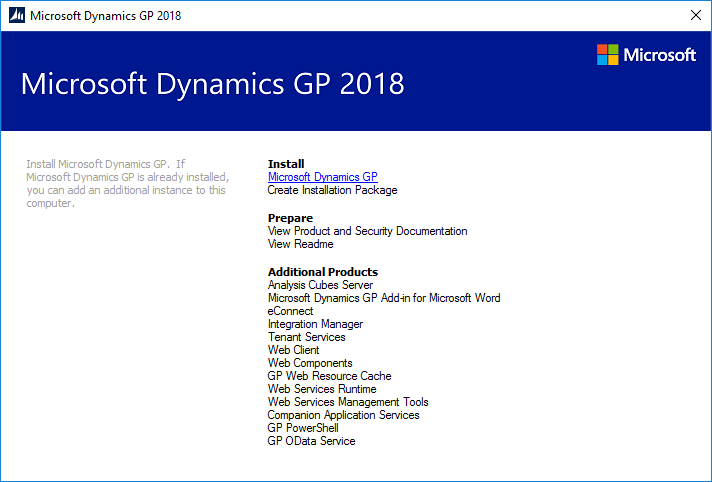
Under the Install header, click on Microsoft Dynamics GP:
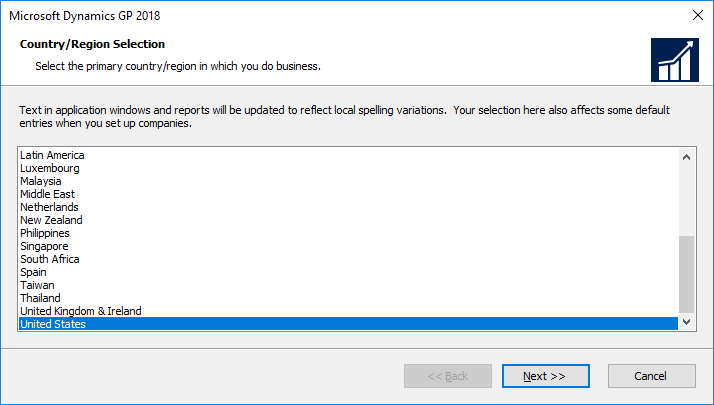
Select your Country/Region and click Next (for the purposes of this series, I have selected United States):
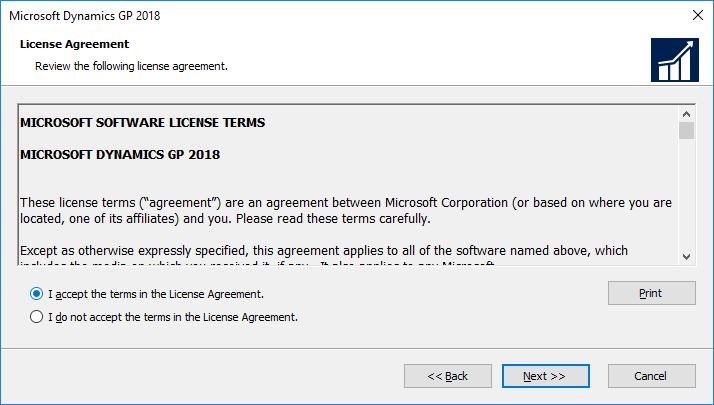
Accept the terms of the License Agreement and click Next:
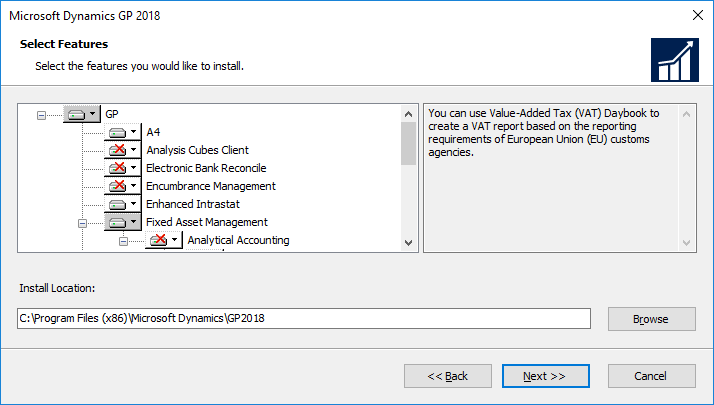
Select the deatures which you wan to install and then click Next:
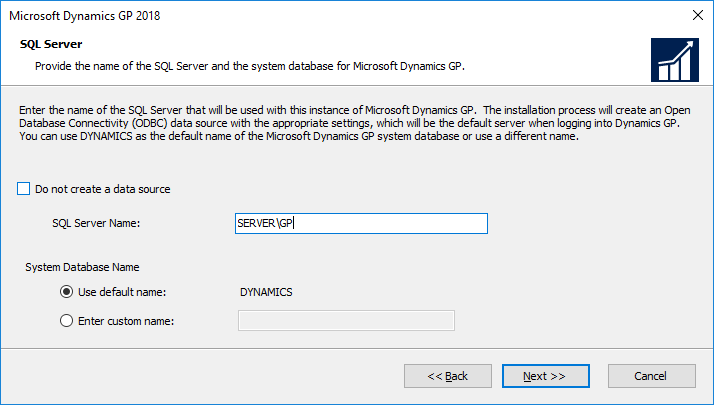
Enter the SQL Server Name and select the System Database Name; I have selected to Use default name which means my system database will be called DYNAMICS. If you want to name your system database, mark Enter custom name and enter the name you want.
Click Next to proceed:
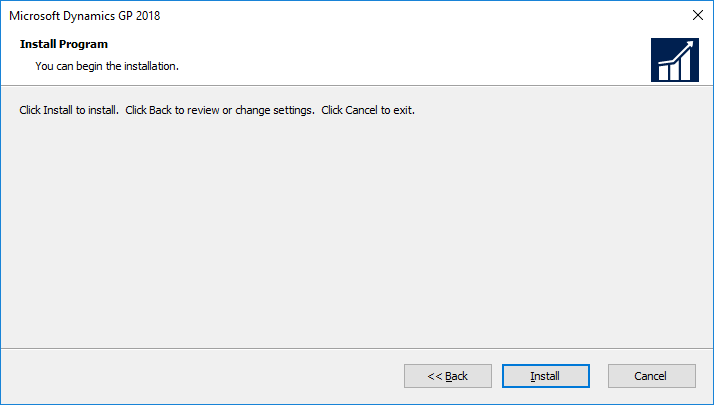
Click the Install button to begin the instalation:
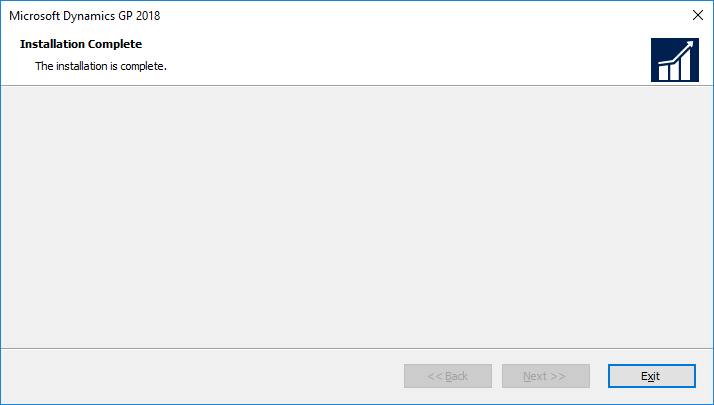
Once the installation is compelte, click Exit to close the installer.
Click to show/hide the Hands On with Microsoft Dynamics GP 2018 R2 Series Index
What should we write about next?
If there is a topic which fits the typical ones of this site, which you would like to see me write about, please use the form, below, to submit your idea.




1 thought on “Hands On with Microsoft Dynamics GP 2018 R2: Install Dynamics GP Client”