 This post is part of a series of posts on Implementing Rockton’s SmartFill.
The first step in implementing SmartFill is to install the first client; it’s in this installation where we will deploy the database objects.
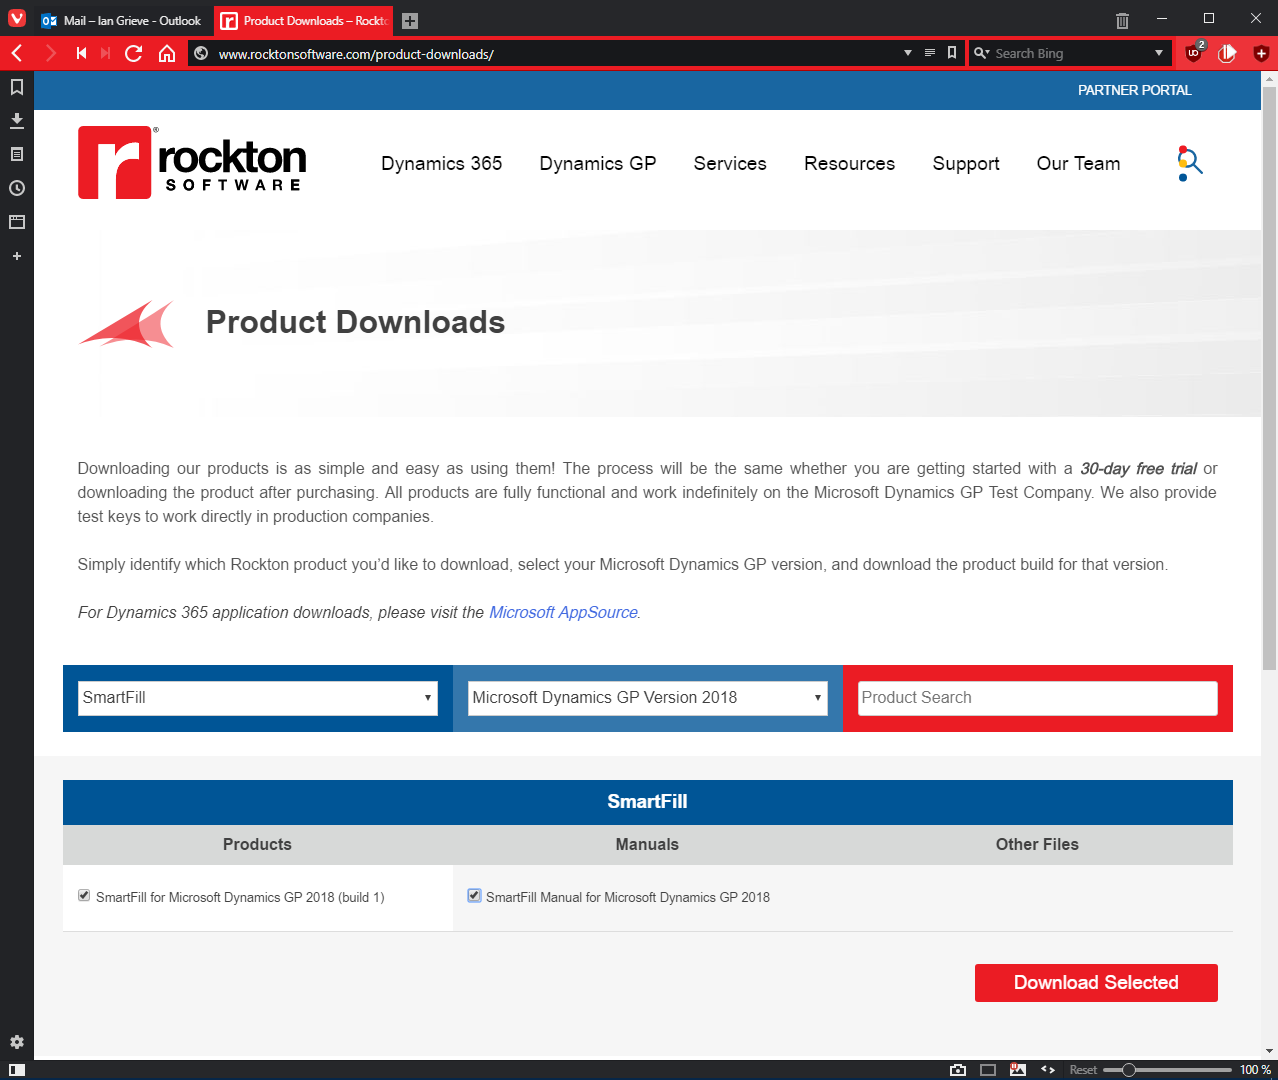
To install the first client, the first step is to download SmartFill; navigate to the Rockton Software downloads page. In the Product field, select SmartFill and in the Versions field select Microsoft Dynamics GP Version 2018.
Mark the checkbox next to the Product and hit the Download Selected button:
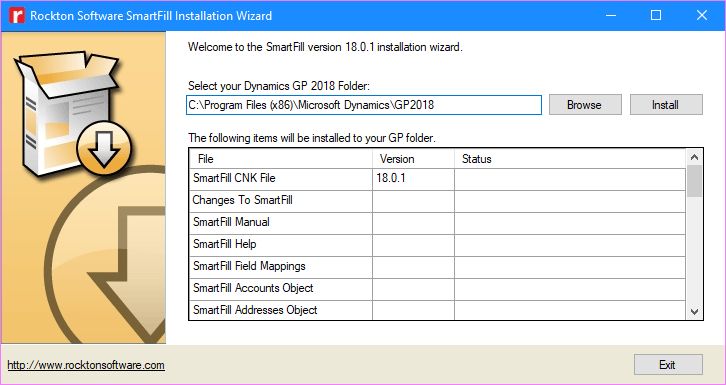
Extract the downloaded file and run the SmartFillSetup.exe as Administrator by right-clicking:
Verify that correct install of the Microsoft Dynamics GP client is selected and click the Install button:
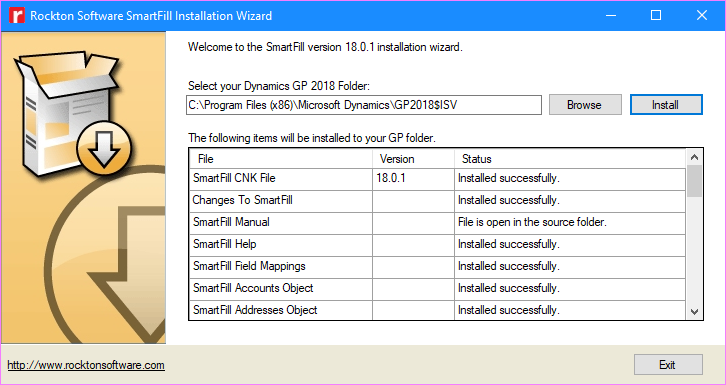
Once inmstallation is complete, verify the Status column and, if all is good, click Exit:
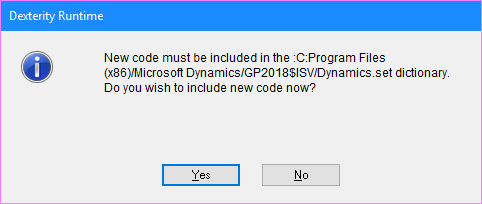
Launch Microsoft Dynamics GP uisng Run as Administrator and click Yes to include new code:
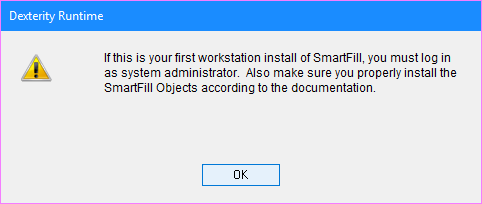
Once the new code has been included, a message dialog will be displayed reminding you that if this is the first client installation, you must log in as a system administrator to complete the installation. Click OK to proceed:
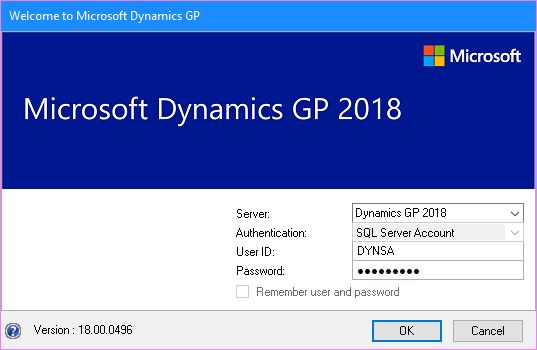
Log into Microsoft Dynamics GP as a system administrator (this should be the DYNSA or other elevated user account rather than the sa account):
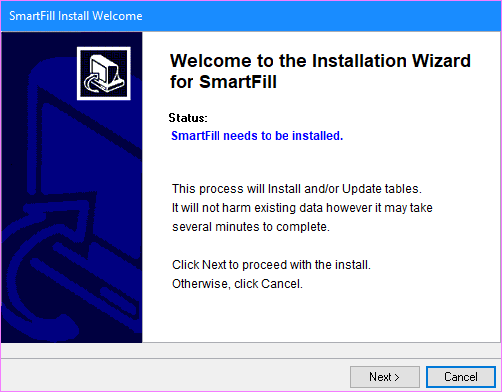
Once logged into a company, the SmartList Install Wizard will be launched; click Next to proceed:
Mark the Accept License Agreement checkbox and click Next:
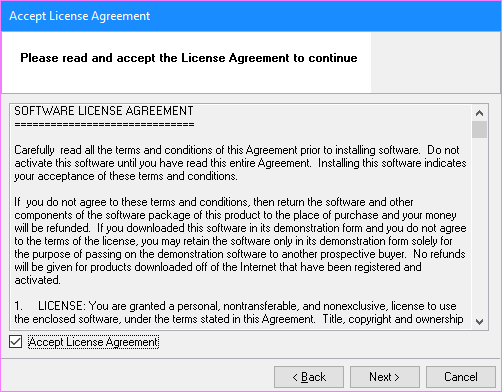
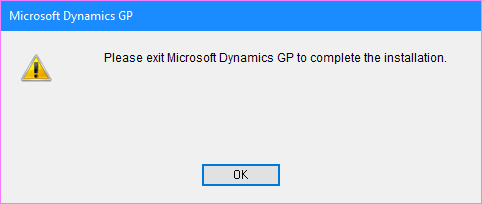
Once the instalation is complete (this might take a few minutes), click the OK button when prompted (the message tells you to exit Microsoft Dynamics GP to complete the installation):
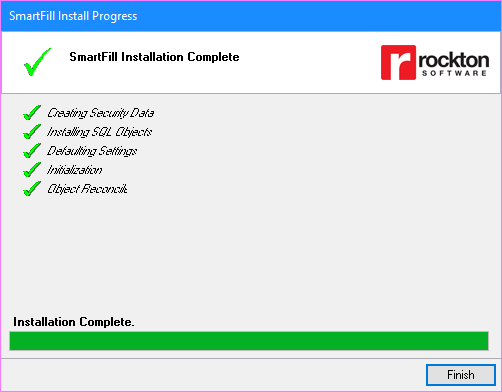
Click FInish to close the SmartFill Install Progress window:
Click OK on the SmartFill Install Status window:
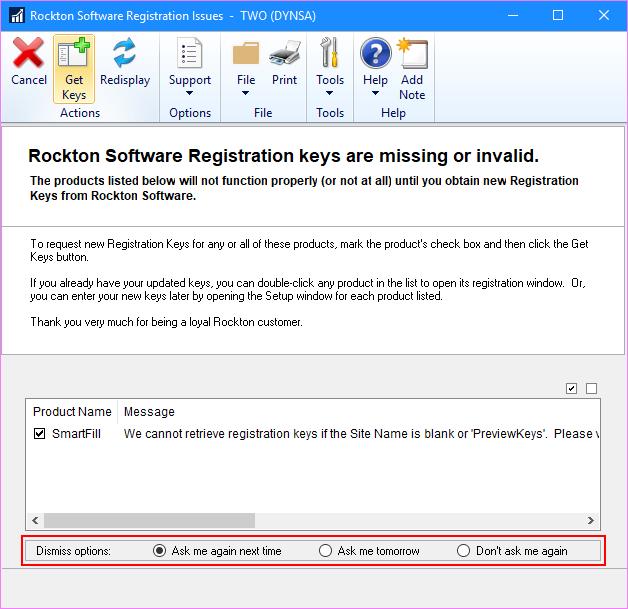
SmartFill can be used in the Fabrikam sample company without a license key; mark the Don’t ask me again radio botton and close the window:
Close the main Microsoft Dynamics GP window to finalise the installation; when yuo log back in SmartFill will be fully working.


