 This post is part of a series of posts on implementing Jet Reports and is part of the Jet Professional sub-series.
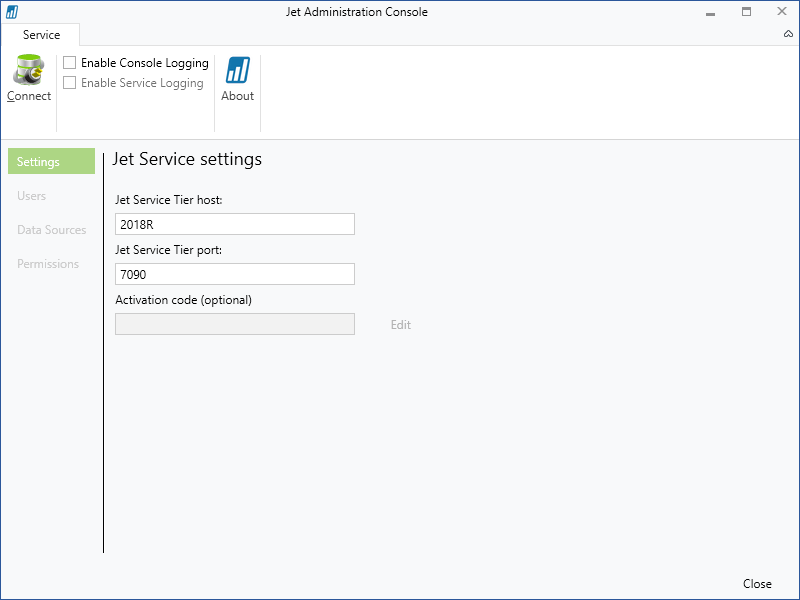
In the last post, I stepped through the installation of the Jet Reports server components; once this has been completed, the next step is to configure the Jet Service Tier via the Jet Administration Console which is accessible via the Windows Start menu in the Jet Reports folder.
Enter the Jet Service Tier Host name and the port selected during the installation of Jet Reports.
Click the Connect button on the action pane; a dialog confirming the connection was successful should be displayed:
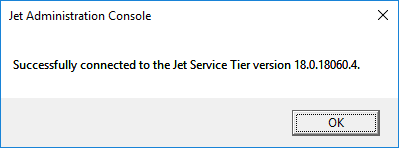
Click OK to dismiss the message.
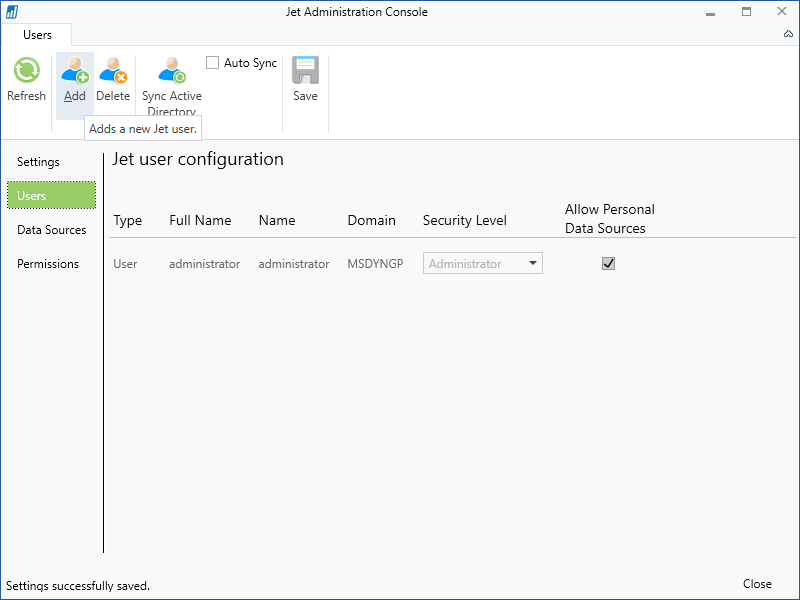
Click the Users tab which allows additional users to be created as either users or administrators.
To add a user, click the Add button on the action pane:
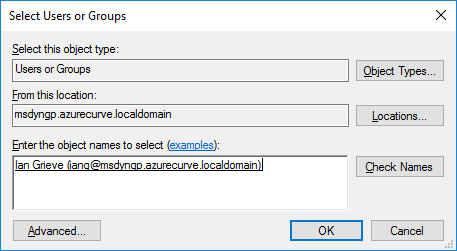
Enter the name, or part of the name, of the user to be created and click the Check Names button. Click the OK button to accept the selected user:
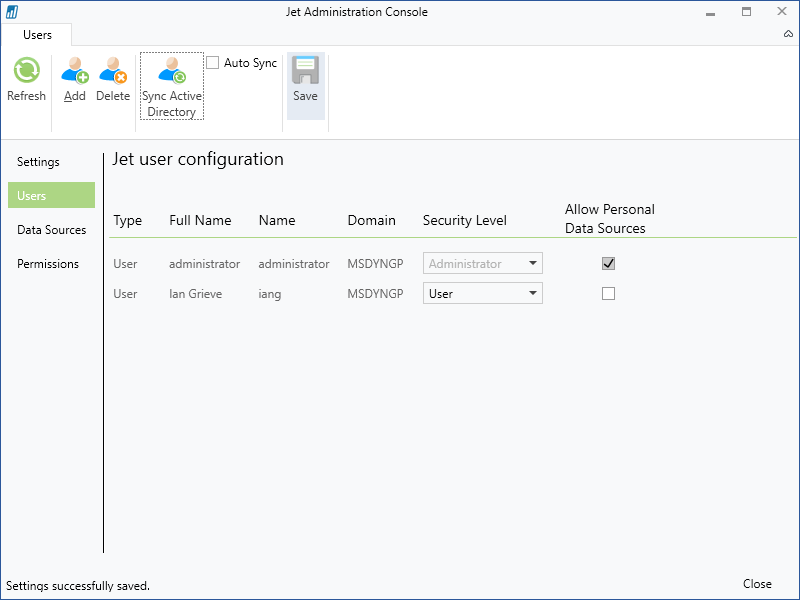
For each user,a s well as defining the Security Level, you can choose whether they can use a personla data source by marking the Allow Personal Data Sources checkbox.
Click the Sync Active Directory button (it is recommended to do this after making any changes to the users):
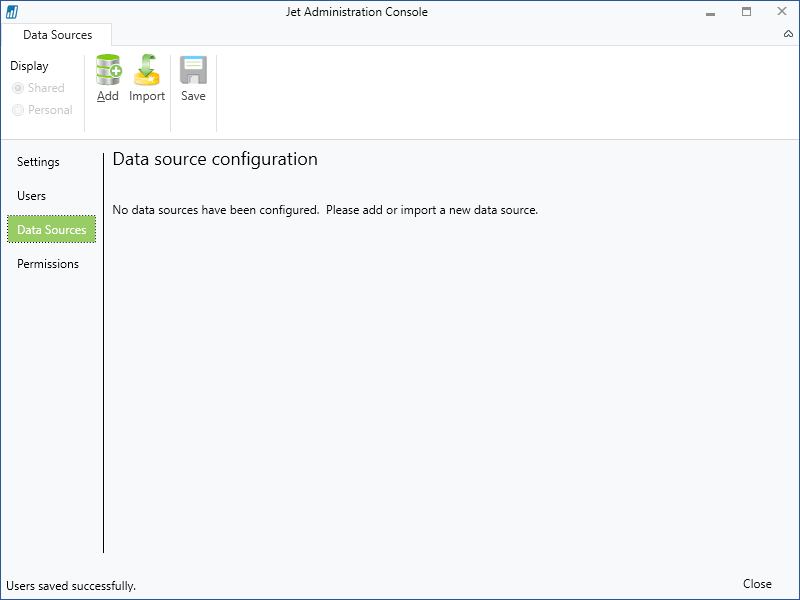
Click the Data Sources tab on the navigation pane and then click the Add button on the action pane to create a new data source:
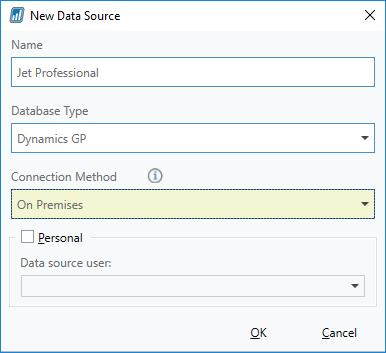
I am creating a Shared data source so only need to complete the firest three fields.Enter a Name for the data source; this is what the user will see listed in Jet Professional when running the Excel add-in.
Selected a Database Type of Dynamics GP.
Select the Connection Method of On Premises and click the OK button to complete the creation of the data source:
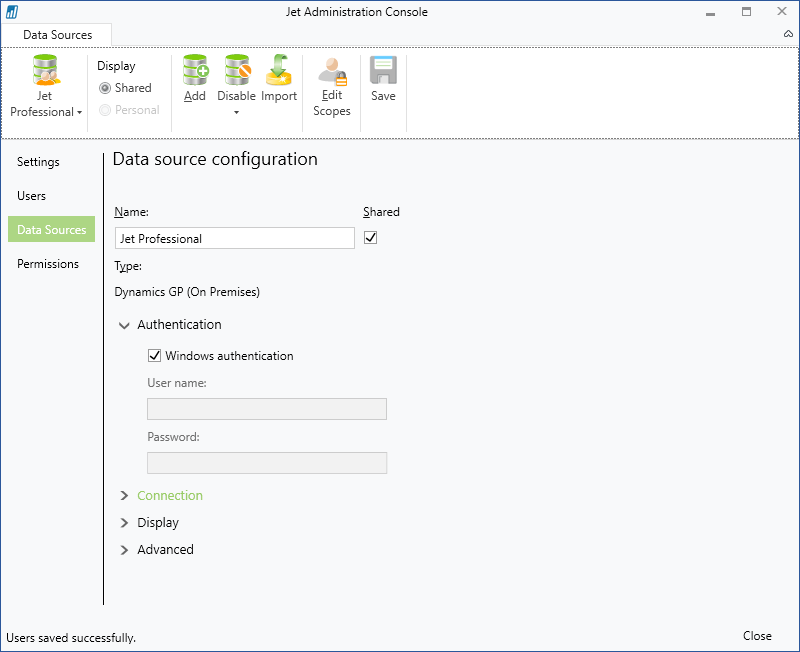
The Data source configuration will be displayed where the more detailed configuration of the data source needs to be completed.
Theer are four sections which need to be configured.
Firstly, there is the authentication which can be either Windows authentication or SQL authentication; for SQL authentication, unmark the Windows authentication checkbox and enter a User name and Password:
Regardless of the authentication method selected, access to the Microsoft Dynamics GP database needs to have been granted to the database; I generally recommend using Windows authentication and using a Domain Group rather than individual users when granting permissions to SQL Server.
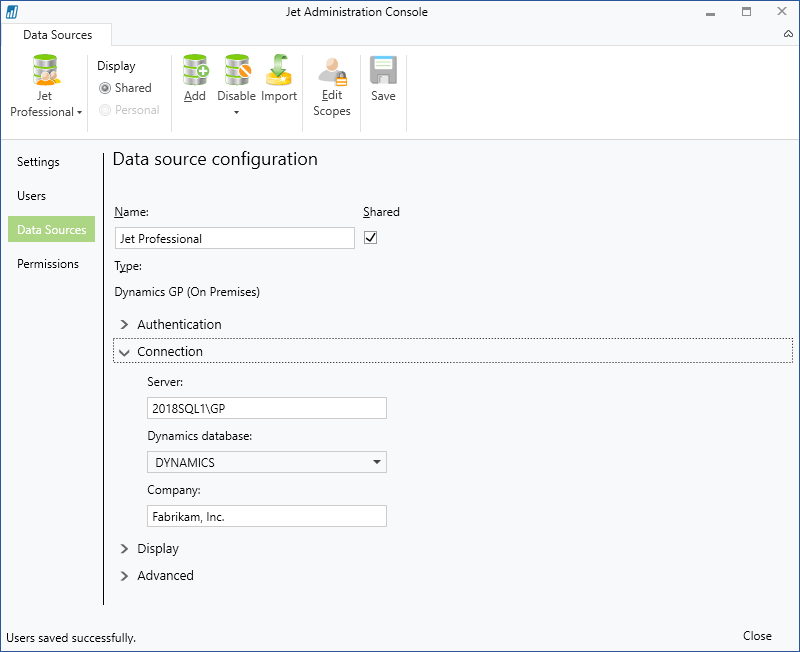
Click the Connection heading to expand the section.
Enter the full SQL Server Instance name in the Server field; select the system database in the Dynamics database drop down.
The final setting is the Company; this needs to be the name of the company from Microsoft Dynamics GP. Unfortunately this needs to be typed in, rather than selected from a list, and must match exactly the company name in Dynamics GP.
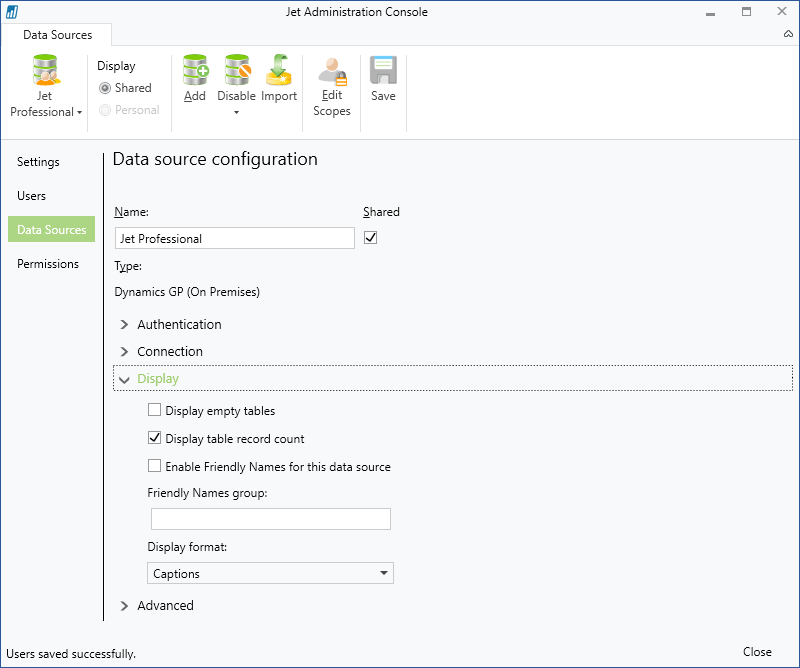
Click the Display heading to review the default configuration; I’ve not changed any of the settings:
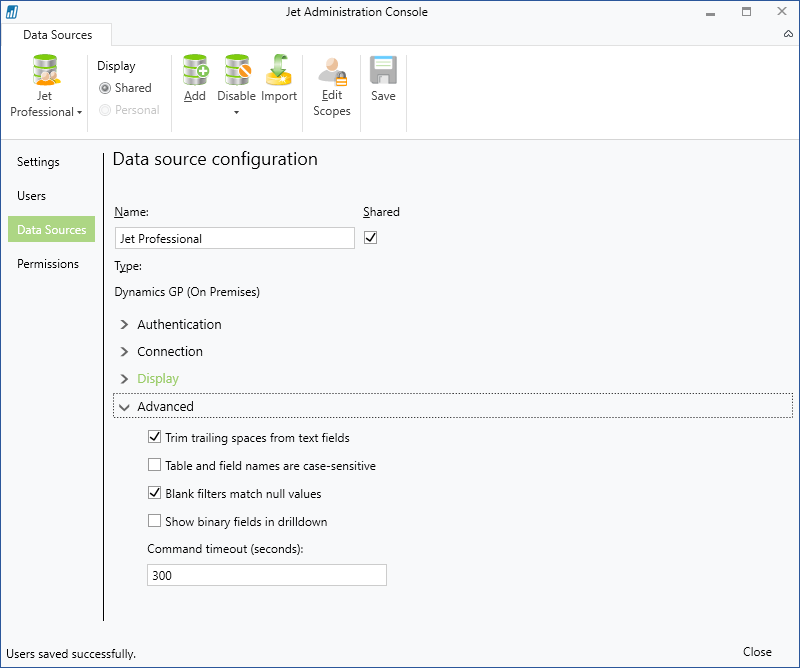
Click the Advanced heading to review the advanced conffiguration; again, I’ve not made any changes:
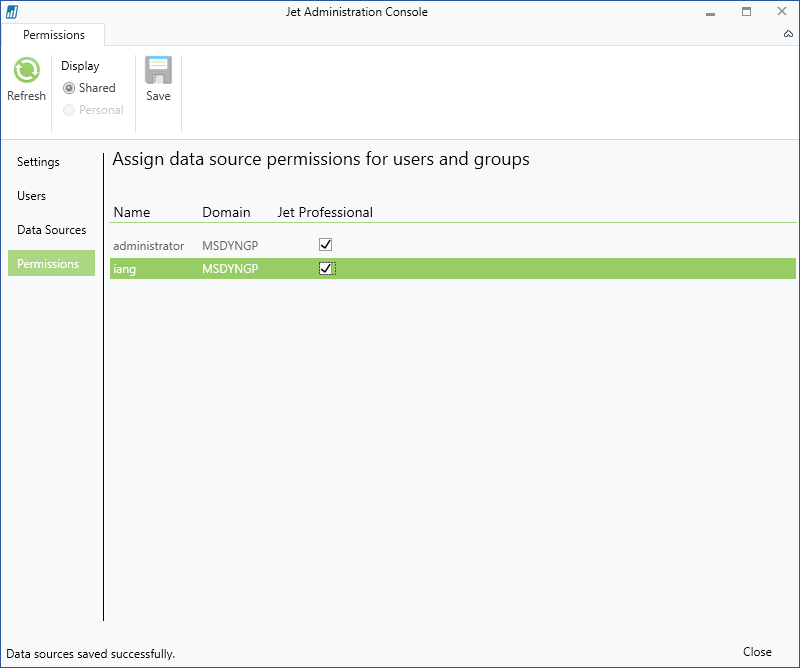
Click the Permissions tab and mark the checkbox next to all of the users who should have access to the data source.
The Jet Administration Console can now be closed.
In this example, I have the admin console installed on the same sevrer running the
What should we write about next?
If there is a topic which fits the typical ones of this site, which you would like to see me write about, please use the form, below, to submit your idea.


