 This post is part of a series of posts on implementing Jet Reports and is part of the Jet Express sub-series.
Once you have ensured the prerequisites are met and have downloaded the software, Jet Express for Microsoft Excel with Microsoft Dynamics GP can be installed.
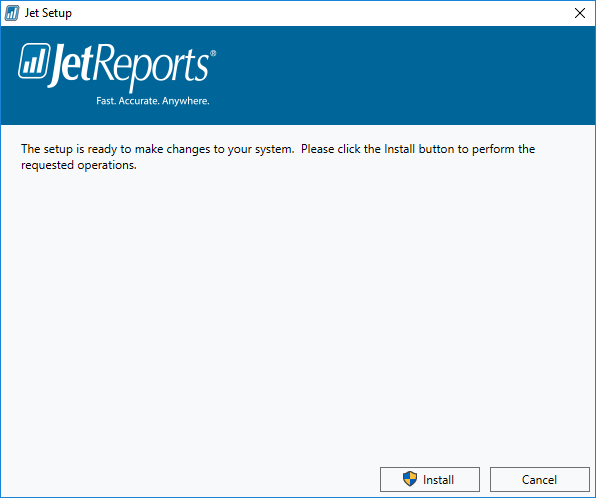
To launch the installer, double click the Jet Express Setup.exe. Click Install to start the installation:
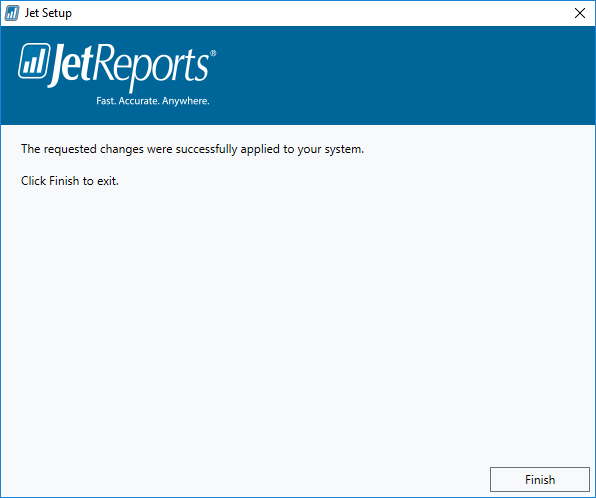
Installation will complete quikcly,after which click ,em>Finish:
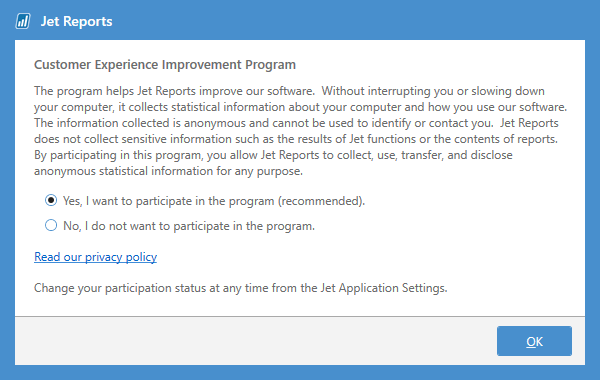
When the installer closes, a CEIP message will be displayed; make your decision and click OK:
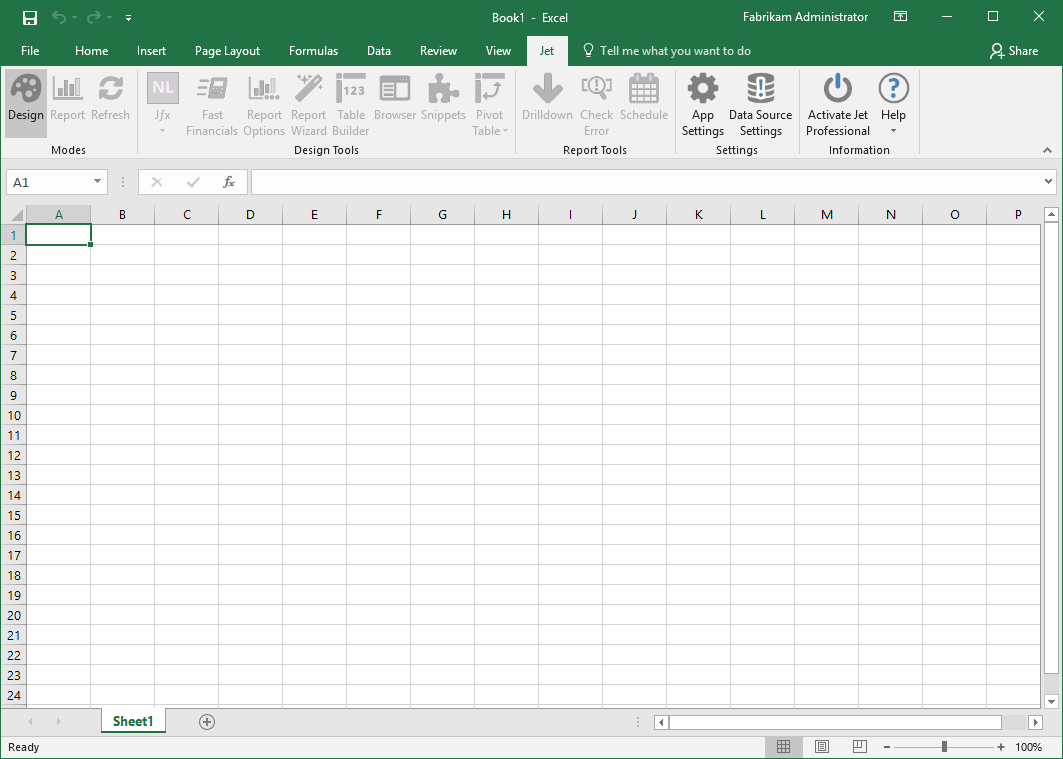
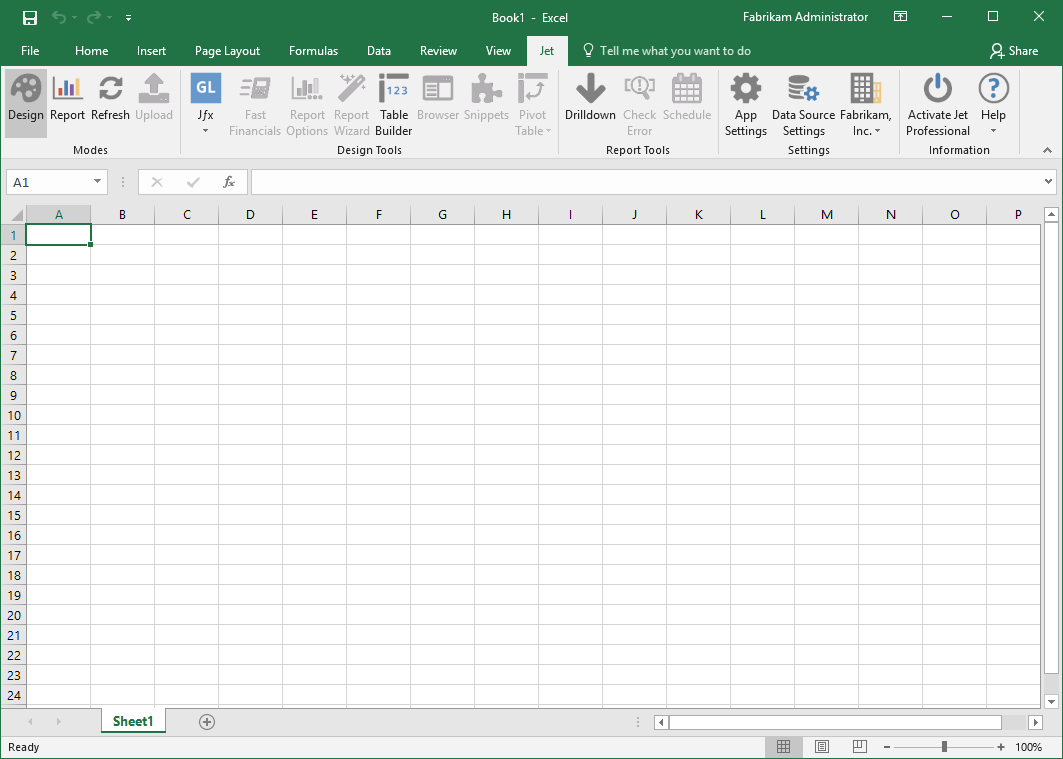
Microsoft Excel will then automatically start; you’ll see a new Jet tab on the action pane. Click the Data Source Settings button:
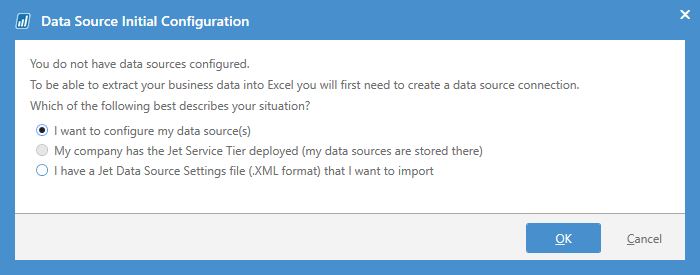
Click OK to accept the default of configuring a data source:
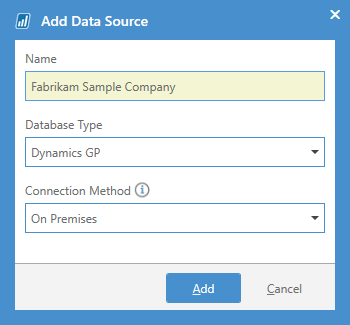
Enter the Name of the data source, select the Database Type of Dynamisc GP and a Connection Method of On Premises. Click Add:
test
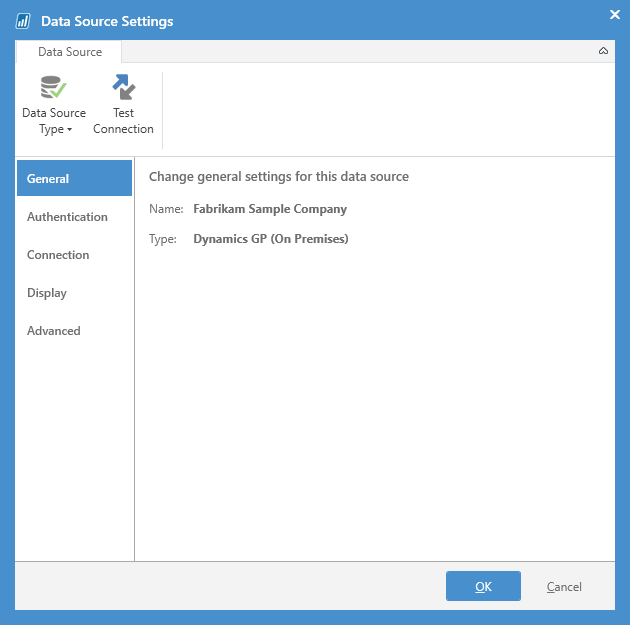
The Data Source Settings window will be displayed:
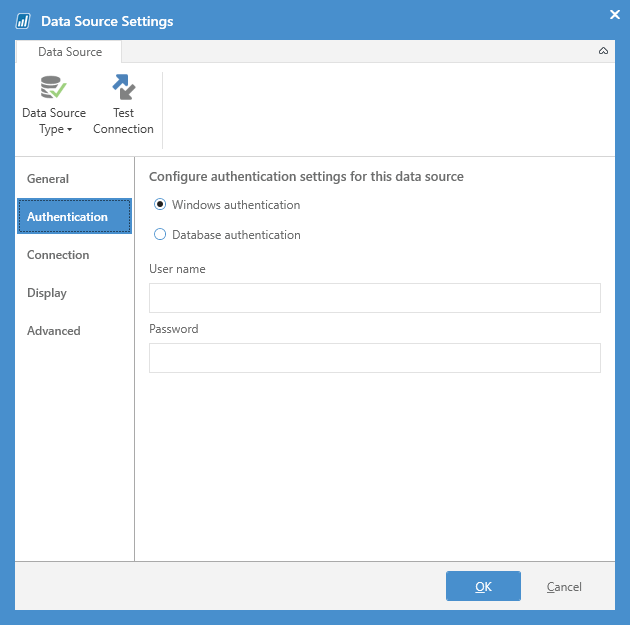
Click on the Authentication tab. Decide on the authentication method which will be used and then click the Connection tab:
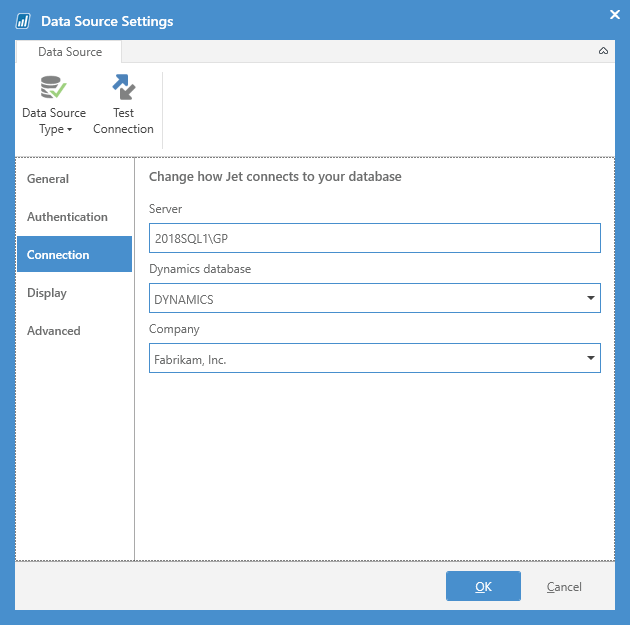
Enter the full instance name if the Server. The Dynamics database will be defaulted to DYNAMICS; if you’re using a named system database, use the drop down to select your system database.
The final selection, is the Company which again is a drop down:
Click the Test Connection button:
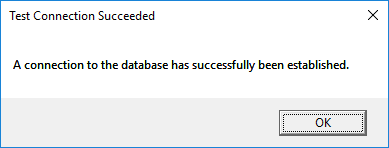
Test Connection Succeeded
A connection to the database has successfully been established.
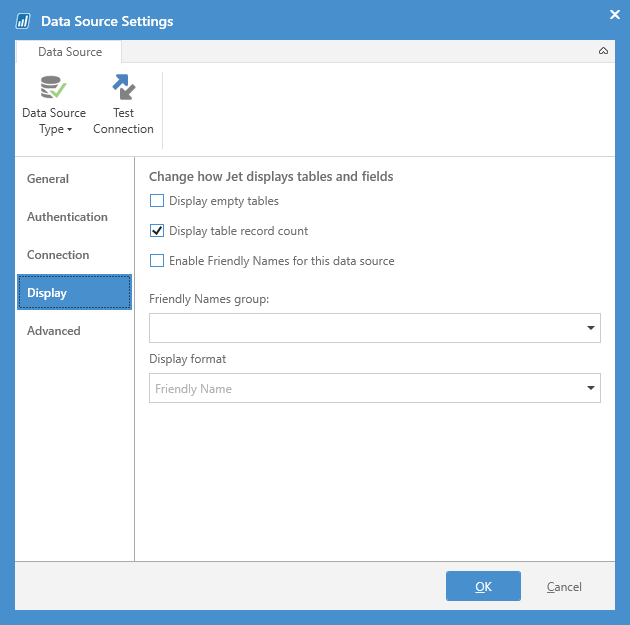
If necessary, click the Display button to review the display settings:
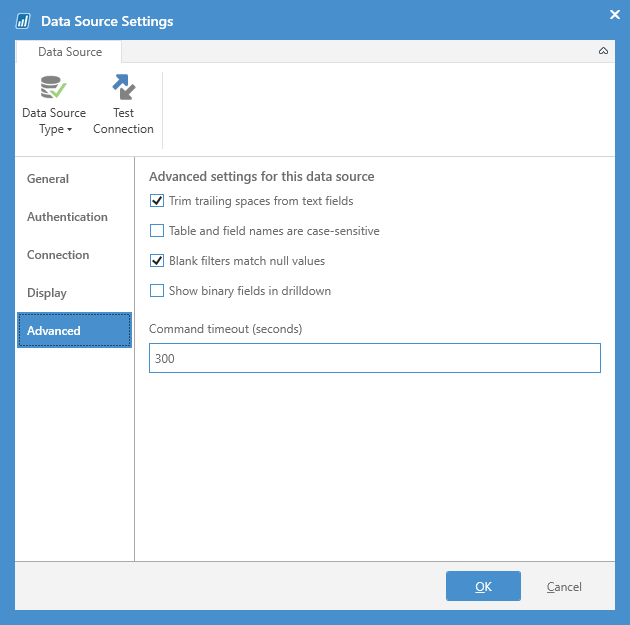
Click the Advanced tab to view the advanced settings. The default options should be sufficient:
Click OK to save the settings and return to the main Excel window:
This installation needs to be repeated on each client machine where Jet Reports is to be used.


