 This post is part of a series of posts on implementing Jet Reports and is part of the Jet Enterprise sub-series.
Over the last few posts, I’ve been stepping through the basic installation and configuration of Jet Enterprise; in the last post, I covered the configuration in Connection Manager which connects Jet Enterprise to the installation of Microsoft Dynamics GP. In this post, I’m going to cover the first deploy and execute of the project; the short description of deploy and execute is that the data structures are created (deploy) and populated (execute).
For a detailed description of the deploy and execute process, see the Jet Support article. The deploy and execute can be done separately, but for the first deploy and execute during implementation, I’d tend to do them together.
In this stage we want to deploy and execute the entire project. Do this by right-clicking on the project name at the top of the navigation pane in the Detail tab and click Deploy and Execute:
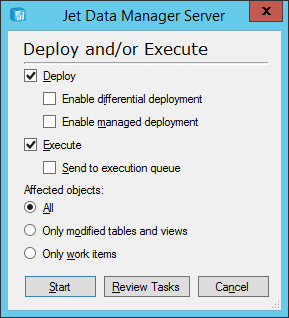
Ensure both the Deploy and Execute checkboxes are marked and click Start:

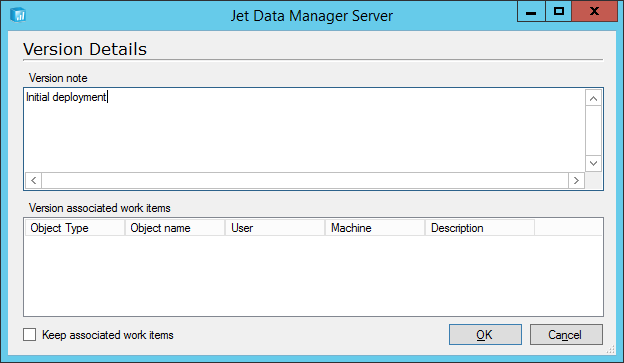
Enter a Version note and click OK:
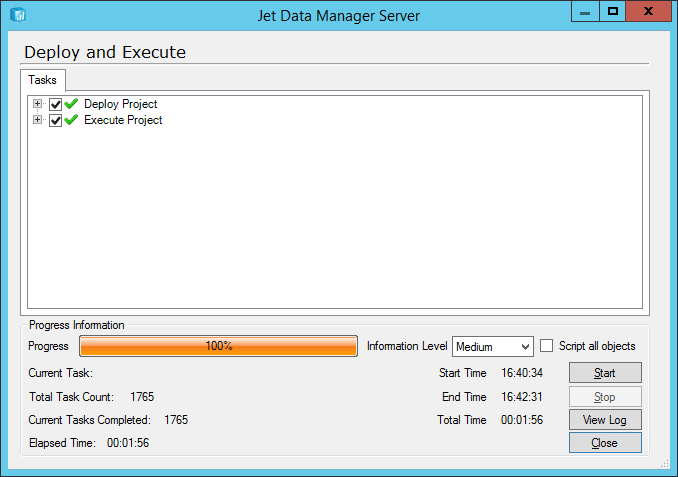
Review the tasks and click Start to begin the deploy and execute process. Once finished, as shown by the progress bar reaching 100% without displaying errors, click Close:
The project has now been successfully deployed and executed, which means the data structures have both been created and populated. After one final step, the deploy and execute of the OLAP Cubes, Jet Enterprise will be ready for us to test.
Click to show/hide the Implementing Jet Enterprise Series Index
What should we write about next?
If there is a topic which fits the typical ones of this site, which you would like to see me write about, please use the form, below, to submit your idea.


