 Microsoft Dynamics GP 2018 RTM has now been released. In this series of posts, I will be stepping through the installation of Microsoft Dynamics GP and additional products and then will move on to taking a look at the new functionality which has been introduced.
The series index for this series of posts is here and will automatically update as posts go live.
With the client now installed, I am able to progress to using GP Utilities to deploy the system database, the name of which was defined on the SQL Server step of the client install.
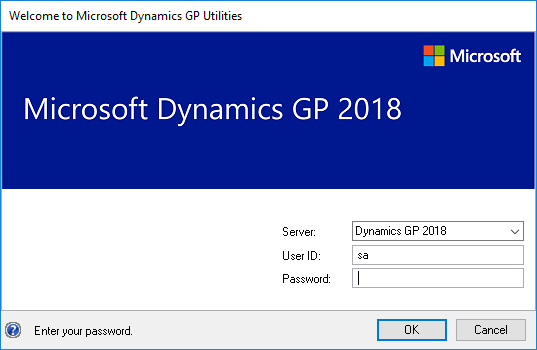
To deploy the system database launch GP Utilities and log in using the SQL Server system administrator (sa) account:
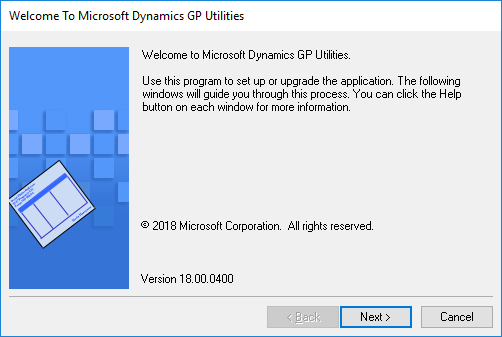
On the Welcome screen, click Next:
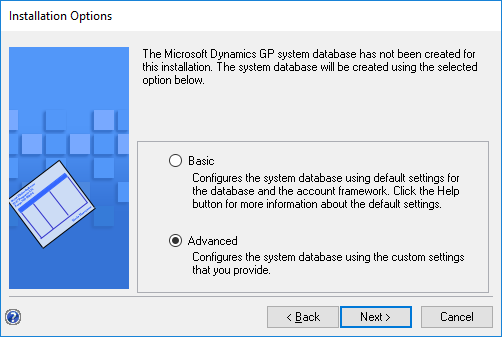
Select Advanced as we want to use custom settings in the creation of the system database:
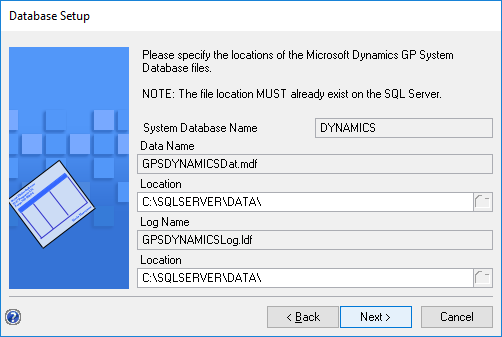
Confirm, or change if required, the Location settings for the database data and log files and then click Next:
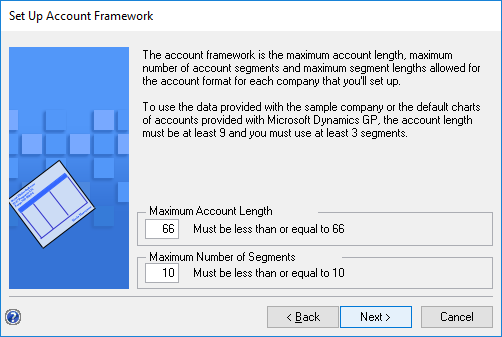
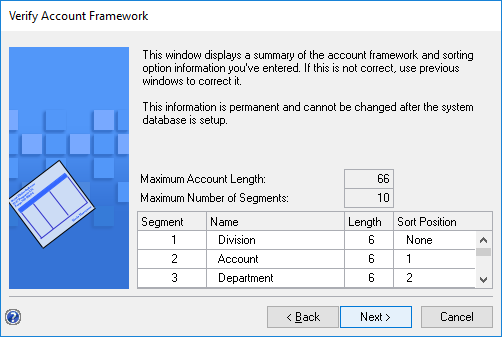
To allow for maximum future flexibility in allowing for changes to the account format, set the Maximum Account Length to 66 and the Maximum Number of Segments to 10 and click Next:
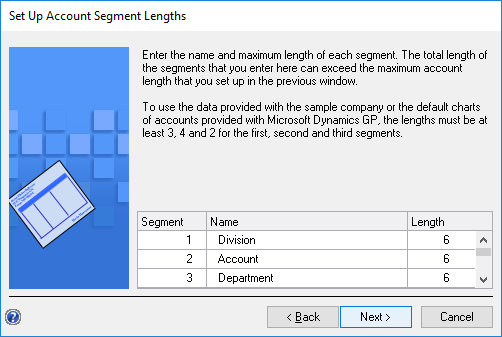
You can name your Segments (as I will be deploying the Fabrikam sample company I have named the first three segments to Division, Account and Department. You can also change the Length of each segment from the default of 6 if required.
Click Next to proceed:
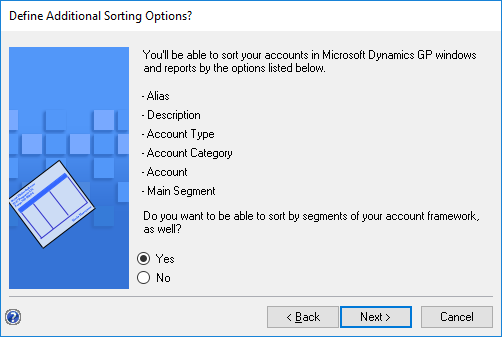
Choose whether to defined additional sort orders and click Next:
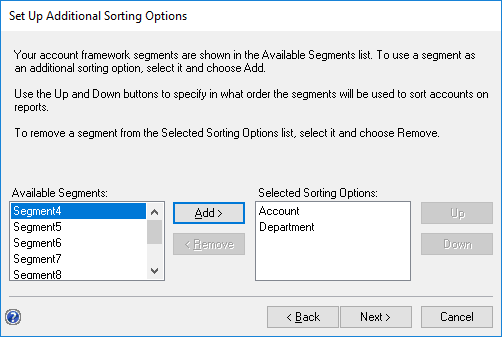
If you selected to define additional sort options, move the segments to available for sorting from the Available Segments to the Selected Sorting Options. When all required segments have been selected, click Next:
Verify the account framework; if changes need to be made, click Back, otherwise click Next to continue:
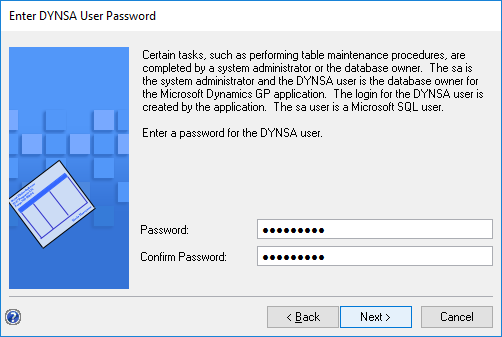
Enter a password for the DYNSA user; this user is intended for use by the Dynamics system administrator and should be used in preference to the sa user, which is intended as the SQL Server system administrator.
Once the password has been entered and confirmed, click the Next button:
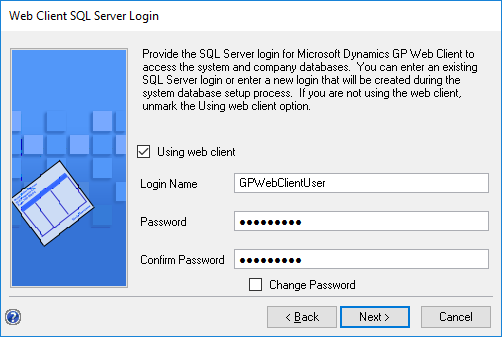
If you are not going to be using the web client, unmark the Using web client checkbox; if you will be using web client, leave this box marked and enter a Login Name, Password and Confirm Password. Click Next to continue:
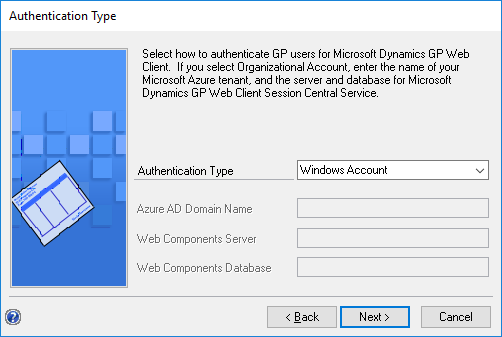
Select the Authentication Type which should be used to authenticate GP users for the web client. As I am using a Hyper-V VM, I have left this option set to Windows Account; if you’re using Azure, then set the Authentication Type to Organisation Account and supply the details of the Azure AD.
Click Next to continue:
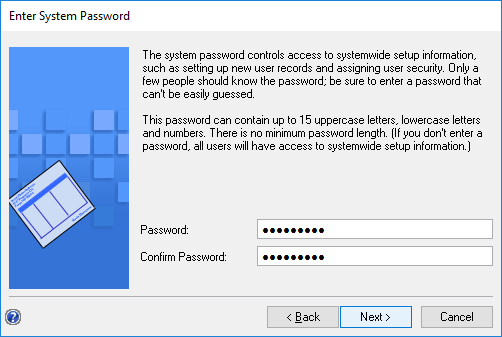
The system password is used to protect access to certain windows, such as setup or maintenance ones amongst others, so should be set. Enter and confirm the password which should be used.
As a note, I see far too many systems which have ACCESS set as the password; this features in the manuals and blog posts like this one, and so should never be used on a production system.
Set your system password and click Next:
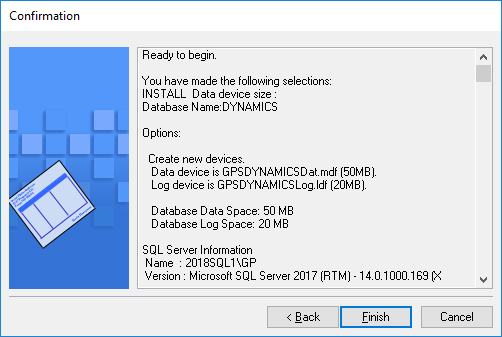
Review your selections and click click Finish to begin the deployment of the system database:
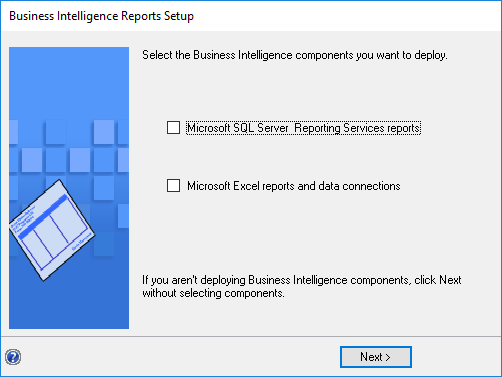
Once the deployment has finished, and this might take a few minutes, the Business Intelligence Reports Setup window will be displayed; I will be deploying the reports later, so have simply clicked Next:
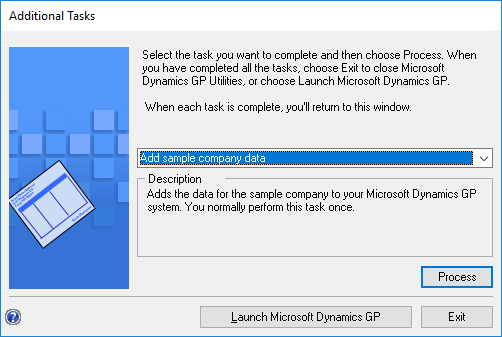
The Additional Tasks step will be displayed; make your selection and click either Process, Launch Microsoft Dynamics GP or Exit:
With the system database now deployed, we can progress onto deploying the sample company, which I will cover in the next post.


