 Microsoft Dynamics GP 2018 RTM has now been released. In this series of posts, I will be stepping through the installation of Microsoft Dynamics GP and additional products and then will move on to taking a look at the new functionality which has been introduced.
The series index for this series of posts is here and will automatically update as posts go live.
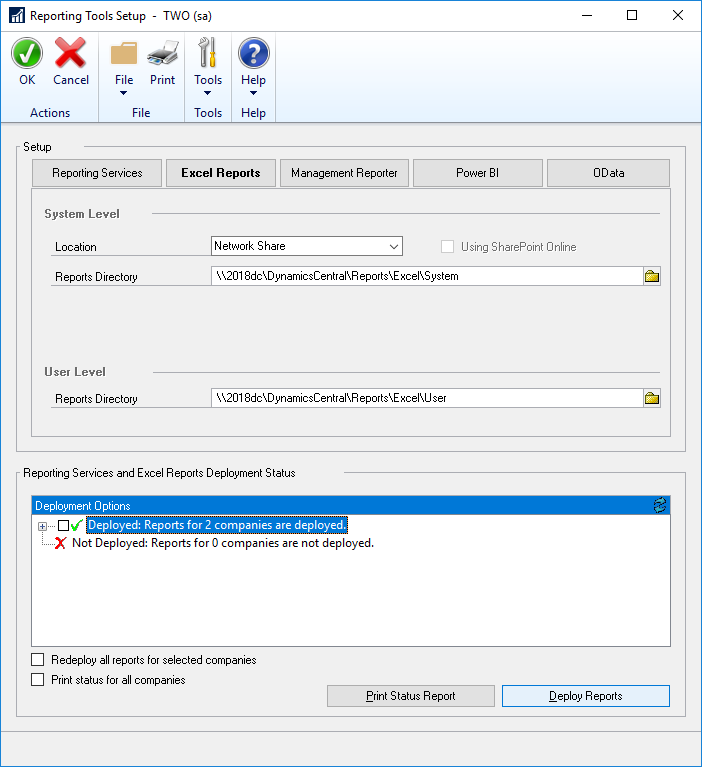
The deployment of the Excel Reports is is done via Reporting Tools Setup (). Click the Excel Reports tab.
Change the Location to Network Share. Reports Directory can be set at both the System Level (for the out of the box reports) and User Level for customised reports.
You can also set a subfolder for where the reports are to be deployed; this is useful when you have more than just the Microsoft Dynamics GP reports deployed onto the report server.
Make sure the checkboxes in the Deployment Options section are checked and click the Deploy Reports button.
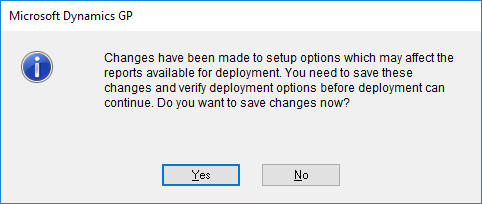
Click Yes to confirm the dialog to save changes:

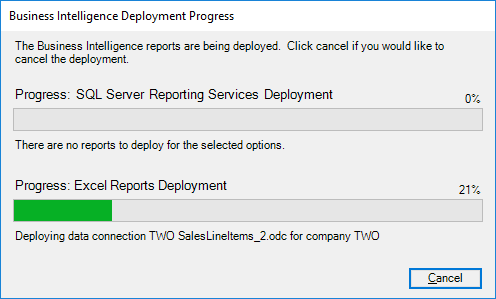
Click the Deploy Reports button again and the deployment will start. This may take a couple of minutes to process, but a dialog with a progress bar will display:

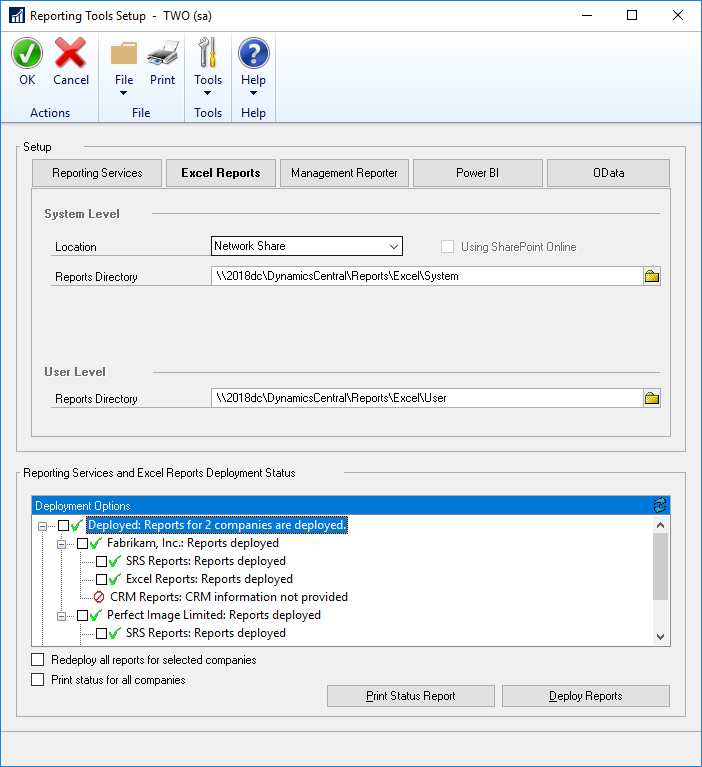
Once the deployment has completed, the Deployment Options box will show success with green marks:


1 thought on “Hands On With MDGP 2018 RTM: Deploy Excel Reports”