 Microsoft Dynamics GP 2018 RTM has now been released. In this series of posts, I will be stepping through the installation of Microsoft Dynamics GP and additional products and then will move on to taking a look at the new functionality which has been introduced.
The series index for this series of posts is here and will automatically update as posts go live.
As well as deploying the sample company, I always deploy a second company into which I will restore a copy of Fabrikam; this allows Intercompany to be configured and demonstrated when necessary.
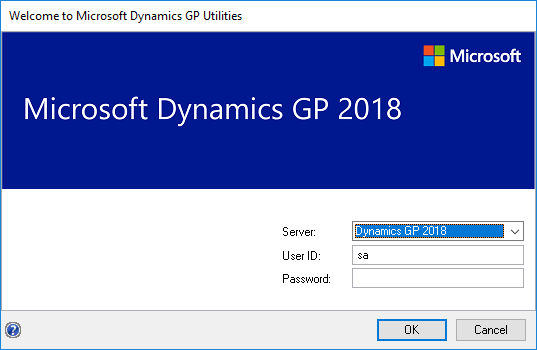
To create a new company, launch GP Utilities and log in using the sa account:
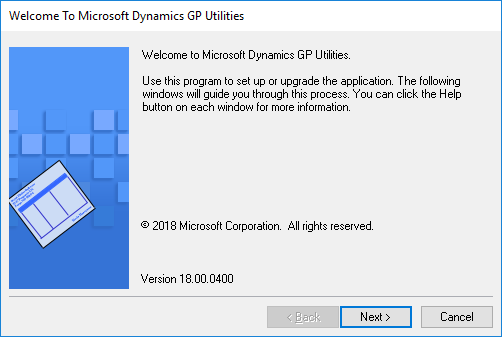
on the Welcome step, click Next:
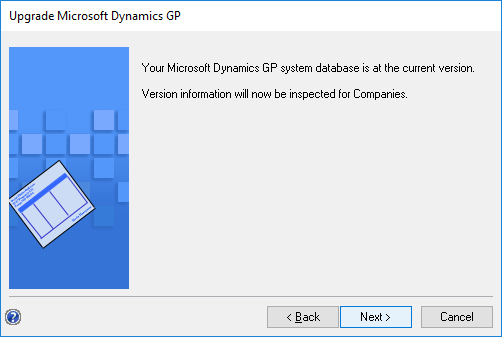
After the system database version check, click Next:
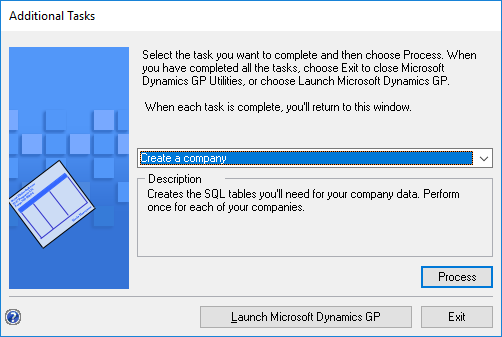
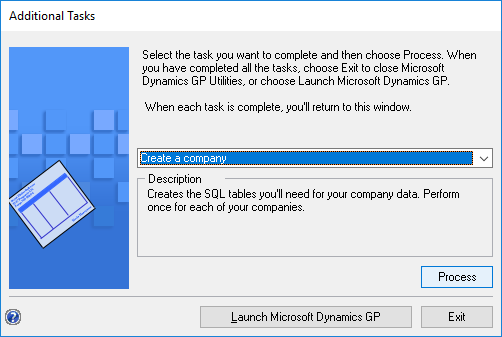
Set the drop down list to Create a company and click Next:
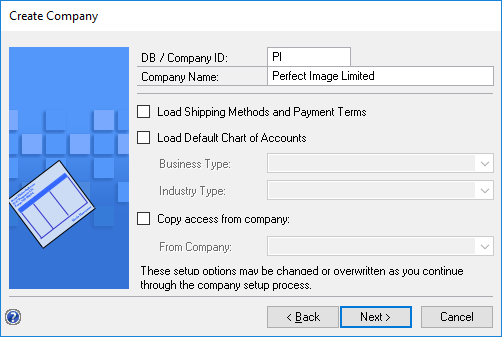
Enter a DB / Company ID and Company Name and then click Next:
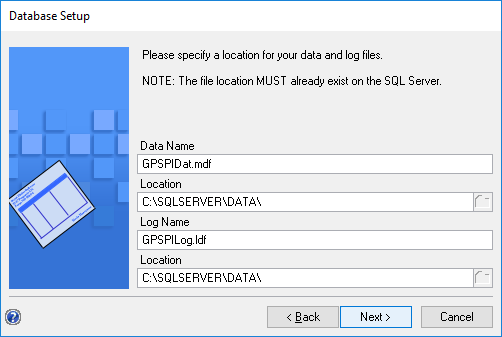
Confirm, or change if necessary, the name and location of the data and log files, and then click Next:
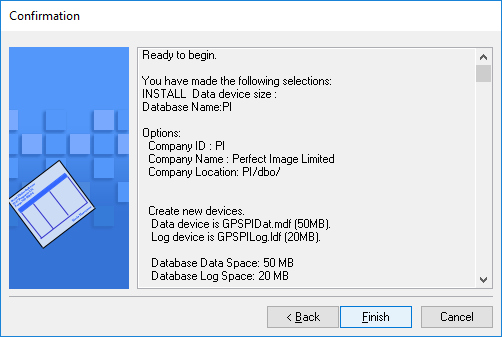
Review your selections and click Next to begin the process of creating the company:
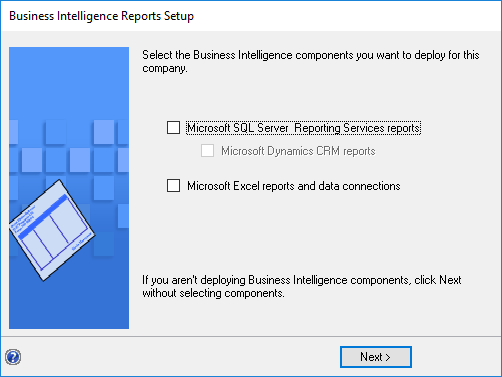
Skip over the Business Intelligence Reports Setup by clicking Next:
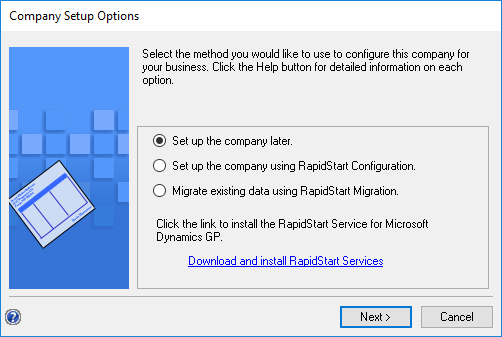
Leave the radio button set to Set up the company later and click Next:
Once back on the Additional Tasks step, decide what you want to do and click the appropriate button:


