 Microsoft Dynamics GP 2018 RTM has now been released. In this series of posts, I will be stepping through the installation of Microsoft Dynamics GP and additional products and then will move on to taking a look at the new functionality which has been introduced.
The series index for this series of posts is here and will automatically update as posts go live.
After adding the Web Component runtime features to the client, the next step is to install the web components themselves.
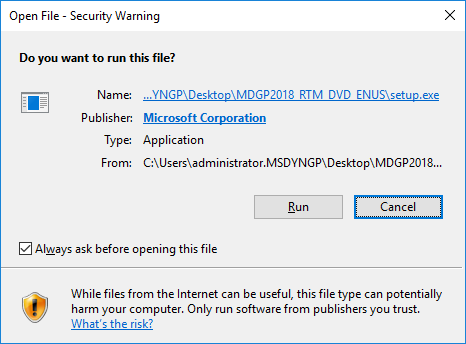
Launch the Microsoft Dynamics GP 2018 setup utility. Depending on server settings, you might receive multiple security warnings during the installation; click Run on each one as it appears:
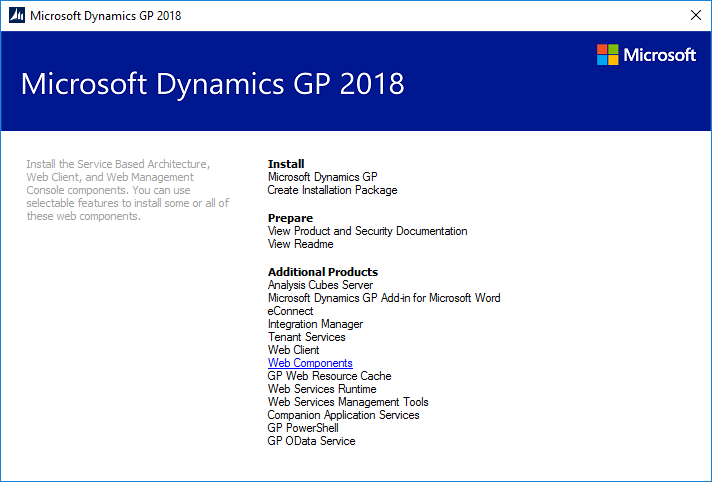
Under the Additional Products header, select Web Components and click Install on the popup menu which appears:
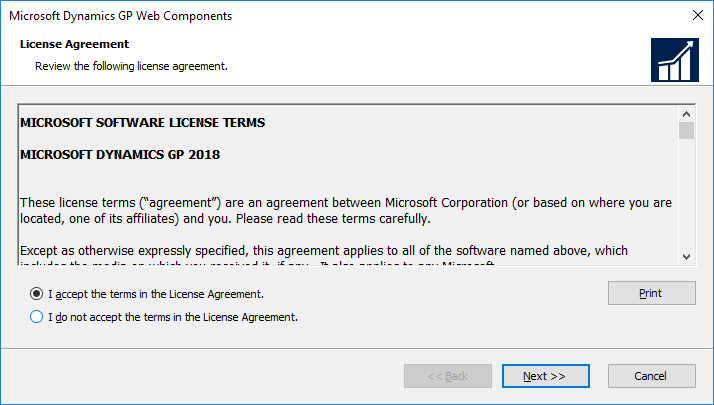
Accept the terms of the License Agreement and click Next:
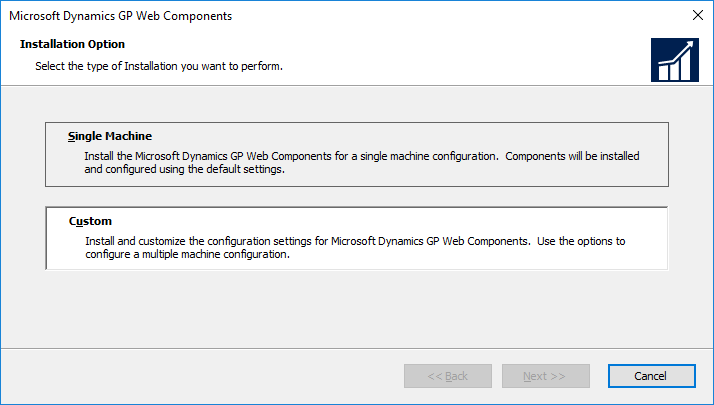
In this case, I am doing a Single Machine install, but I always takle the more detailed option. So, click on Custom and then click Next:
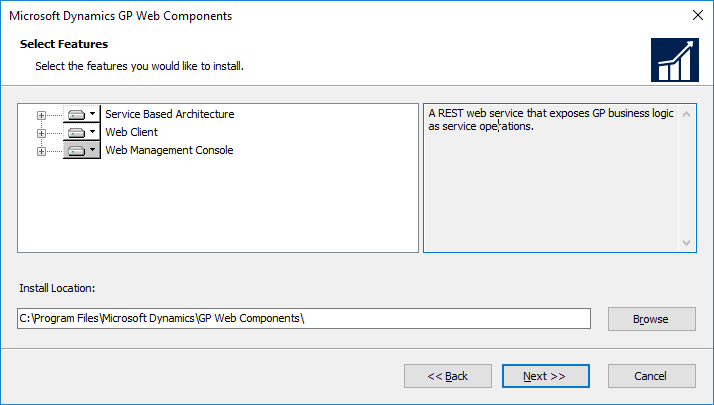
Ensure all items are selected and that you’re happy with the Install Location and click Next:
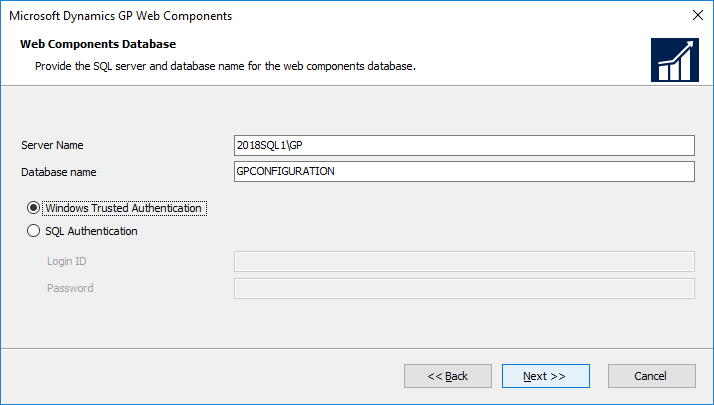
The Web Components hold some settings in a database. Specify the Server Name (this is the full Instance name and either accept or change the Database name and click Next:
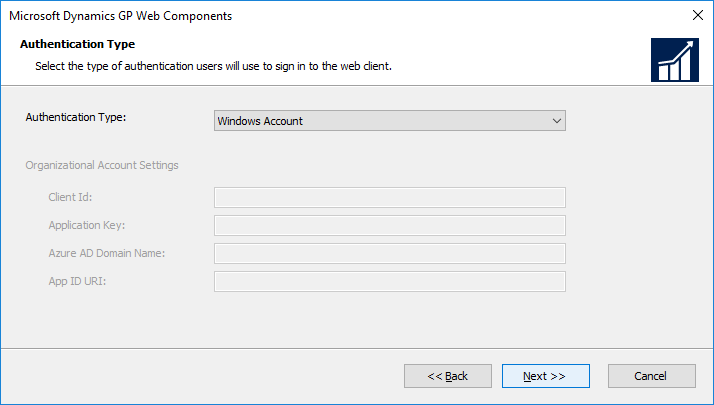
Select your Authentication Type which should be Windows Account if you’re not using Azure; click Next to proceed:
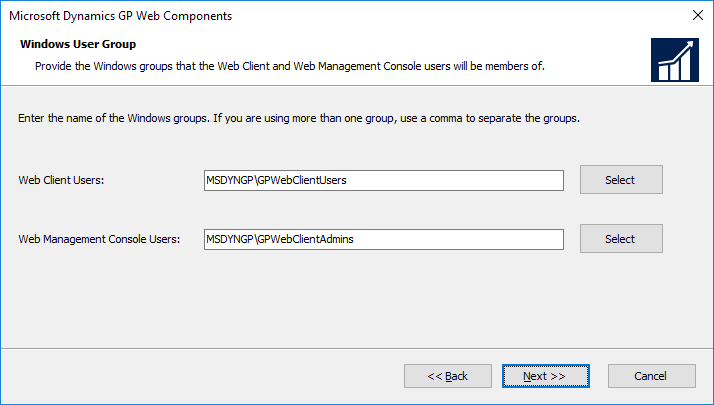
Select the Domain Groups for the Web Client Users and Web Management Console Users and then click Next:
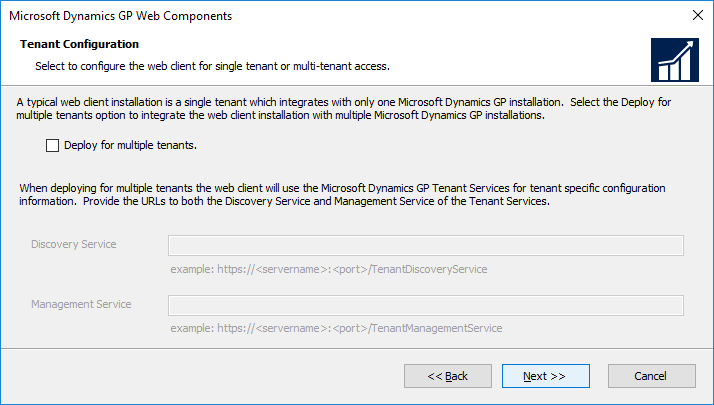
I’m not deploying multiple tenants, so can just click Next on the Tenant Configuration step:
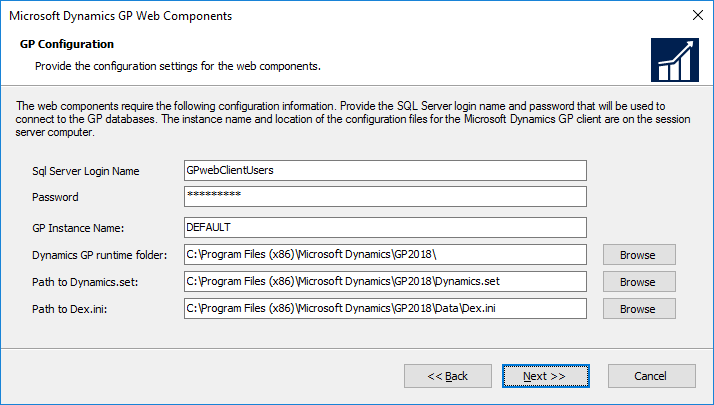
Enter the Sql Server Login Name (this should be the same one entered while installing the desktop client) and Password (re-enter the password when prompted) and click Next:
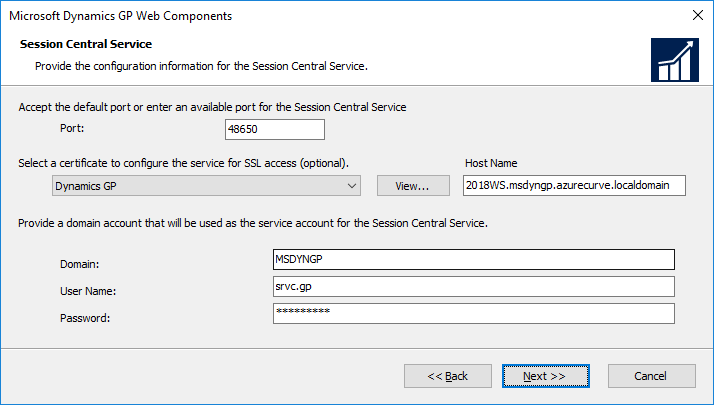
Select an SSL certificate and enter the Domain account which should be used to run the Session Central Service:
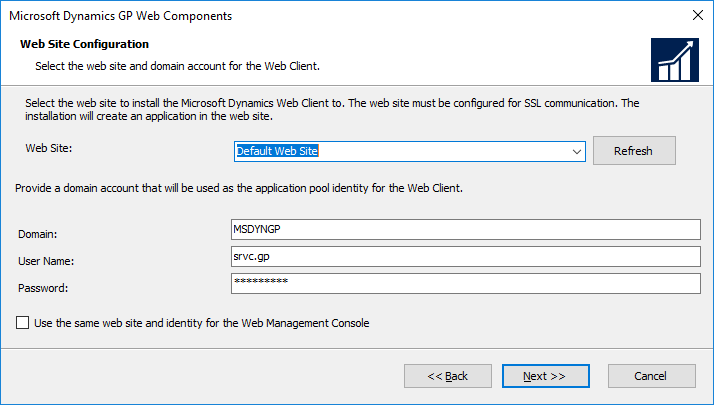
Select the Web Site which should host the web client; the Domain account entered on the previous step will default in. Click the Use the same web site and identity for the Web Management Console and click Next:
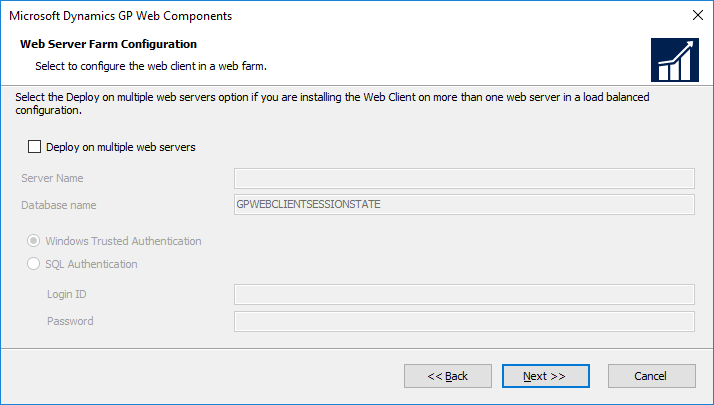
I am doing a simple single machine deployment of the web client so have not configured any of the Web Server Farm Configuration options and simply clicked Next:
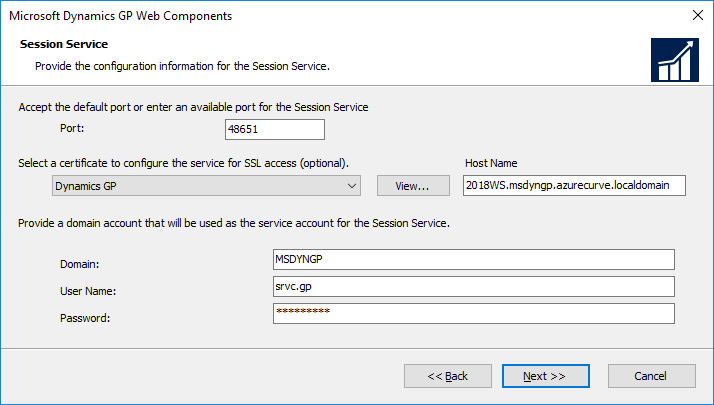
For the session service I always recommend selecting an SSL certificate even though it is optional. Again the Port and Windows account information will default in; click Next to proceed:
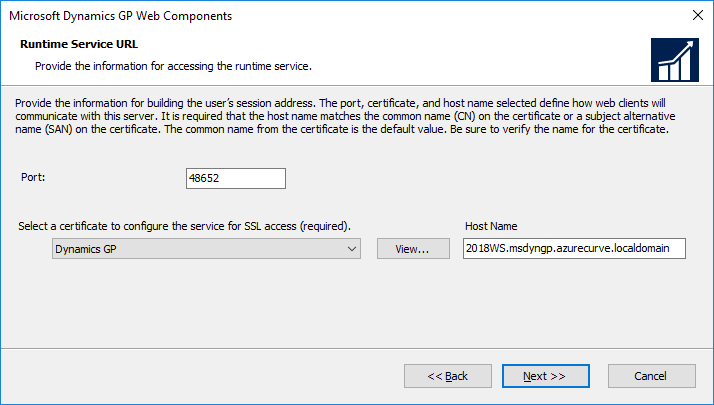
The Port for the Runtime Service URL always defaults to 443, but I prefer to change it to make sure it is unique; select an SSL certificate and click Next:
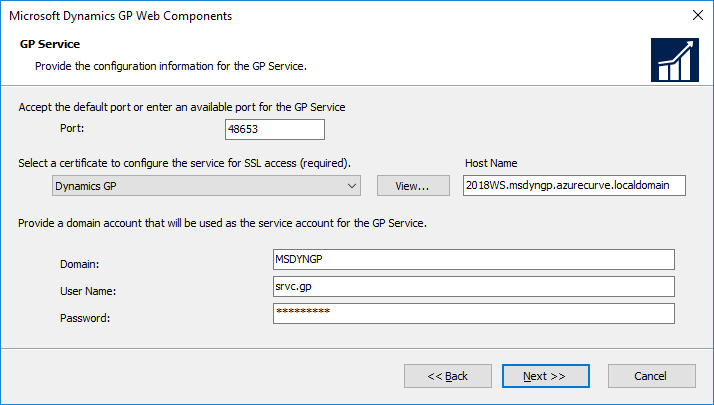
Again for the GP Service (used for Service Based Architecture, update the Port, select and SSL certificate and click Next:
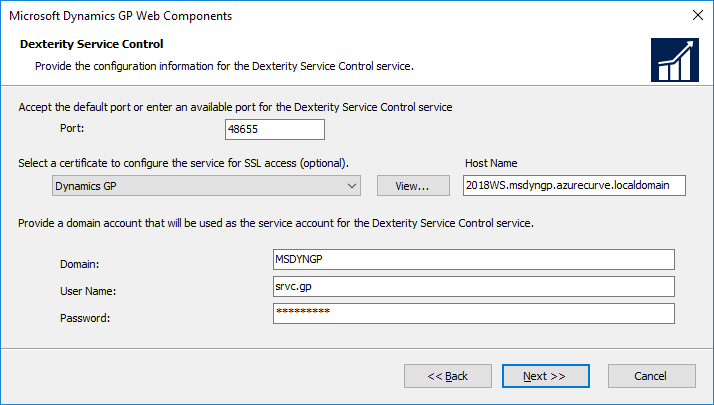
Repeat for the Dexterity Service Control:
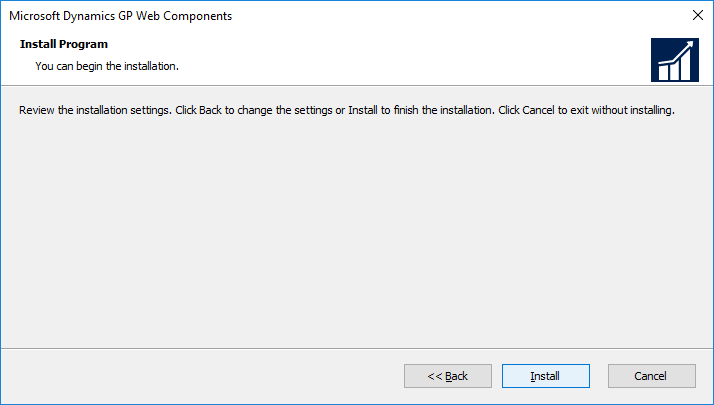
Click the Install button to begin the installation of the web components:
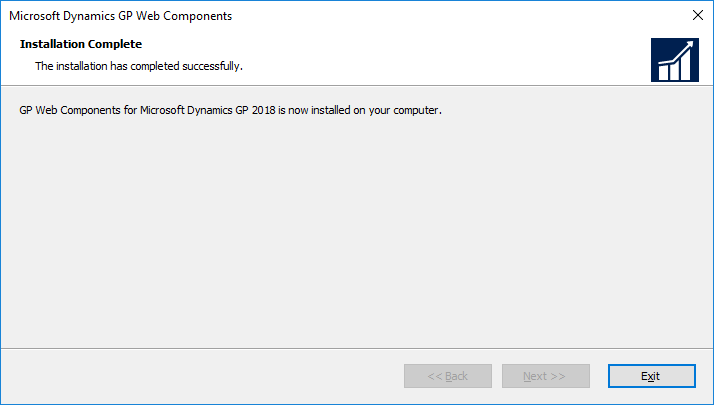
Once the installation is complete, click Exit:
Click to show/hide the Hands On With MDGP 2018 RTM Series Index
What should we write about next?
If there is a topic which fits the typical ones of this site, which you would like to see me write about, please use the form, below, to submit your idea.


