 In this short series of posts, I am going to be covering the installation of Microsoft SQL Server 2017; the installation process for this version is somewhat different to previous ones, in that SQL Server Management Studio and SQL Server Reporting Services have been separated out from the main installer.
The series index can be found here. I am not a SQL expert and this series of posts is intended only for use on demo or test environment and not production ones.
The next component to be installed, is SQL Server Management Studio (SSMS). This was the first of the components which Microsoft removed from the main installer. However, to install it, we can launch the download page from the Setup utility.
Once launched, click Installation and then select Install SQL Server Management Tools:

This will launch your default web browser, where you can click the Download SQL Server Management Studio 17.3 link to download the file:

When the download is finished, launch the SSMS-Setup-ENU.exe:

Once the installer launches, click the Install button:

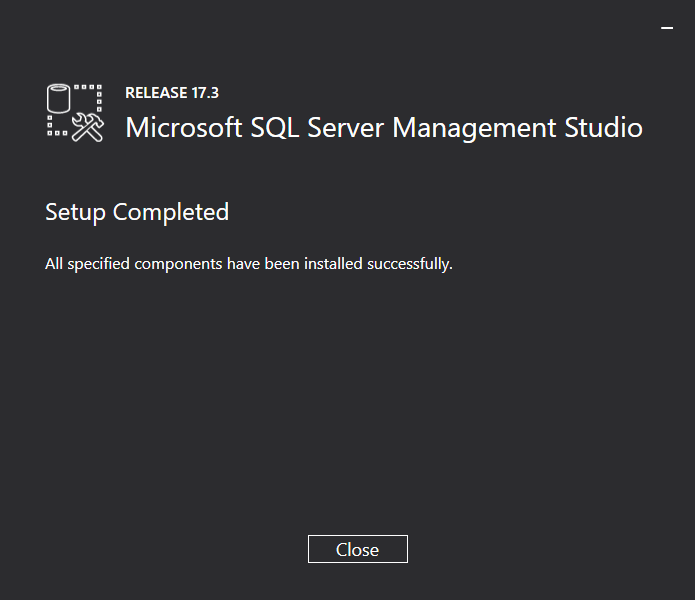
The installer tool quite a while to run, but once finished it displayed a Setup complete message:
With the install finished, SSMS is available for use.
2 thoughts on “How To Install Microsoft SQL Server 2017: Install SQL Server Management Studio”