 In this short series of posts, I am going to be covering the installation of Microsoft SQL Server 2017; the installation process for this version is somewhat different to previous ones, in that SQL Server Management Studio and SQL Server Reporting Services have been separated out from the main installer.
The series index can be found here. I am not a SQL expert and this series of posts is intended only for use on demo or test environment and not production ones.
In this, the first post of the series, I am going to install the core part of Microsoft SQL Server 2017, which is the Database Engine Services. To do this double click the Setup.exe on the installation media.
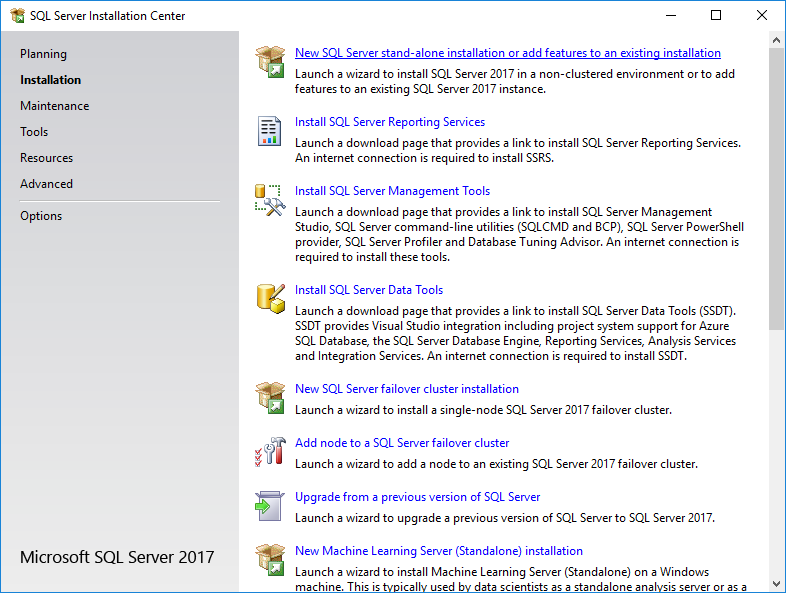
Click Installation and then select New SQL Server stand-alone installation or add features to an existing installation:
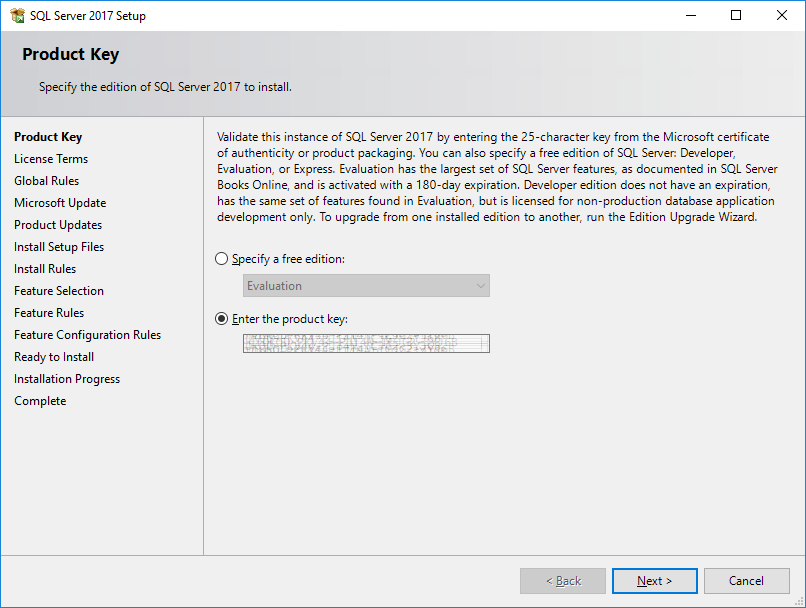
The Product Key will default in, so click Next:
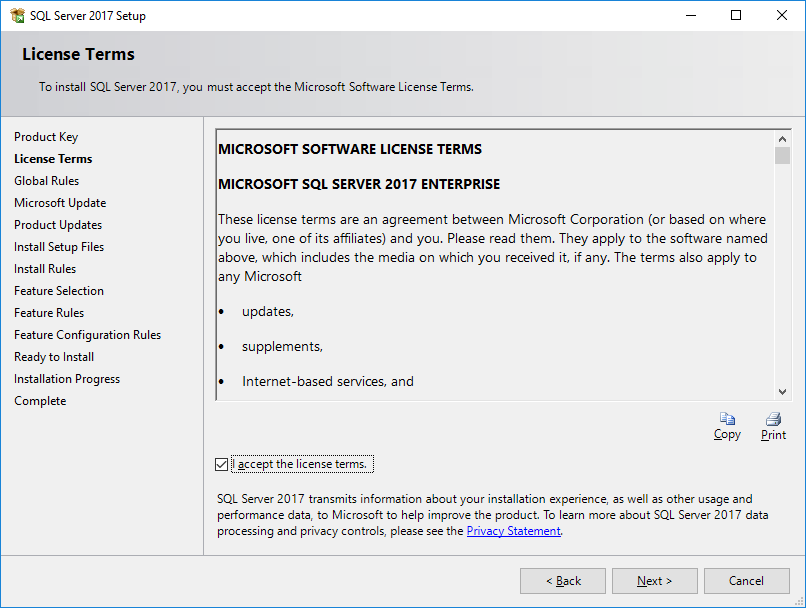
Mark the box to accept the license terms and click Next:
Decide if you want to ,em>use Microsoft Update to check for updates and click Next:
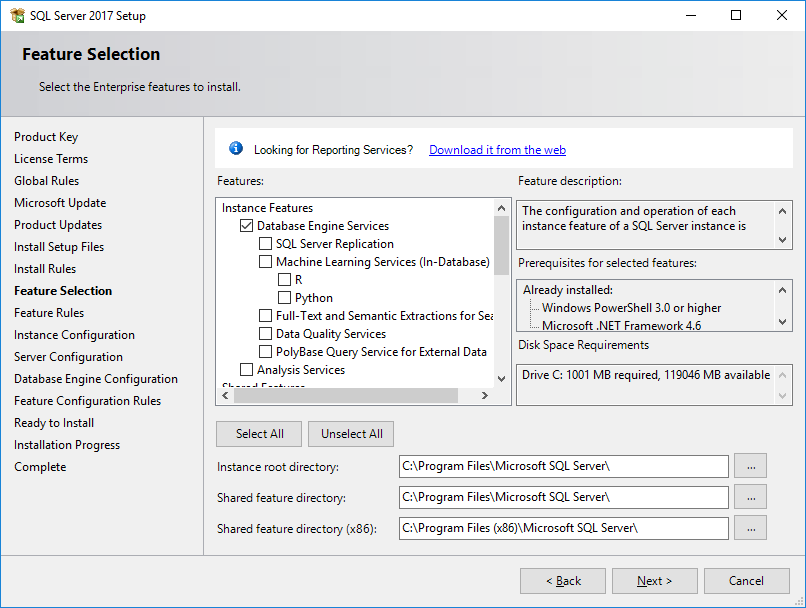
The next few pages of the installer skipped past without requiring any input until I was deposited at the Feature Selection stage.
There were two features I selected in the list:
- Database Engine Services
- Client Tools Backwards Compatibility
Once you’ve selected all of the required features, click Next:
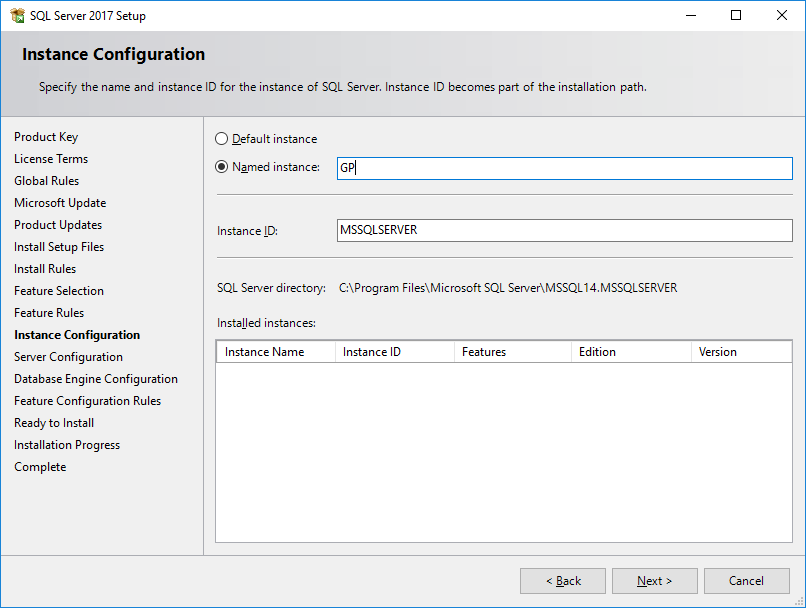
As I am installing this instance of SQL Server for use with Microsoft Dynamics GP, I have selected a Named Instance of GP. Once done, click Next:
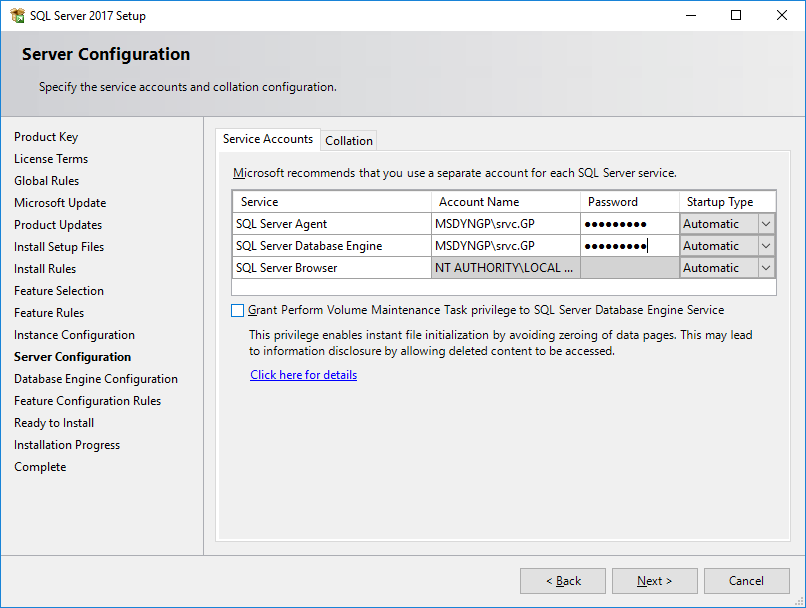
I prefer to use a Domain Service Account for running the SQL Server services, so have entered the Account Name and Password against both the SQL Server Agent (which I also set to Automatic Startup Type) and the SQL Server Database Engine:
If you are installing SQL Server on a US English language Windows server, the collation will have defaulted to a supported collation, but if you have, for example, an UK English install the collation will be an unsupported one.
Click the Collation tab to verify the collation. In this example, I am using a US English server so the collation is correct:
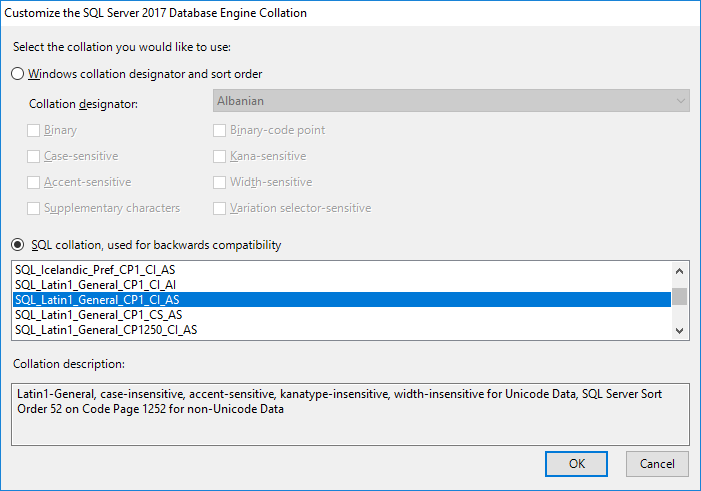
If you need to change the collation, click the Customise button, find SQL_Latin1_General_CP1_CI_AS and click OK:
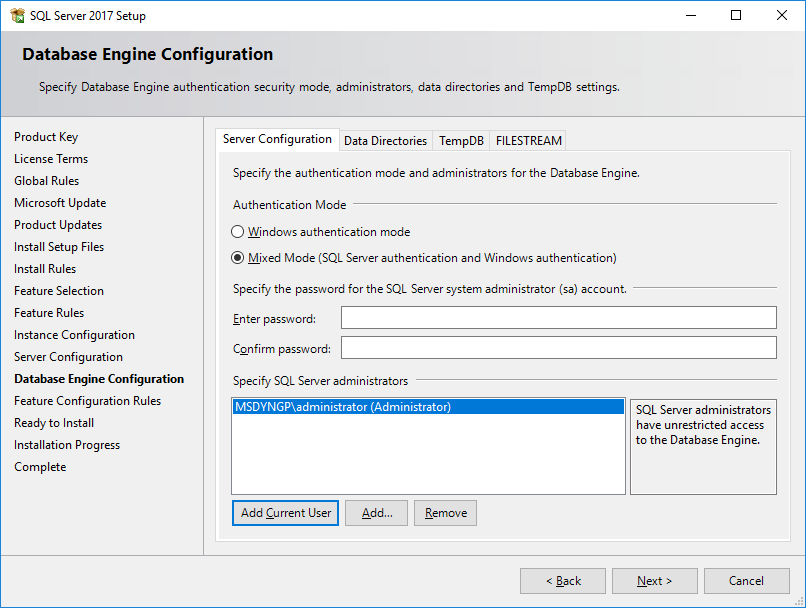
Click Next to proceed to the Database Engine Configuration stage. Dynamics GP required Mixed Mode so mark the radio button and enter and confirm a password for the sa account.
Click the Add Current User button or Add… to add administrators for SQL Server:
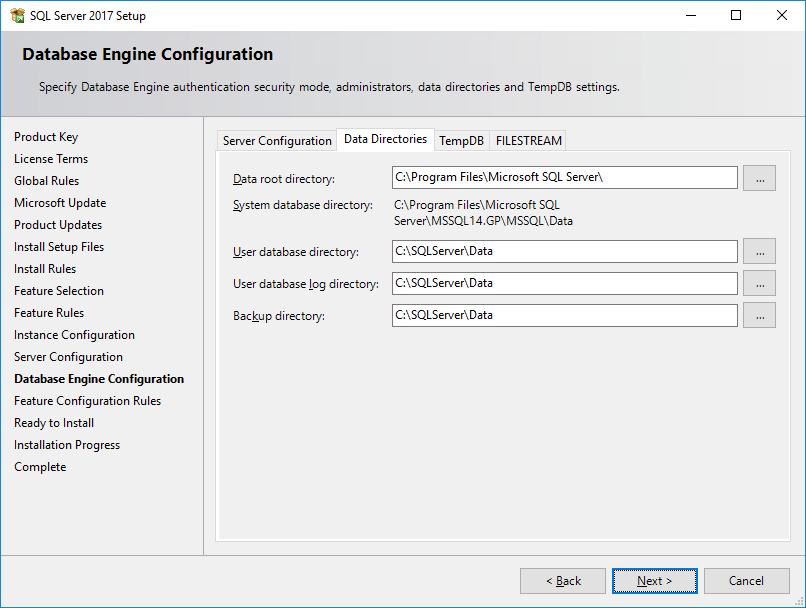
Click the Data Directories tab and change the directory fields as required (assuming you don’t want to use the default locations.
Click Next to proceed:
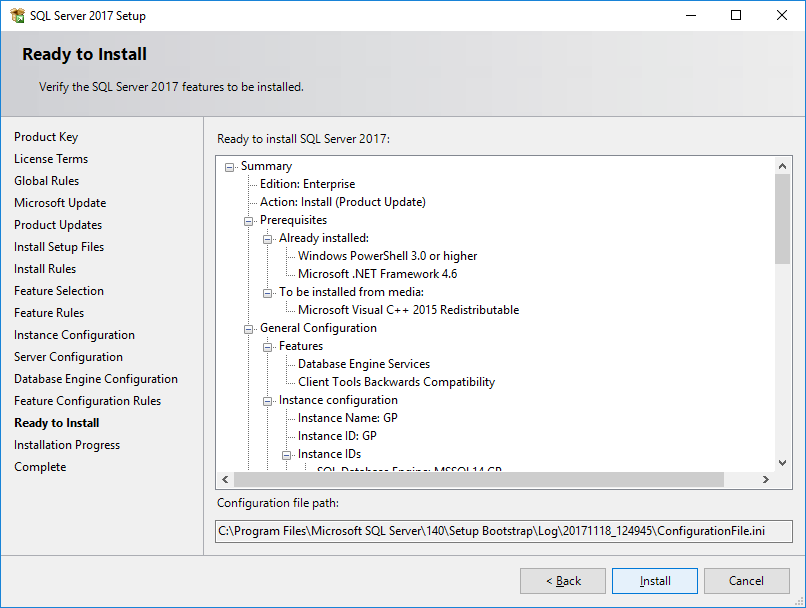
Review the selected configuration and click Install to begin the installation:
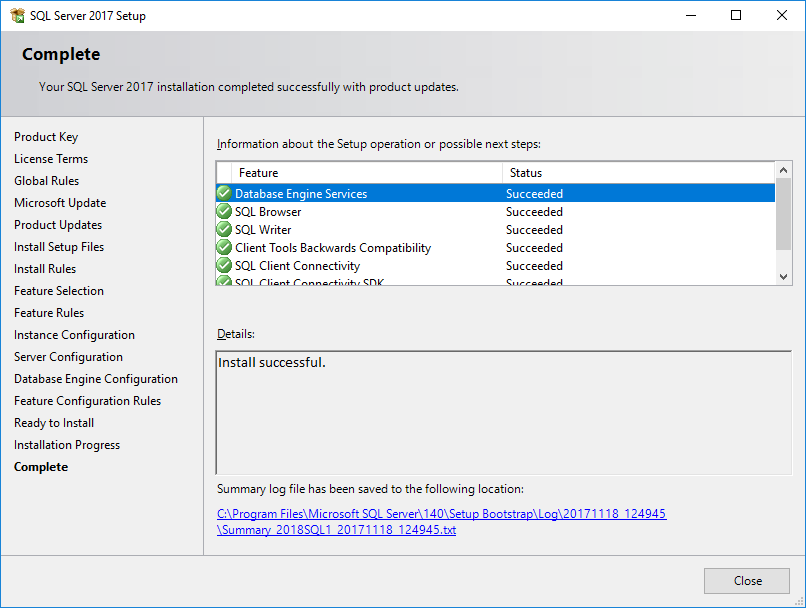
Once the installation is complete, review the status and click Close:






Thanks Ian for this quick step-by-step SQL 2017 setup… Unfortunately GP2016 isn’t working with this version now and the preview of 2018 neither, as it stops at the validation stage in GP utilises with a version mismatch error. Microsoft confirmed that 2017 will be supported by the time of 2018 will be RTM
Hi beat,
I know GP 2018 RTMis meant to work with SQL Server 2017, so I’m getting myself all prepped up for the 1st December
Ian