 This is a short series of posts on how to install Microsoft SQL Server 2016; the series index can be found here.
In this post, I am going to step through the installation of the Microsoft SQL Server 2016 Database Engine. As most of my work is with Microsoft Dynamics GP, there will be a little focus on the installation required specifically for Dynamics GP, but the basic install is the same regardless of whether it is for Dynamics GP or not.
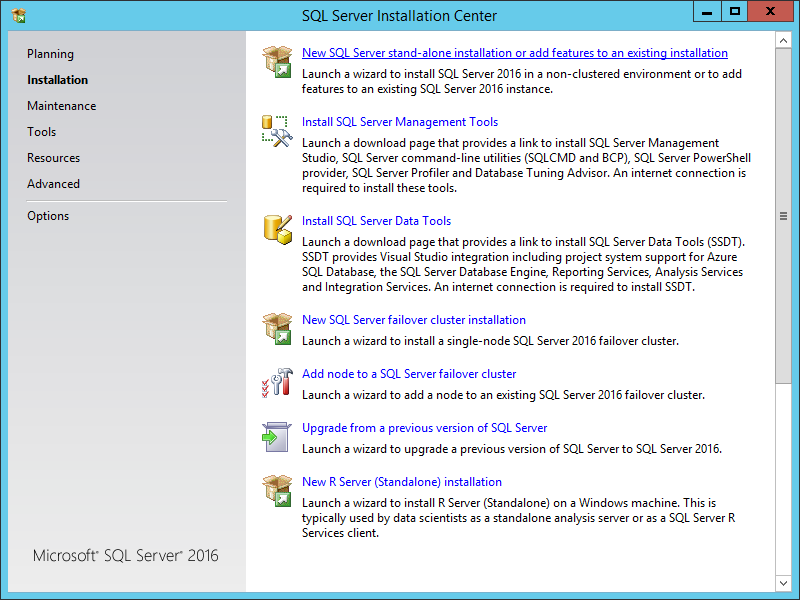
Launch the SQL Server setup utility (setup.exe), select Installation and click on New SQL Server stand-alone installation or add features to an existing installation:
Select a free edition if you’re only doing an evaluation or wan to use the Express Edition, or Enter the product key and click Next:
Accept the License Terms and click Next:
Mark the Use Microsoft Update to check for updates (recommended) checkbox if you want updates in this way.
Click Next:
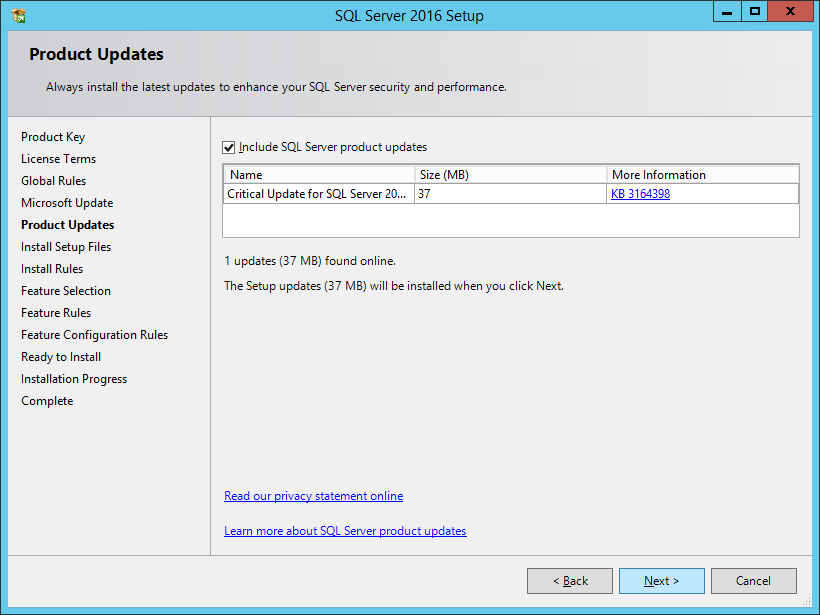
Make sure Include SQL Server product updates is checked and click Next:
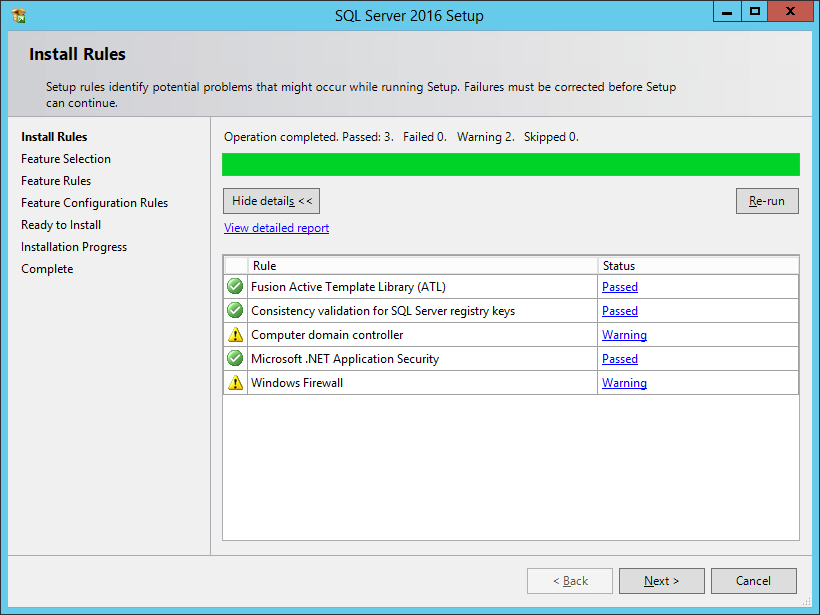
If the Install Rules checks pass successfully (despite the warning symbols, the checks on my demo environment were successful as I am installing everything in one VM and it includes a domain controller).
Click Next:
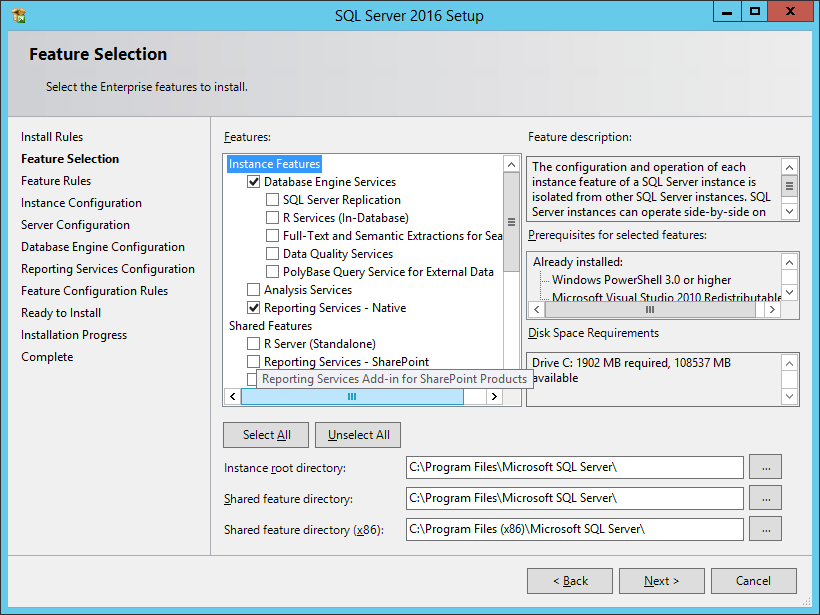
Select the required features.
I have marked Database Engine Services, Reporting Services – Native (which I always install when I will be using Microsoft Dynamics GP) and Client Tools Backwards Compatibility.
Check and amend the Instance root directory, Shared feature directory, Shared feature directory (x86): fields and make changes if necessary.
Click Next to continue:
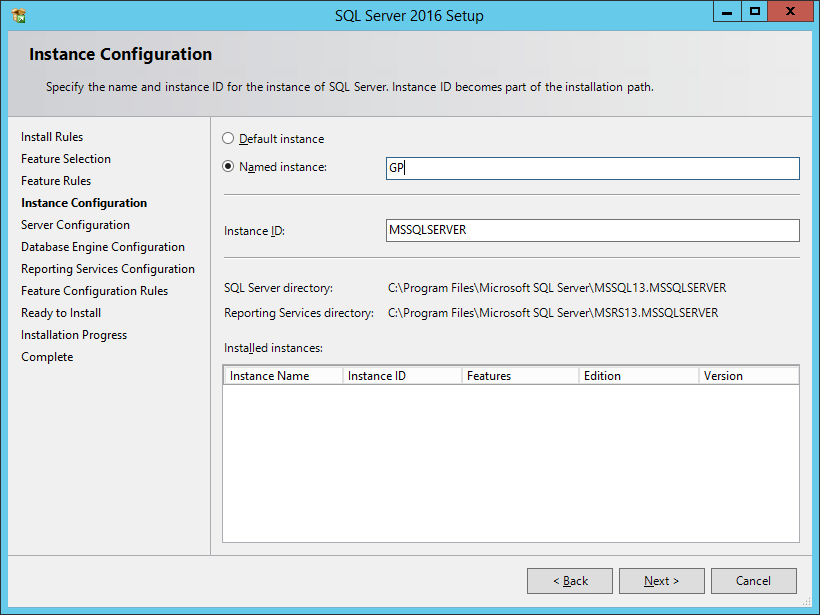
If you want to use a Named instance, mark the checkbox and enter the name (when installing SQL Server to use for Dynamics GO, I usually name the instance GP).
Click Next:
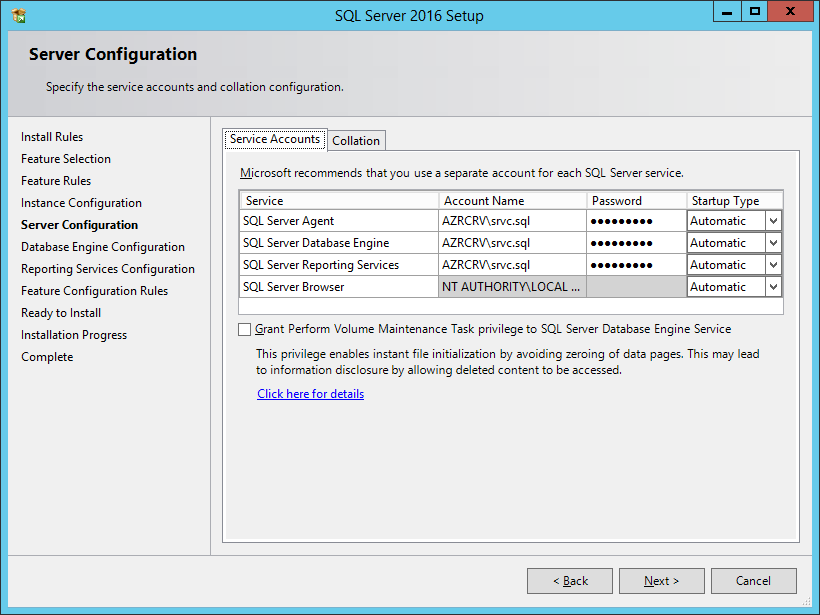
Enter the Account Name and Password for the Services. As this is a demo machine, I have used the same account for all.
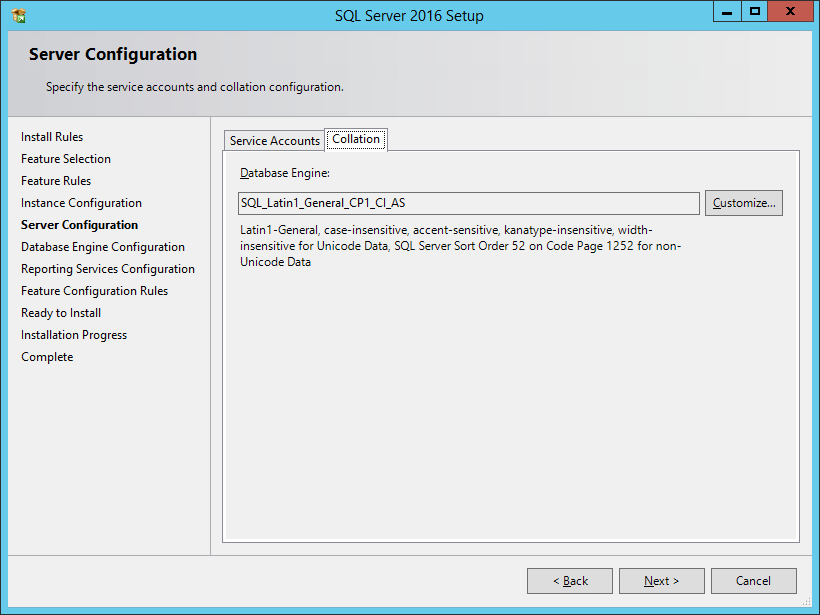
Click the Collation tab to change the view.
On a US installation of Windows, the default collation is SQL_Latin1_General_CP1_CI_AS, which is one of two supported collations for Dynamics GP and is the recommended one to use.
If you are using a UK installation of Windows you will need to click Customize and select the correct collation.
Click Next:
Dynamics GP requires SQL Server to be installed with mixed mode so mark the Mixed Mode (SQL Server authentication and Windows authentication) radio button.
Enter and confirm a password for the SQL Server system administrator (sa) account.
Use the Add button to add the SQL Server administrators.
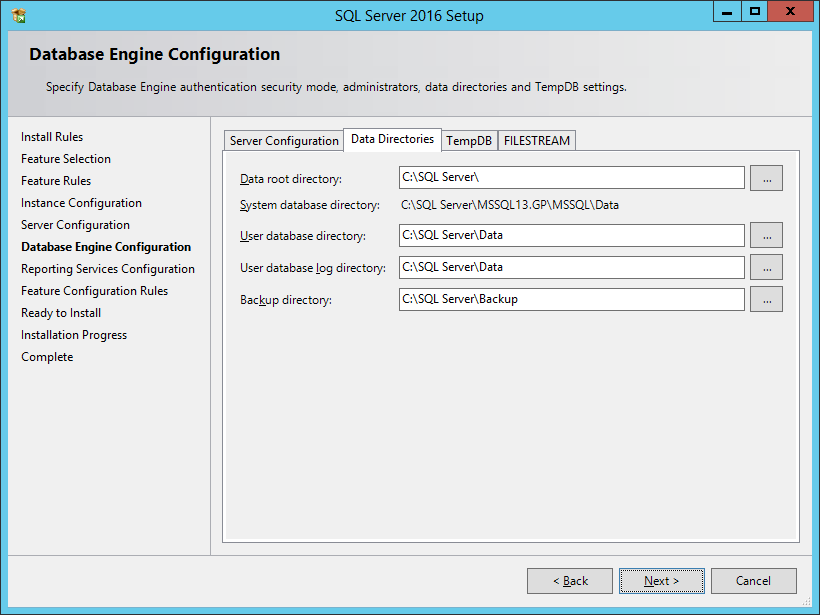
Click the Data Directories tab and make any required changes to the directories and then click Next:
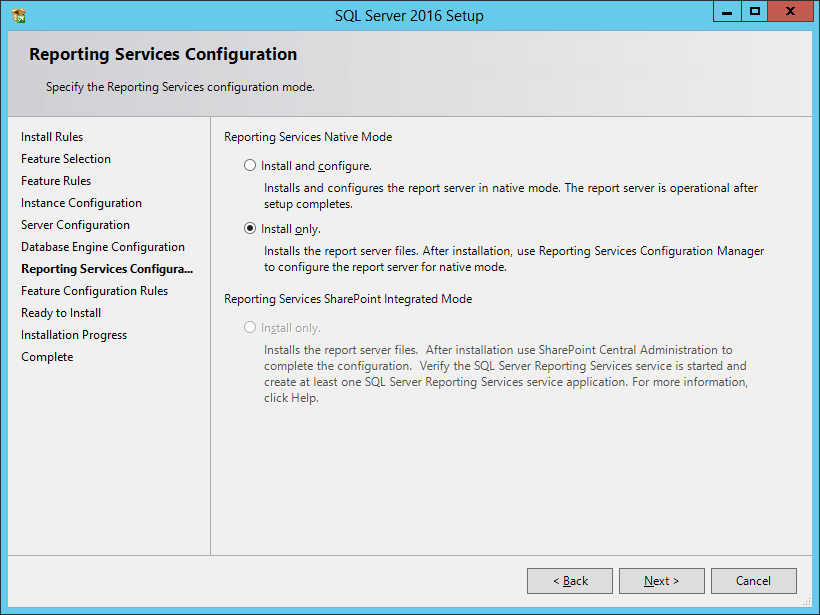
I’ve had problems before when doing Install and configure for the Reporting Services Configuration, so I have marked Install only.
Click Next:
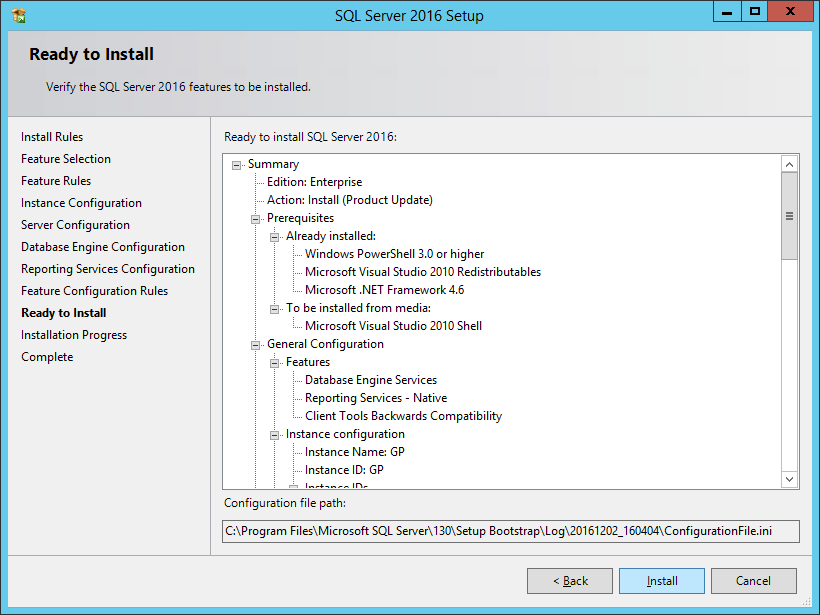
Review your installation options and click Next if you’re ready to install:
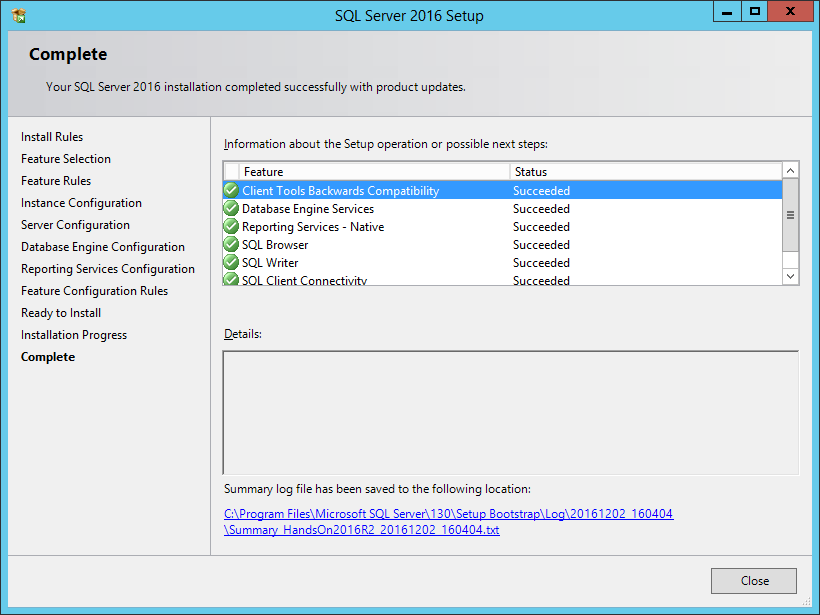
Once the installation is complete, click Close:


