 With the release of Microsoft Dynamics GP 2016 R2 it’s time for a series of “hands on” posts where I go through the installation of all of it’s components; the index for this series can be found here.
The final step before we can log into the web client, is to configure the client with a proxy user which is used to connect to SQL Server. If you did this while installing the Microsoft Dynamics GP desktop client, you do not need to do this step now (provided of course that the username and password you set while installing the web client match what you set when installing the desktop client.
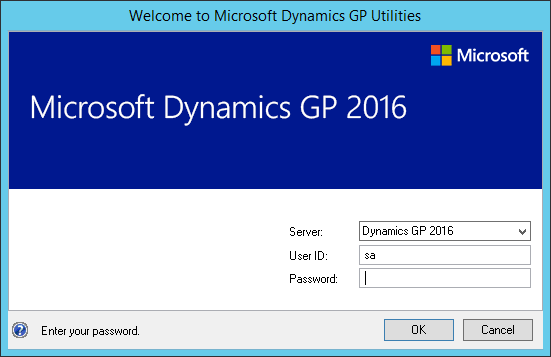
To configure (or manage) the Web Client SQL Sever Login, launch GP Utilities and log in using the sa or other user account with security admin permissions:
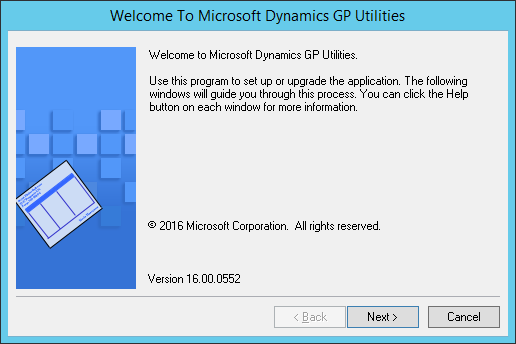
On the Welcome step, click Next:
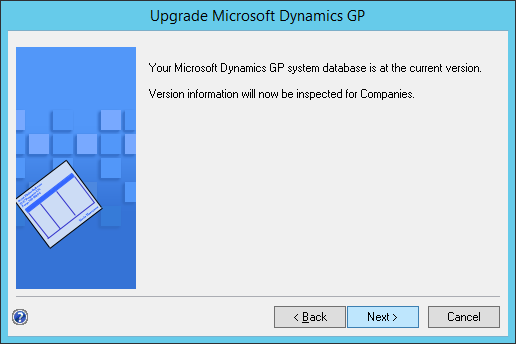
The company database version needs to be checked before you can continue, so click Next:
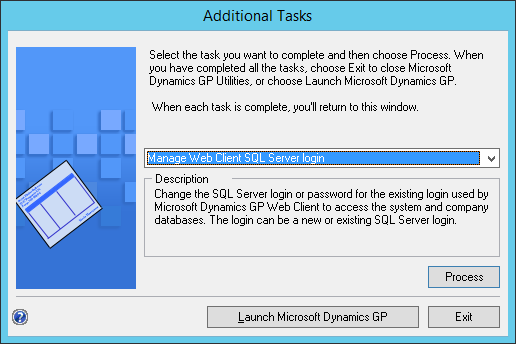
On the Additional Tasks step, select Manage Web Client SQL Server Login and click Process:
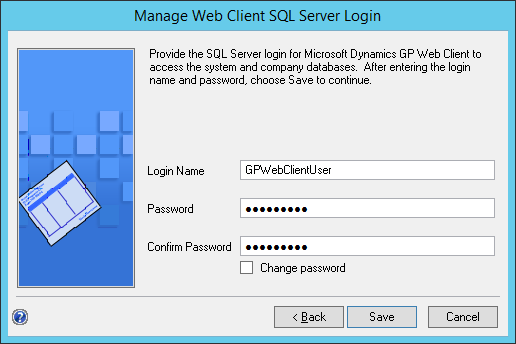
Enter the Login Name you want to use for the web client. As mentioned earlier, this needs to match the one entered when installing the web client itself.
Enter the Password and then enter the same password in the Confirm Password field. If the user already exists and you are setting a new password, mark the Change Password checkbox.
Click Save to execute the change:
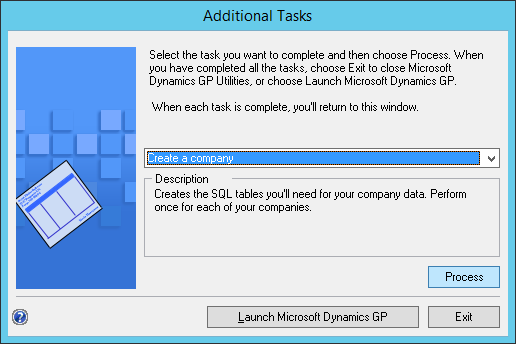
You will be returned to the Additional Tasksstep where you can click Exit or Launch Microsoft Dynamics GP:
Click to show/hide the Hands On With Microsoft Dynamics GP 2016 R2 Series Index
What should we write about next?
If there is a topic which fits the typical ones of this site, which you would like to see me write about, please use the form, below, to submit your idea.


3 thoughts on “Hands On With Microsoft Dynamics GP 2016 R2: Manage Web Client SQL Server Login”