 With the release of Microsoft Dynamics GP 2016 R2 it’s time for a series of “hands on” posts where I go through the installation of all of it’s components; the index for this series can be found here.
Over the last few posts, I have covered the installation of the web client as a scale-out deployment. After a few different Hands On… posts I have finally got the order of posts right by posting the web client installation before that of the Web Servies; this is important as there is a step of the Web Services which asks if you are using the Web Client.
If you are installing the Web Services and are using the Web Client, or plan to, then go back to this post, and it’s successors, and install the web client before proceeding with this post.
If you’re ready to install the Web Services for Microsoft Dynamics GP then launch the setup utility and, under Additional Products, click on Web Services Runtime:
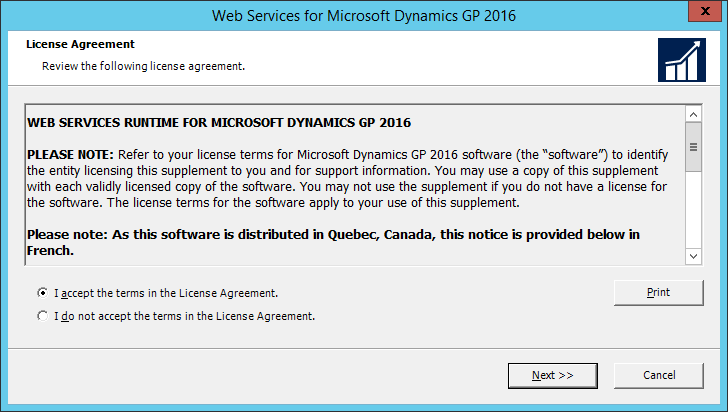
Accept the terms of the License Agreement and click Next:
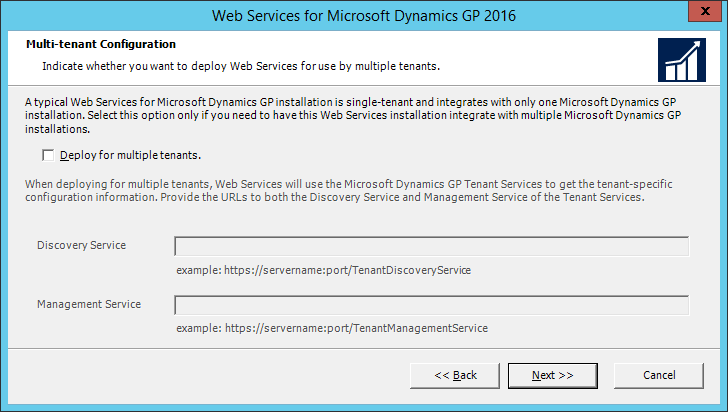
I don’t have a Multi-tenant Configuration so have just clicked Next to skip this step:
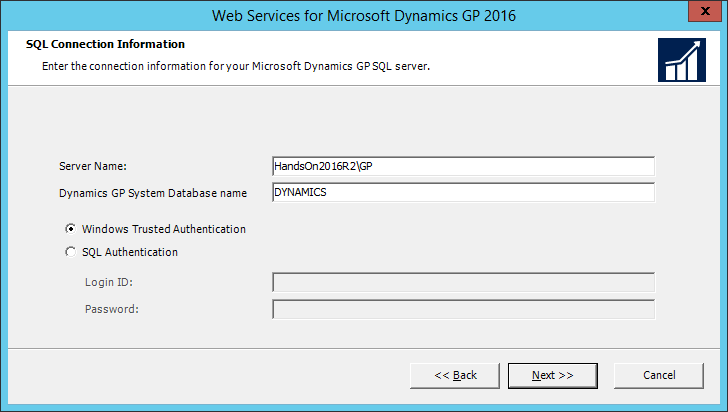
Enter the Server Name, which is the full SQL Server Instance Name, and confirm the name of the Dynamics GP System Database name, which by default is DYNAMICS or change it to the system database name you are using.
Change the authentication method if required, but I have stuck with Windows Trusted Authentication as I know my account is a SQL Administrator.
If necessary, change the authentication method to SQL Authentication and enter a Login ID and Password.
Click Next to proceed:
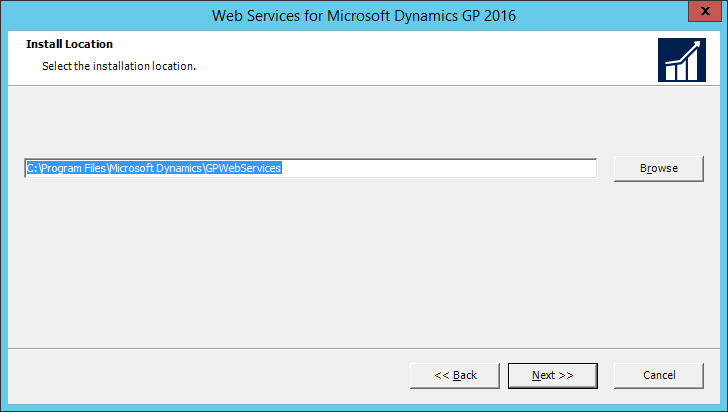
Confirm the Install Location of Microsoft Dynamics GP 2016; I always install GP in the default location when possible, but I know not everyone does, so change the path if necessary and then click Next:
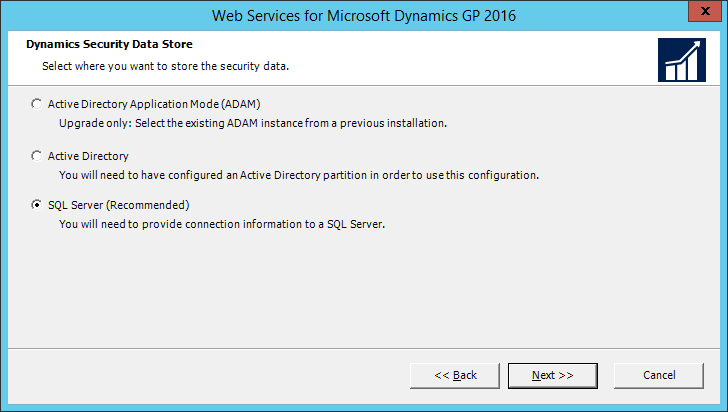
Select where the security data for the Web Services should be stored; I always go with the recommendation of SQL Server for the Dynamics Security Data Store.
Click Next:
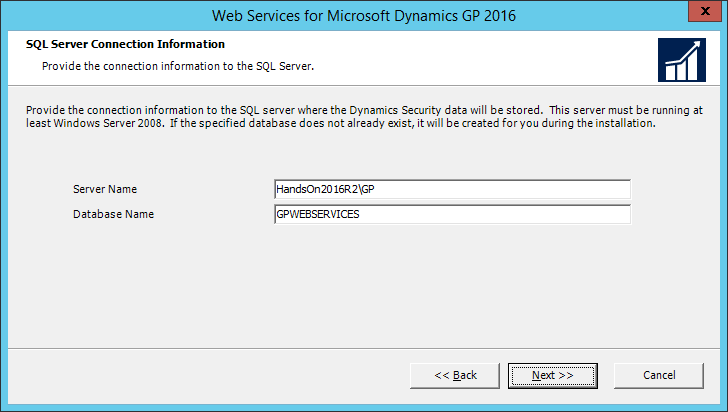
Having selected SQL Server for the Dynamics Security Data Store, the next step is to enter SQL Server Name and Database Name.
Once you have entered your choices, click Next:
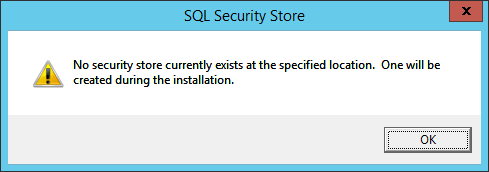
A message stating that No security store currently exists at the specified location. One will be created during the installation will be displayed. Click OK:
Enter the Windows account information which will be used for the Web Services on the Application User Account step.
This required the Domain, User Name and Password of a Domain account which will be used to run the service.
Once you have entered a valid account, click Next:
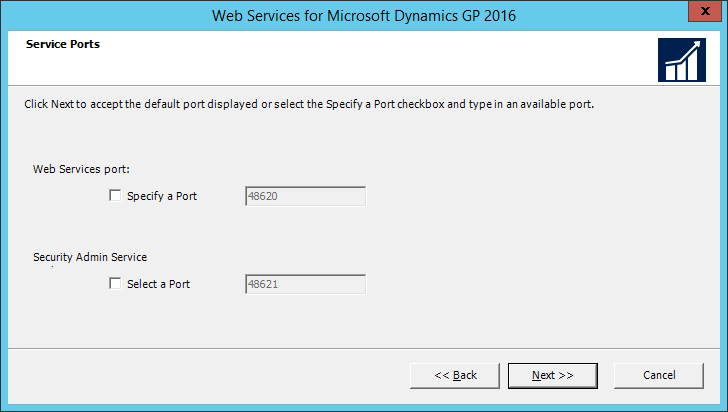
For the Service Ports, either accept the default of 48620 for the Web Services Port and 48621, or mark the Select as Port checkbox and enter new port numbers.
Click Next to proceed:
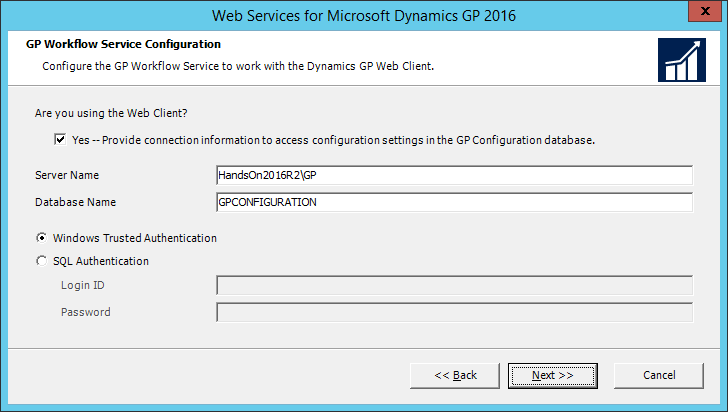
There are some options to configure if you will be using Workflow and the web client. If you are not using the web client simply click Next to continue, but if you are using the web client and have it installed, mark the Yes — Provide connection information to access configuration settings in the GP Configuration database. checkbox.
Enter the fill SQL Instance name in the Server Name field and then enter the Database Name, which by default for the web client is GPCONFIGURATION.
Select your authentication method; if you select SQL Authentication, enter the Login ID and Password.
Click Next:
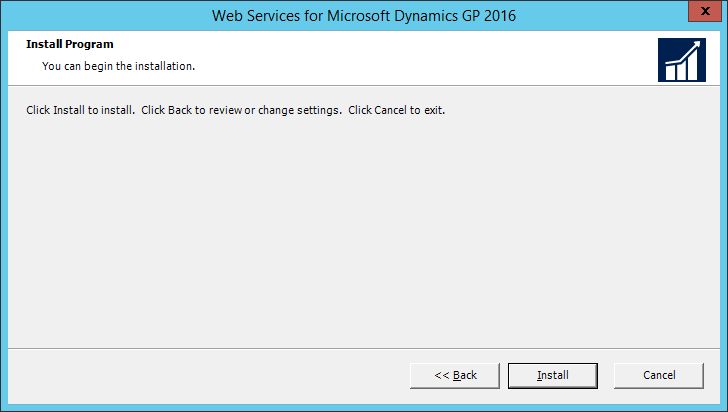
Confirm the installation should be done by clicking Install:
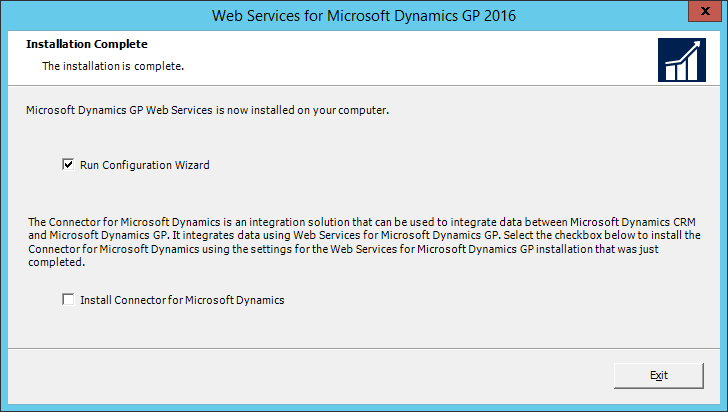
Once the installation is complete, decide if you want to run the Configuration Wizard now or later; if later, unmark the Run Configuration Wizard checkbox.
Click Exit:
Click to show/hide the Hands On With Microsoft Dynamics GP 2016 R2 Series Index
What should we write about next?
If there is a topic which fits the typical ones of this site, which you would like to see me write about, please use the form, below, to submit your idea.





3 thoughts on “Hands On With Microsoft Dynamics GP 2016 R2: Install Web Services Runtime”