 With the release of Microsoft Dynamics GP 2016 R2 it’s time for a series of “hands on” posts where I go through the installation of all of it’s components; the index for this series can be found here.
Now that the Web Client Runtime feature has been added, we can install the web client itself. I am only doing a single-machine deployment of the web client in this series of posts.
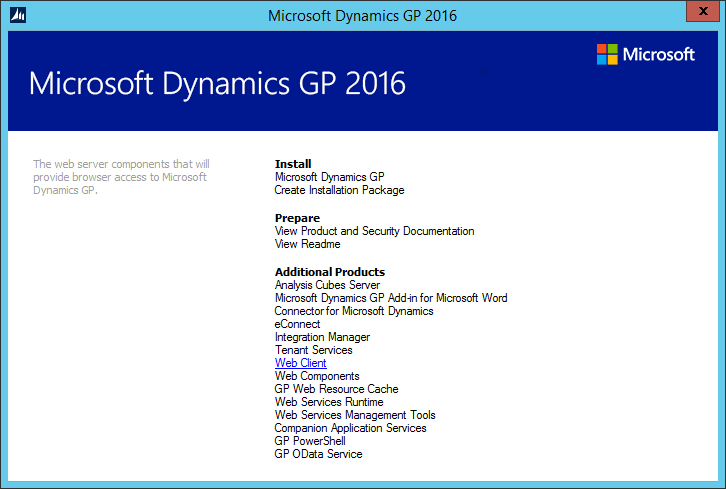
To install the Web Client, launch the setup utility and, under Additional Products select Web Client:
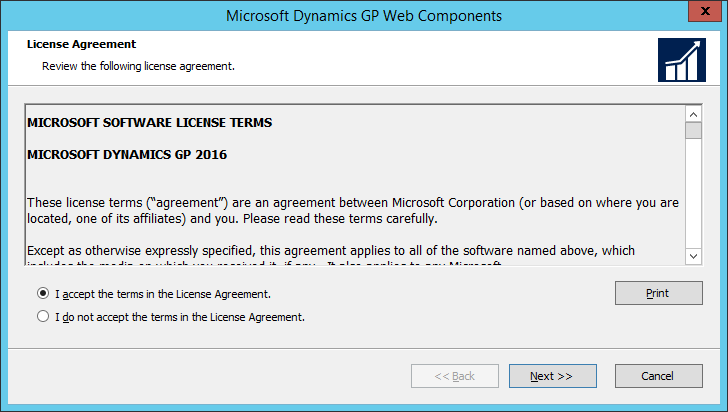
Accept the terms of the License Agreement and click Next to proceed:
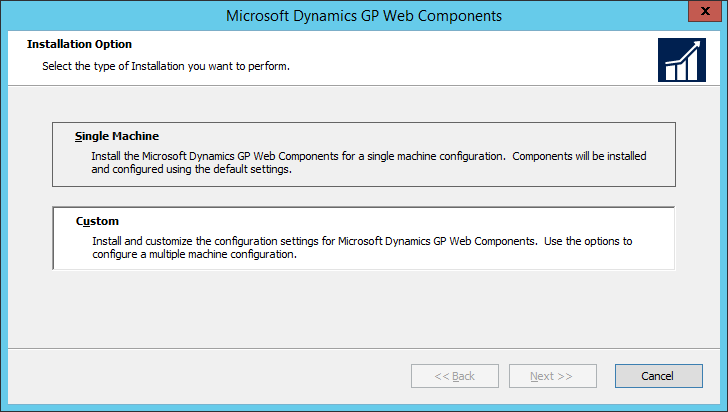
Select the Installation Option of Custom; even though I am doing single-machine deployment, I prefer to select Custom as the Single Machine option doesn’t just install the Web Client, but SBA as well and I prefer more control.
Click Next to continue:
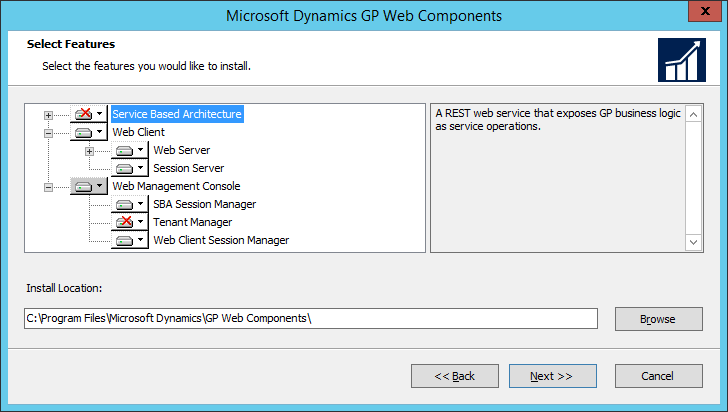
When you Select Features, make sure everything is marked except for Service Based Architecture and click Next:
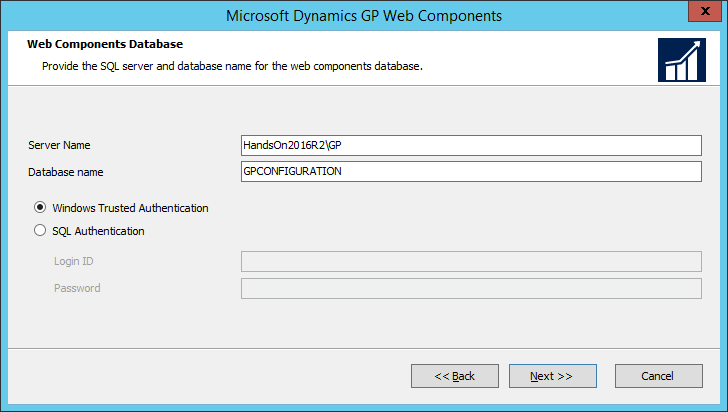
Enter the Server Name and either accept the default Database name of GPCONFIGURATION ot change it to your preferred value.
Select your authentication method and enter your Login ID and Password if you select SQL Authentication.
Click Next to proceed:
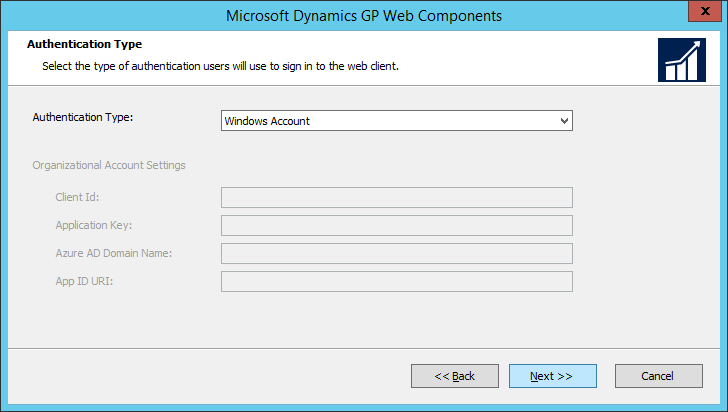
Choose the Authentication Type of how users will access the web client; the default is Windows Account which means a traditional AD Account or you can select Organisation Account which is an Azure one.
If you select the latter, you will need to complete the Organisational Account Settings.
Once finished, click Next:
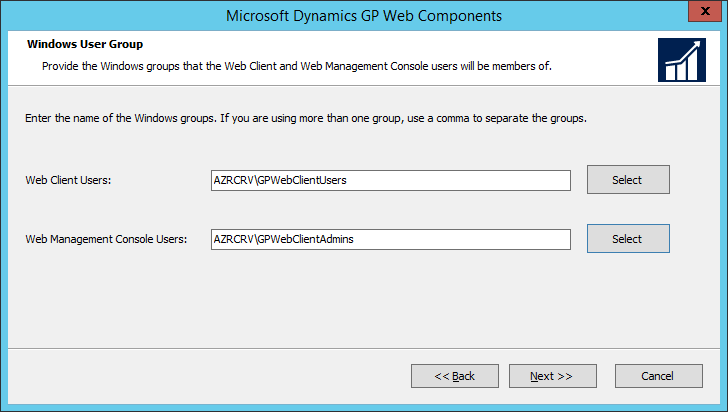
Select the Windows User Group. These are Active Directory user accounts which give users access to the Web Client and the Web Management Console.
Enter or select these groups and click Next:
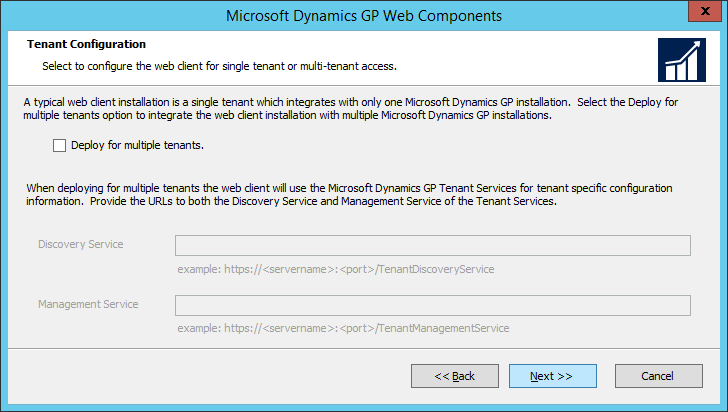
If you have a multi tenant install of Dynamics GP, you will need to complete the Tenant Configuration, but I only have a single tenant so don’t need to do this.
Click Next:
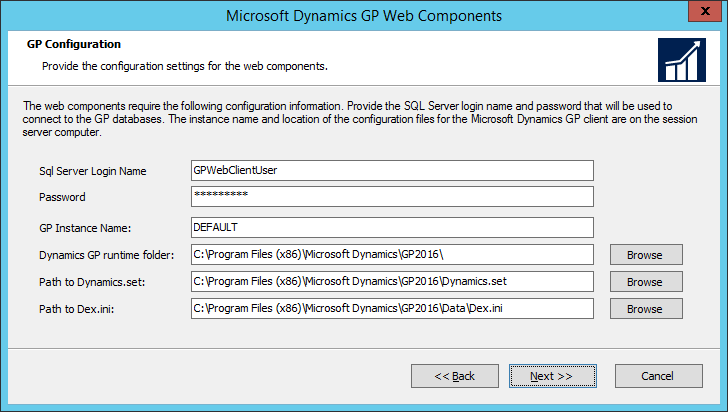
The GP Configuration provides the details the web client need to connect.
The Sql Server Login Name should match the name defined when the client was installed; if you’re following this series of posts, you won’t have configured this option when install the client, but will go back and do it when I cover that in three posts from this one.
So, enter a user name; this will serve as the proxy for the web client which all database connections will be made using. I have chosen the obviously named GPWebClientUser.
Enter the Password and the GP Instance NameDEFAULT.
The Path to Dynamics.set and Path to Dex.ini only need to be changed if you have installed Dynamics GP somewhere other than the default location.
Click Next to proceed:
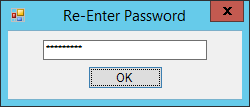
Re-Enter Password to confirm the one entered on the GP Configuration step and then click OK:
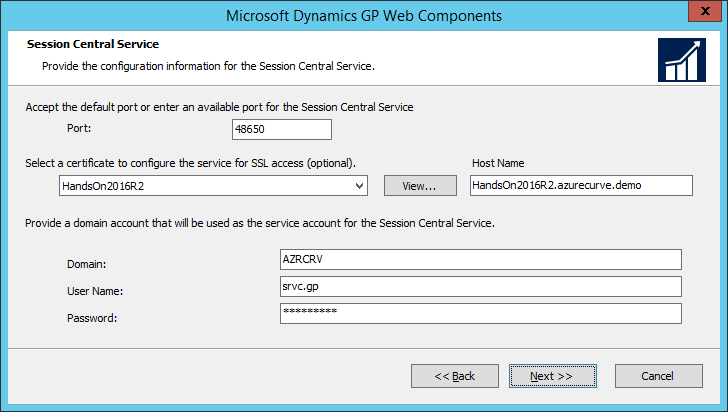
The Session Central Service needs to be configured.
The port will default to 48650, but can be changed if necessary.
While the certificate is optional, I always recommend setting and SSL certificate wherever one is requested. You should have previously assigned a certificate to the server.
For some certificate types, such as a wild card certificate, you will need to edit the Host Name field to remove characters after the actual fully qualified host name.
Enter the Domain, User Name and Password which will be used as the service account for the Session Central Service and click Next:
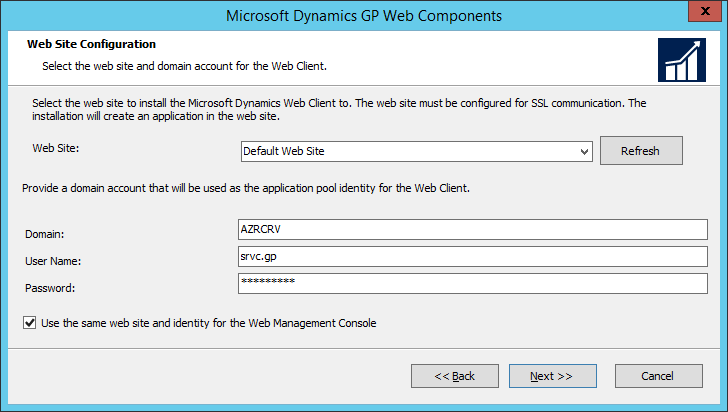
Next the Web Site Configuration requires a web side and application pool identity configured.
I have opted to use the Default Web Site, but you can create a new site for the web client; make sure a certificate is bound to the web site in IIS.
Enter the Domain, User Name and Password which will be used as the application pool identity.
If you’re going to use the same web site for the Web Management Console, as I am, mark the Use the same web site and identity for the Web Management Console.
Click Next:
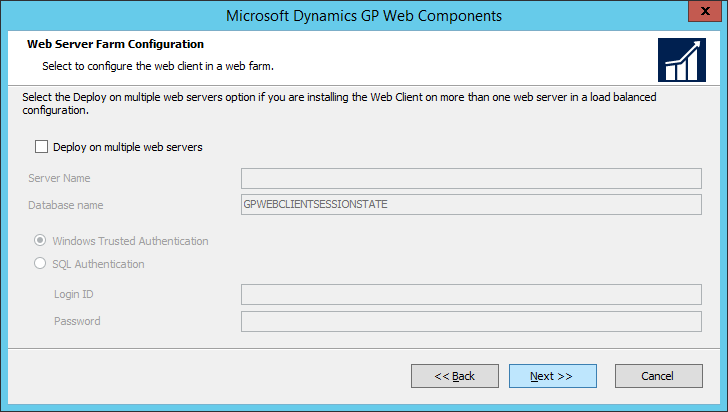
The Web Server Famr Configuration only needs to be completed if multiple web servers will be used for a load balanced configuration.
I am not doing this as this is a single-machine deployment, so click Next:
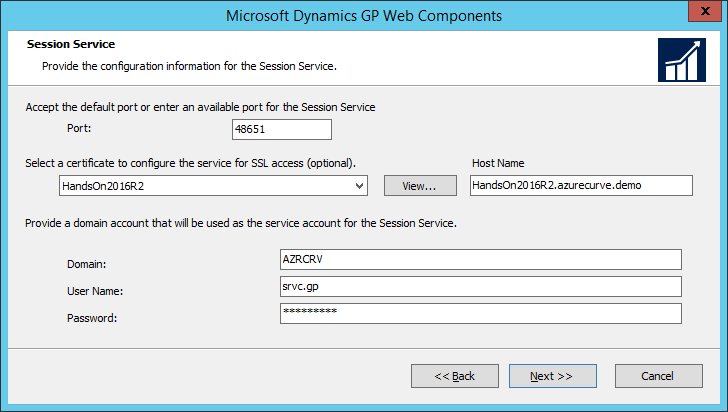
Again, select a certificate even though it is optional and make sure the Host Name is correct.
Enter the Domain, User Name and Password which will be used as the service account for the Session Service and click Next:
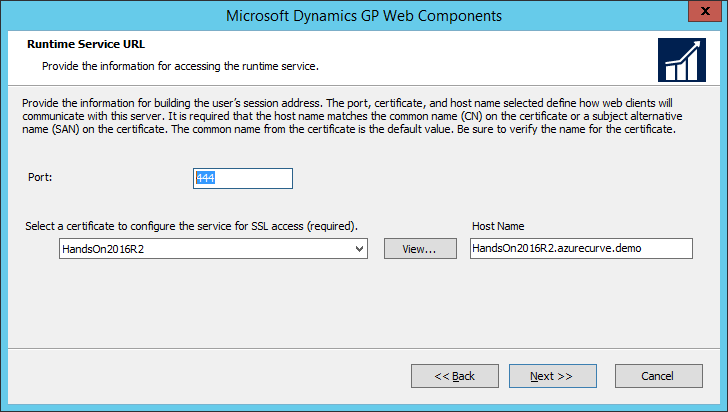
The Runtime Service URL needs a Port (which has a default of 443, but I changed it to 444 as I have SSRS configured with port 443 and want to avoid any possible conflicts.
Select a certificate, which is required on this step, and make sure the Host Name is correct:
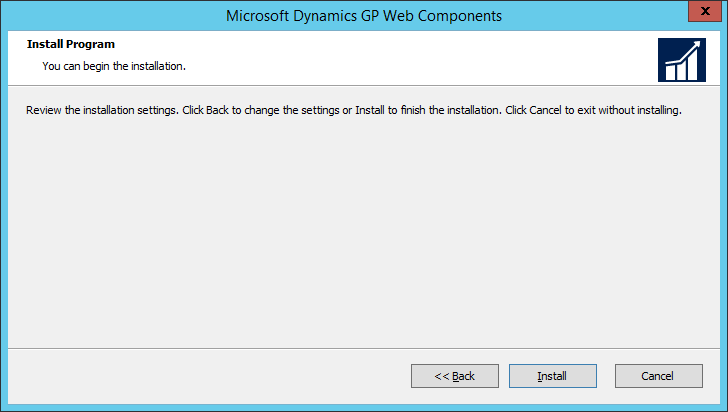
Click Install to begin the installation of the web components:
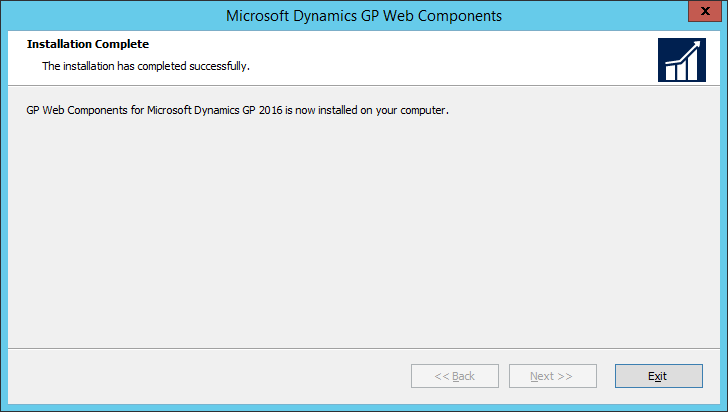
Once the installation is complete, click Exit:
Click to show/hide the Hands On With Microsoft Dynamics GP 2016 R2 Series Index
What should we write about next?
If there is a topic which fits the typical ones of this site, which you would like to see me write about, please use the form, below, to submit your idea.




1 thought on “Hands On With Microsoft Dynamics GP 2016 R2: Install Web Client Single-Machine Deployment”