 With the release of Microsoft Dynamics GP 2016 R2 it’s time for a series of “hands on” posts where I go through the installation of all of it’s components; the index for this series can be found here.
in the previous post, the first client was installed; the next step it to deploy the System database.
Do this by launching GP Utilities from the Windows start menu. Log in using the sa account (this is one of the few times when the sa account must be used; at this time there are no other users which can be used).
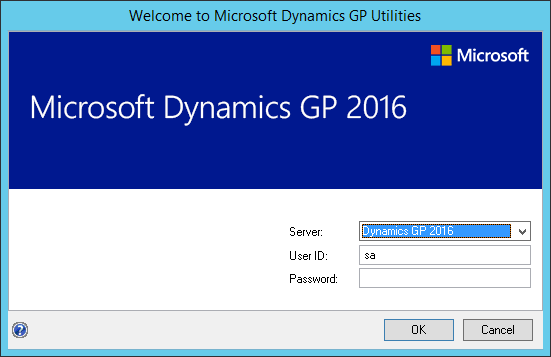
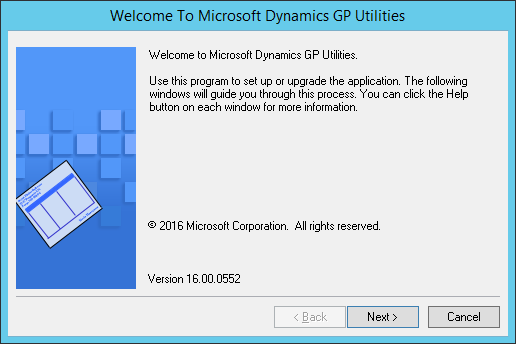
On the Welcome step, click Next:
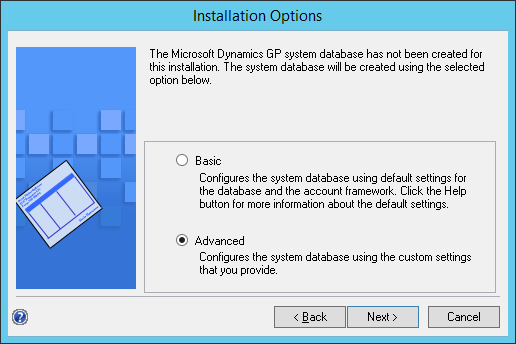
On the Installation Options step, select Advanced and click Next:
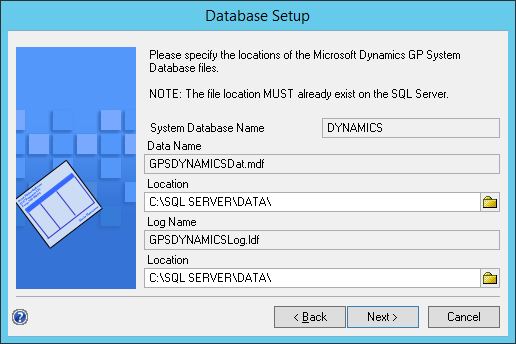
Unfortunately, GP Utilities does not read the default locations for data and log files, so you will need to amend the two Location fields to where you want the system database’s data and log files located. Once the correct folders have been selected, click Next:
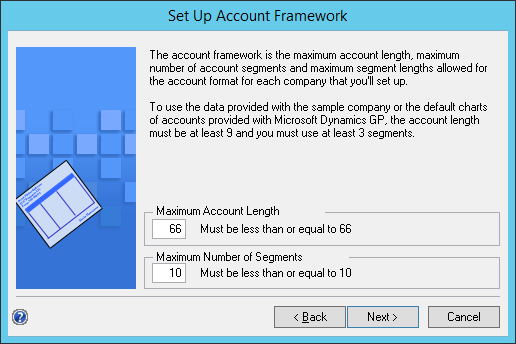
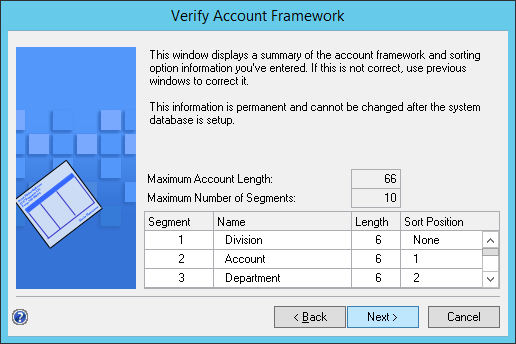
The Account Framework needs to be defined; I would always install this with a Maximum Account Length of 66 and Maximum Number of Segments of 10 to allow the most flexibility and allow for the accounts to be made logner in future.
Once you have entered the required values, click Next:
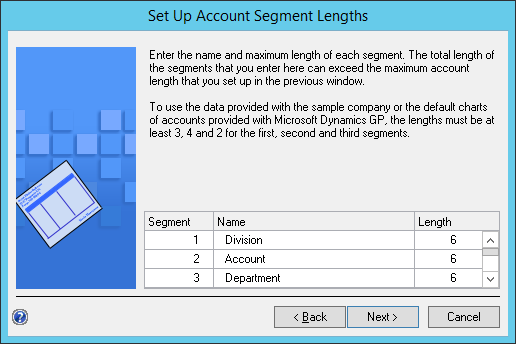
The length of each segment can be amended; if you selected 66 10 on the previous step, Set Up Account Segment Lengths, each segment will be 6 characters. This should be defined after discussion with the client, assuming you work for a partner as I do.
Once the segments have their lengths defined, click Next:
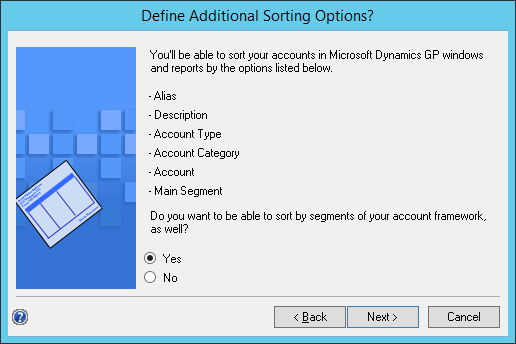
By default, the accounts can be sorted by a number of fields, but you can choose to sort by segments as well. To do so, mark the Yes radio button and click Next:
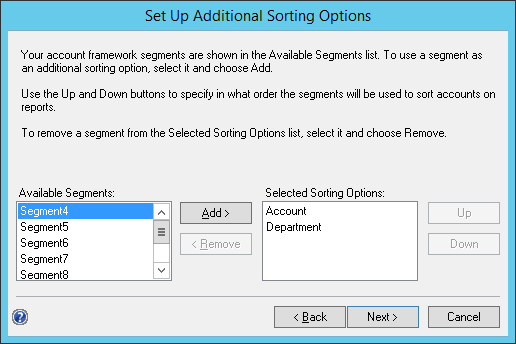
Moce the segments you want to sort by to the Selected Sorting Options list using the Add button and click Next:
Check and verify the Account Framework is correct; use the Bck button to go back and amke any necessary changes, or click Next to proceed:
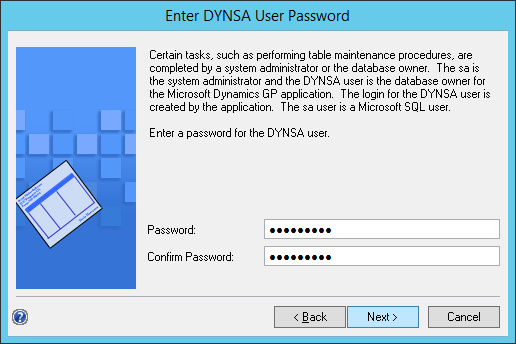
Enter a Password for the DYNSA account; this is the Dynamics System Administrator account which should be used to administer Dynamics GP (for full explanation see this post from 2011) and click Next:
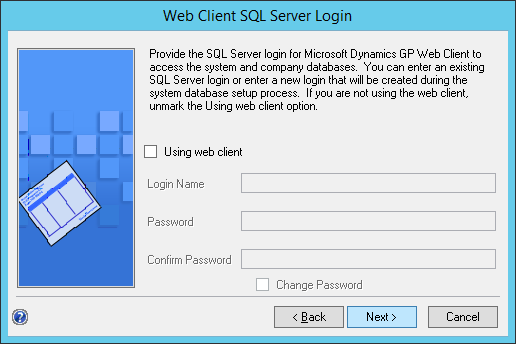
If you’re going to be using the Web Client, mark the Using Web Client checkbox and enter the details. I’ll be installing the Web Client later, but have left this option unmarked, as I will do this configuration when I do the web client installation.
Click Next to proceed:
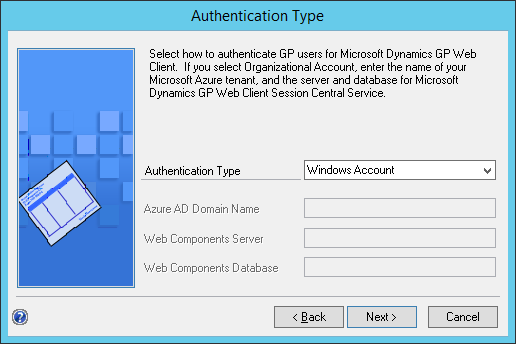
Select your Authentication Type type which can be either Windows Account or Organisation Account if you’re using Azure. I left the option set to Windows Account and clicked Next:
Enter and confirm the System Password and click Next:
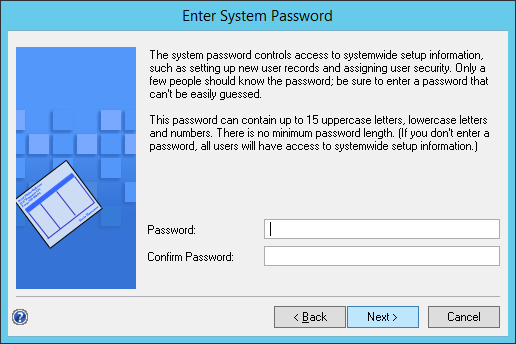
Confirm your selections and click Finish to begin the deployment of the system database:
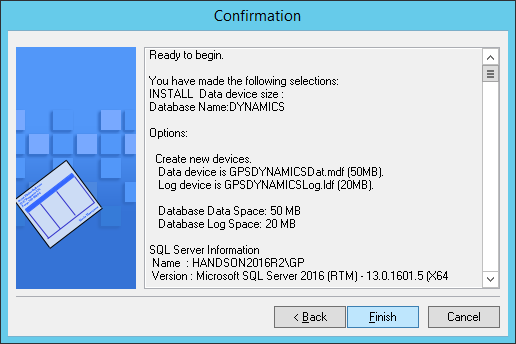
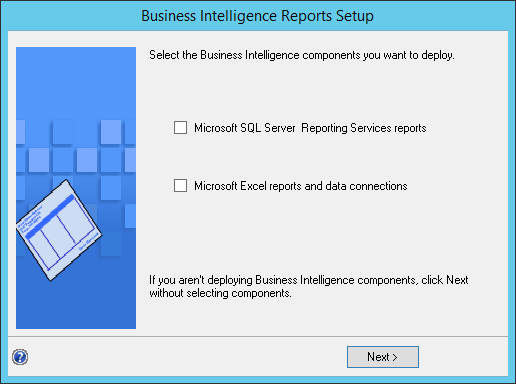
Once the deployment of the system database is complete, GP Utilities will move onto the Business Intelligence Report Setup; I have left both of the options unmarked as I will be deploying the BI reports later:
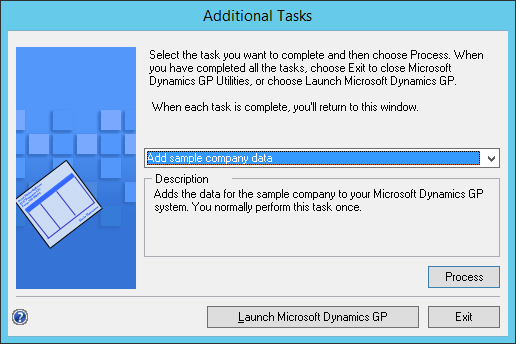
At the Additional Tasks stage, you can add the sample company or create a company as required.


3 thoughts on “Hands On With Microsoft Dynamics GP 2016 R2: Deploy System Database”