 With the release of Microsoft Dynamics GP 2016 R2 it’s time for a series of “hands on” posts where I go through the installation of all of it’s components; the index for this series can be found here.
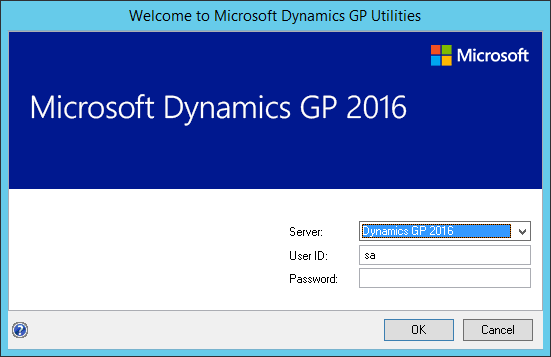
In this post, I’m going to cover the creating of new companies in Microsoft Dynamics GP 2016 R2; to create a company, launch GP Utilities and log in using the sa account:
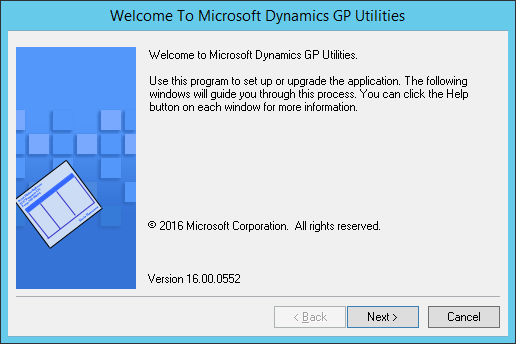
On the Welcome step click Next:
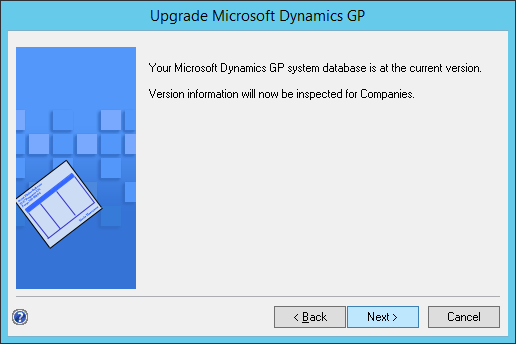
Allow GP Utilities to confirm the company databases are at the correct version by clicking Next:
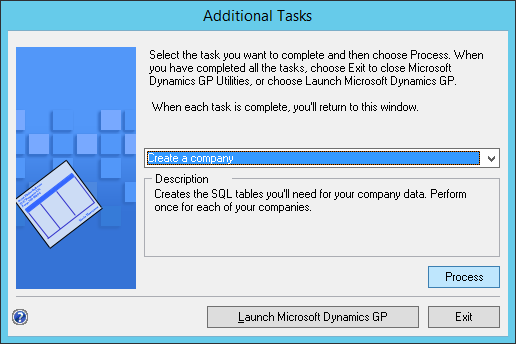
Select Create a company and click Process:
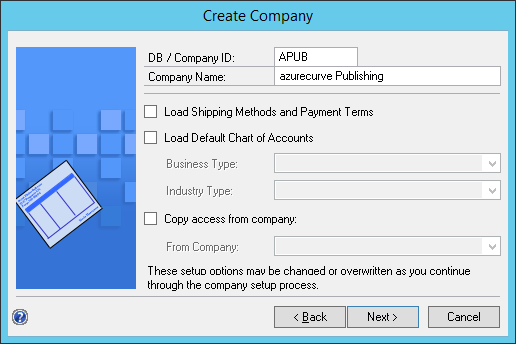
Enter a DB / Company ID: this must be a maximum of five characters and cannot start with a number; this cannot be changed once the company has been created.
Entry the Company Name; this can be changed via the application should there be a need.
Choose whether the some of the setup information should be defaulted in or the security should be copied from another company and click Next
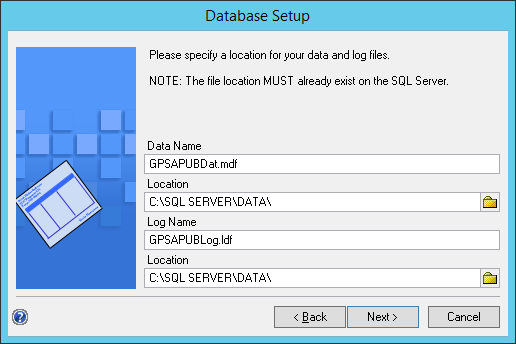
Check the Database Setup and make any necessary changes; you will need to change the Location fields as GP Utilities does not use the SQL Server defaults.
Click Next once you have made any changes necessary:
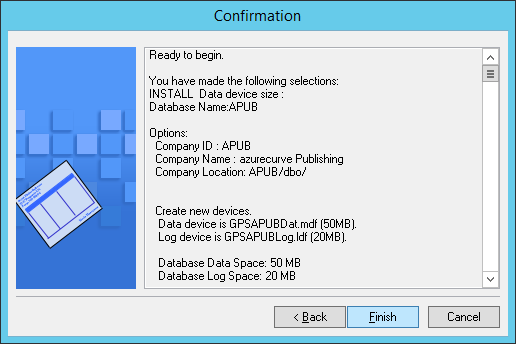
Conform your selections and click Finish to create the comnpany database:
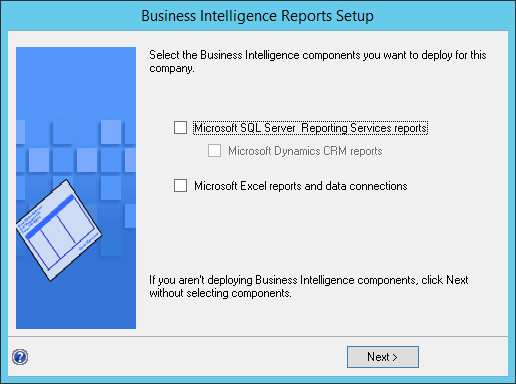
If you want to deploy the Business Intelligence Reports then mark the relevant boxes; I haven’t got them configured on my demo system yet, so have just clicked Next:
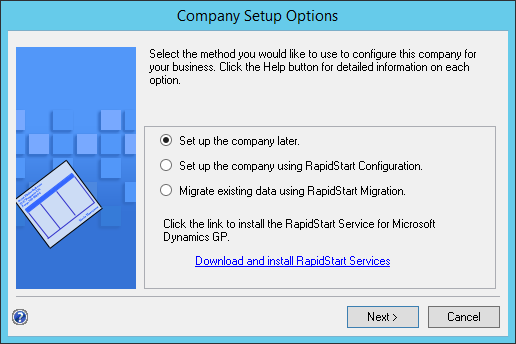
Leave Set up the company later and click Next:
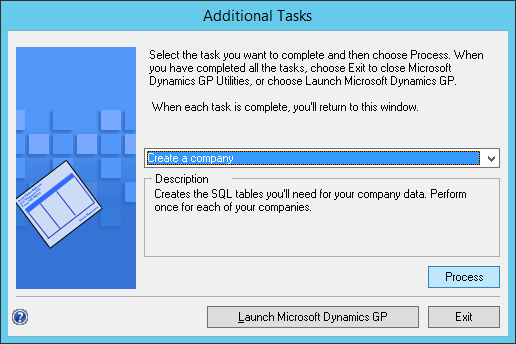
On the Additional Tasks step, click Launch Microsoft Dynamics GP or Exit to close GP Utilities:
Click to show/hide the Hands On With Microsoft Dynamics GP 2016 R2 Series Index
What should we write about next?
If there is a topic which fits the typical ones of this site, which you would like to see me write about, please use the form, below, to submit your idea.


1 thought on “Hands On With Microsoft Dynamics GP 2016 R2: Create A Company”