 Since the introduction of Workflow 2.0 in Microsoft Dynamics GP 2013 R2, I have been doing a lot more installs of the web services. There are one or two gotchas (more at the configuration stage than the installation stage though) which I will highlight as we go through these next few posts.
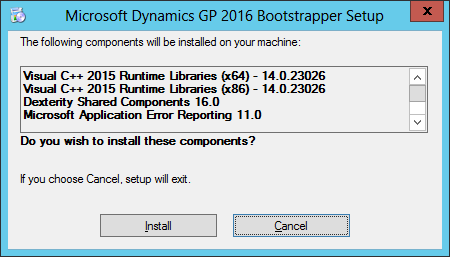
Start the setup utility on the installation media. As web serices are likely to be installed on a server which does not already have any Dynamics GP components installed you will see the Bootstrapper Setup; click Install to install the required components:
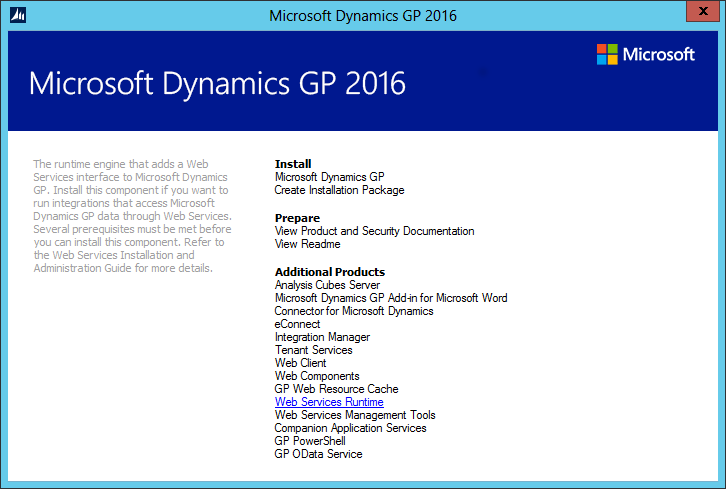
Once the prerequisites have been installed, from under Additional Products select Web Services Runtime:
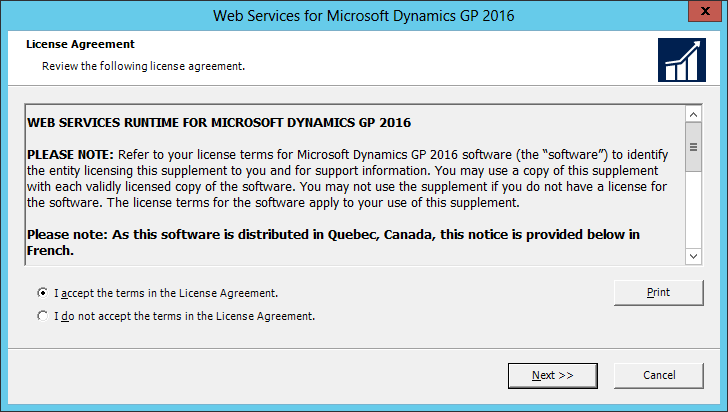
Accept the terms of the License Agreement and click Next:
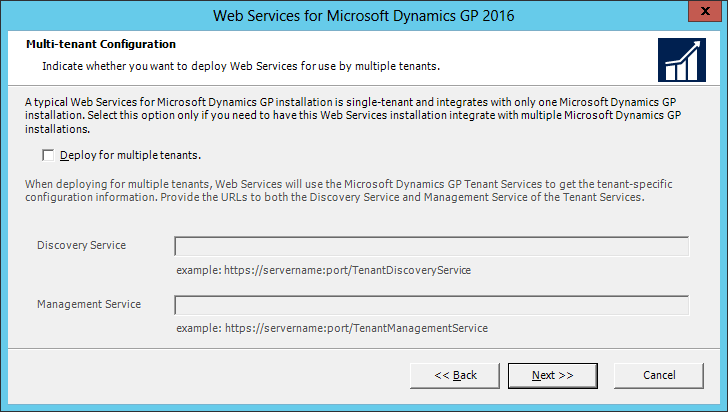
I am not doing a Multi-tenant Configuration so have left the ,em>Deploy for multiple tenants checkbox and clicked Next:
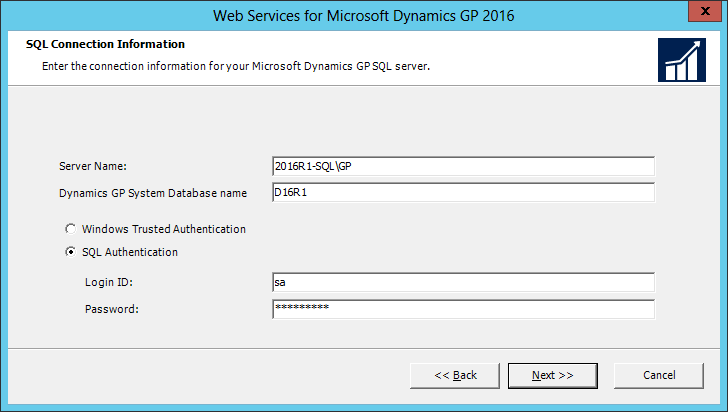
At the SQL Connection Information stage, enter the full Server Name (including the name of the named instance if one is being used) and then enter the Dynamics GP System Database name.
You also need to supply login details; while you can use Windows Trusted Authentication, but I typically use SQL Authentication and supply the sa account to ensure I don’t run into permission issues:
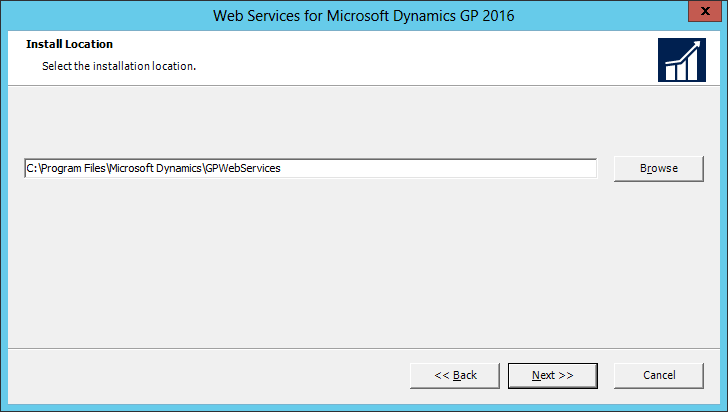
Confirm the Install Location and click Next:
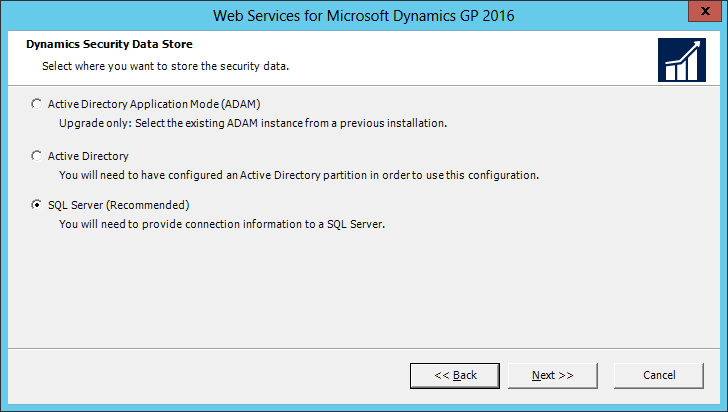
Choose where the Dynamics Security Data Store should be placed. The recommended option is SQL Server:
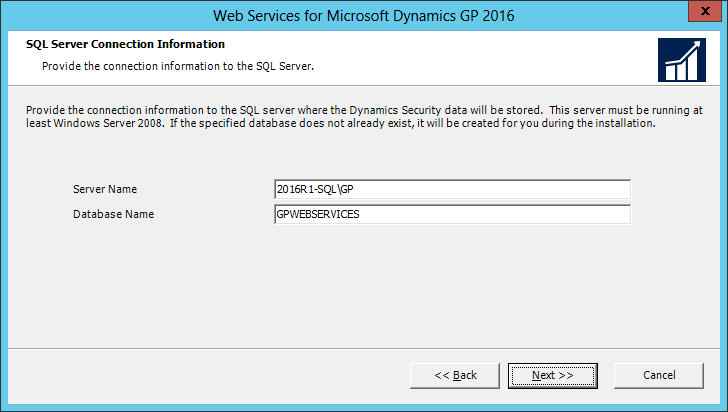
Supply the details for where the Dynamics Security database should be created (full SQL Server name including the name of the instance) and confirm the Database Name:
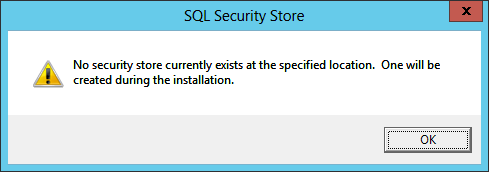
A warning message will be displayed stating that there is no security store in the specified location and that one will be created:
SQL Security Store
No security store currently exists at the specified location. One will be created during the installation.
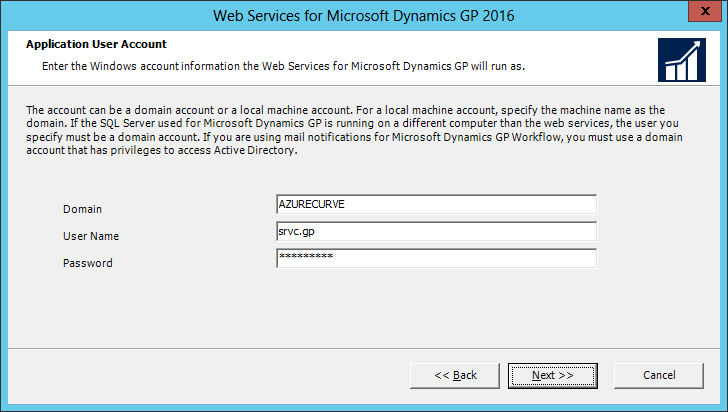
An Active Directory account is required for the Web Services to dun as. Enter the details of the account and click Next:
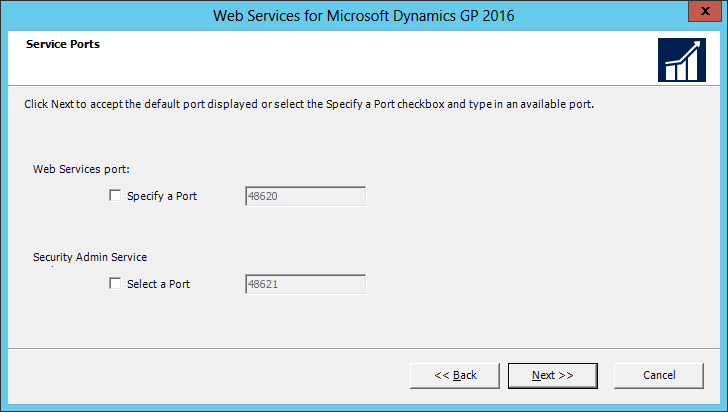
Check the Service Ports and click Next:
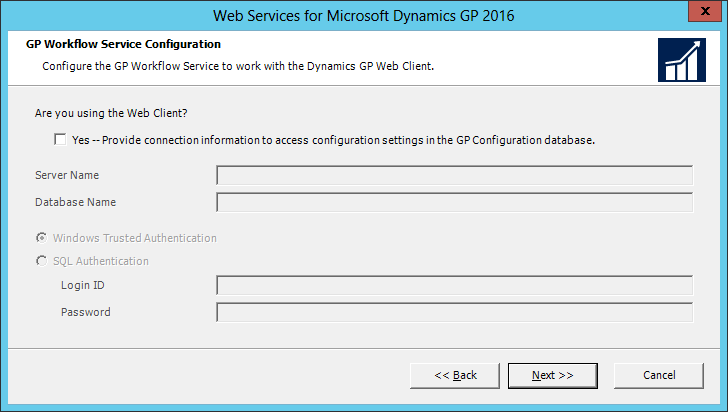
If you are using the Dynamics GP Web Client, mark the box and supply the details of the GP Configuration Database (I didn’t do this when first doing the install so I will need to go back and change this):
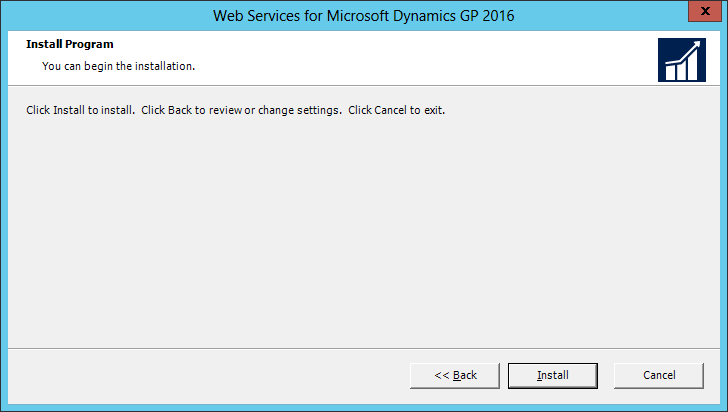
Click Install to begin the installation of the Web Services:
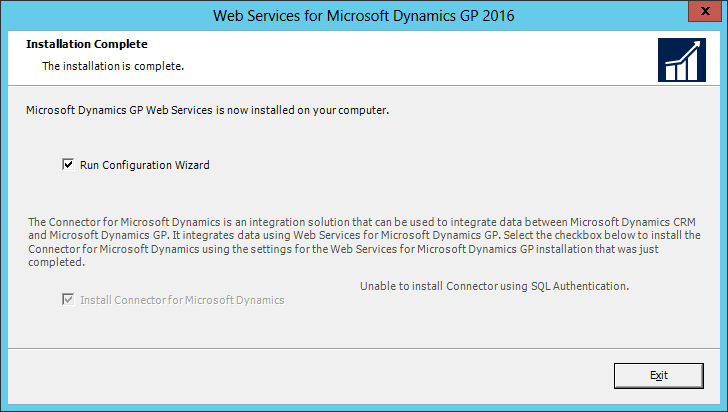
Once the installation is complete, a dialog will eb displayed confirming this and allowing the Configuration Wizard to be automatically launched:
Click to show/hide the Hands On With Microsoft Dynamics GP 2016 R1 Series Index
What should we write about next?
If there is a topic which fits the typical ones of this site, which you would like to see me write about, please use the form, below, to submit your idea.




5 thoughts on “Hands On With Microsoft Dynamics GP 2016 R1: Web Services Installation”