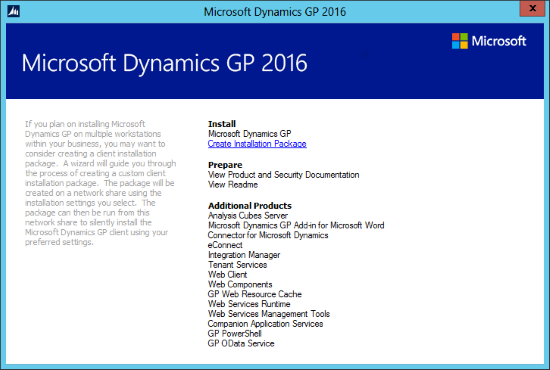
 If you have a number of clients to install then the best way of doing this is to create an installation package. Do this by launching the setup utility and, under Install click Create Installation Package:
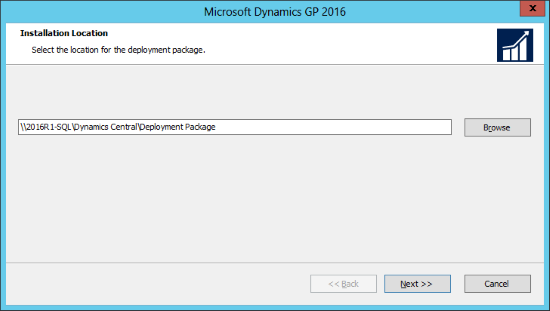
Select the location into which the installation package should be created and click Next:
Settings from this point on should match the first client installed.
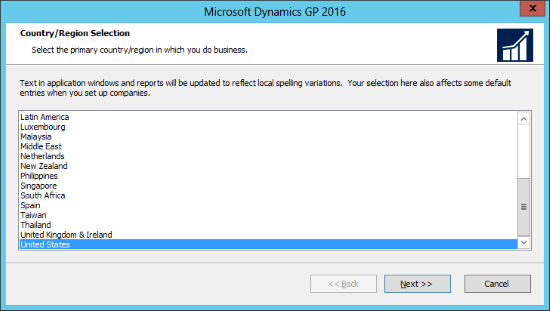
Select the country/region and click Next:
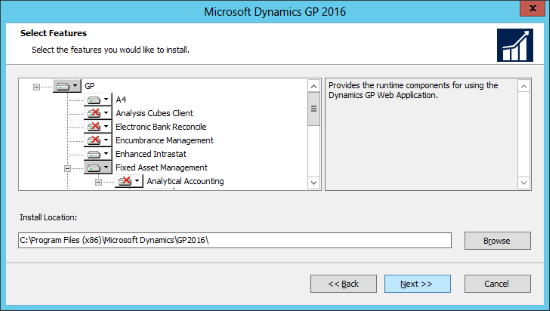
Select the features to be installed and confirm the Install Location before clicking Next:
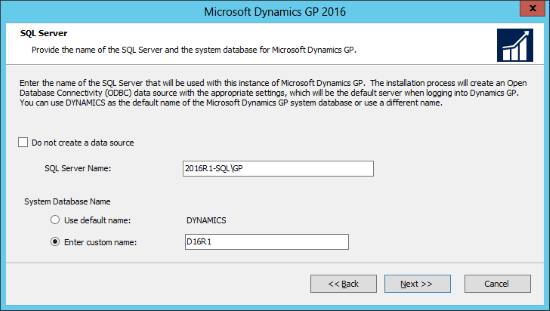
Specify the SQL Server Name (full name including the name of the instance) and confrim the System Database Name:
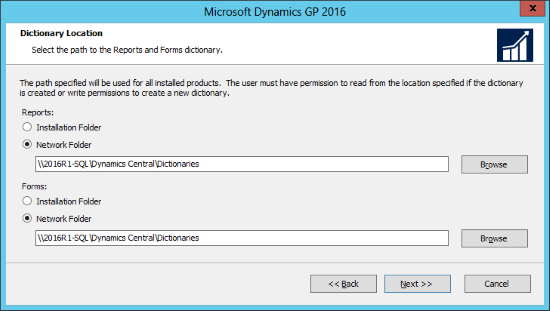
Select the path to the Reports and Forms dictionaries; I am configuring them to be on a shared location so have set a Network Folder using the UNC path:
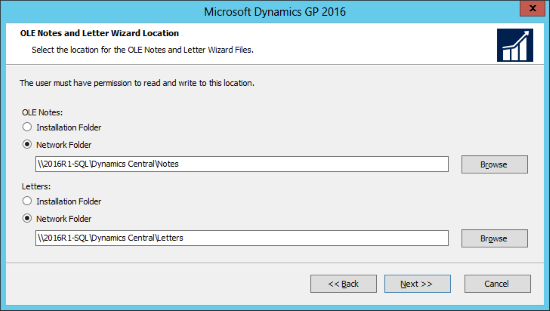
Likeiwse the OLE Notes and Letters have been configured to use the same network share:
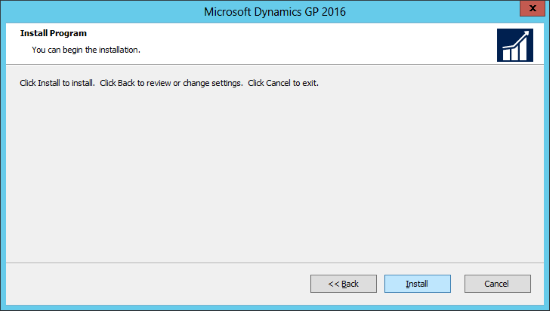
When ready to begin the installation, click Install:
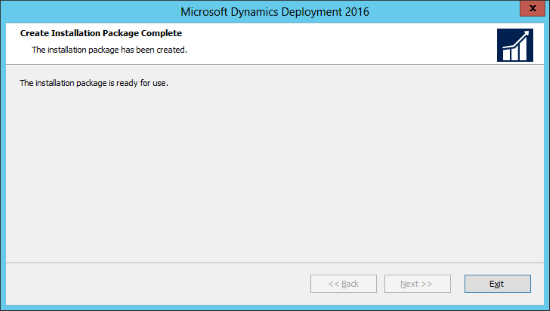
And once the creation of the installation package is complete, click Exit:
Click to show/hide the Hands On With Microsoft Dynamics GP 2016 R1 Series Index
What should we write about next?
If there is a topic which fits the typical ones of this site, which you would like to see me write about, please use the form, below, to submit your idea.




2 thoughts on “Hands On With Microsoft Dynamics GP 2016 R1: Create An Installation Package”