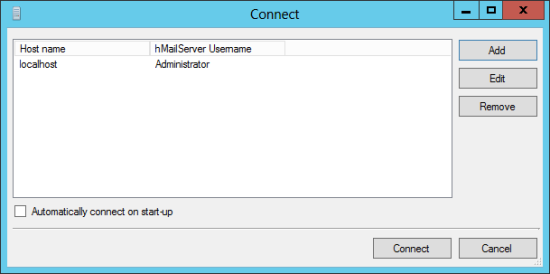
 If you followed the last post you should have the Connect window on screen. If not start the hMailServer Administrator from the start menu.
Select the server you want to connect to and click Connect
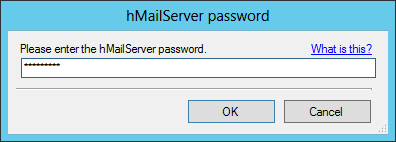
Enter the hMailServer password created during the installation and click OK:
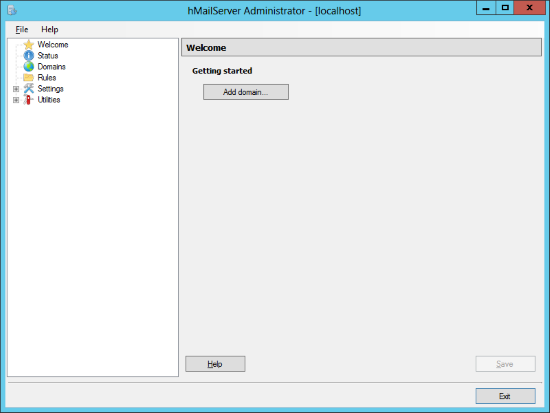
The hMailServer Administrator will open on the Welcome page. Click Add domain…:
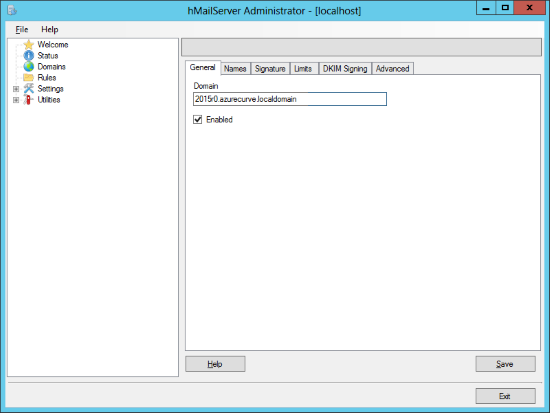
Enter the domain you want to use in the Domain field and make sure the Enabled checkbox is marked.
Click Save to save the changes.
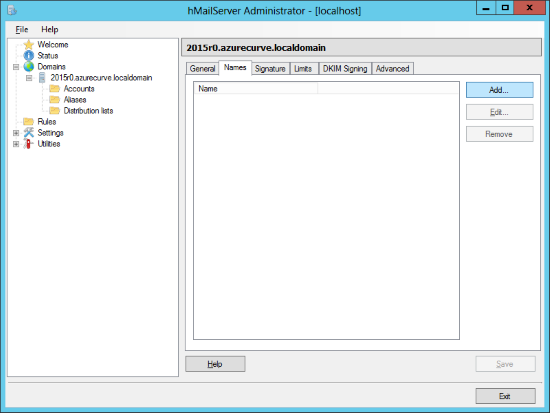
Click the Accounts node in the navigation pane and then the Add button:
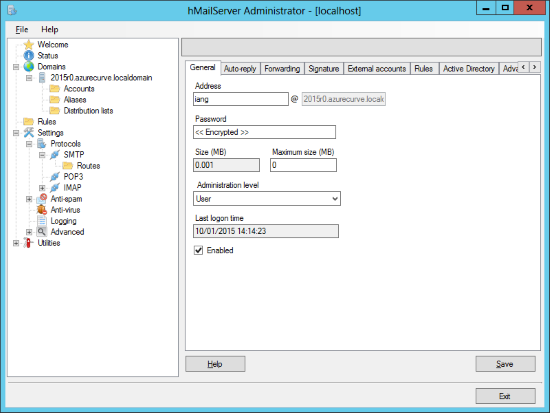
Enter the Address and select an Administration level:
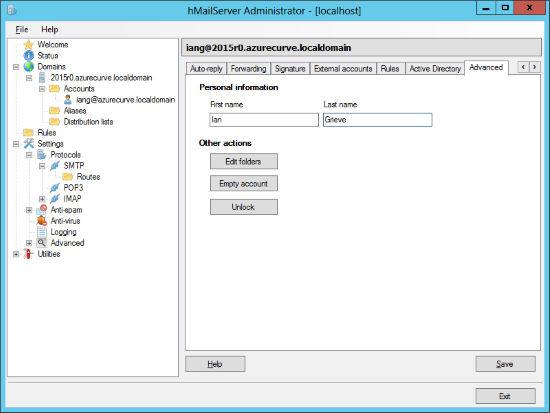
Click Save and then on the Advanced tab. Enter the First name and the Last name and then click on Save:
Repeat the above for the user accounts you need; include one for use as a catch-all.
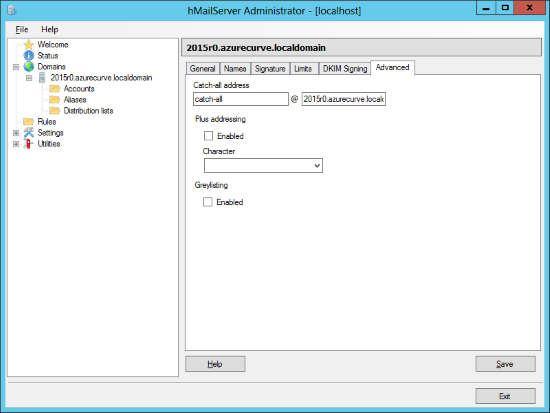
Once done click back on the Domain node in the navigation pane and select the Advanced tab in the detail pane.
Enter the Catch-all address and click Save:
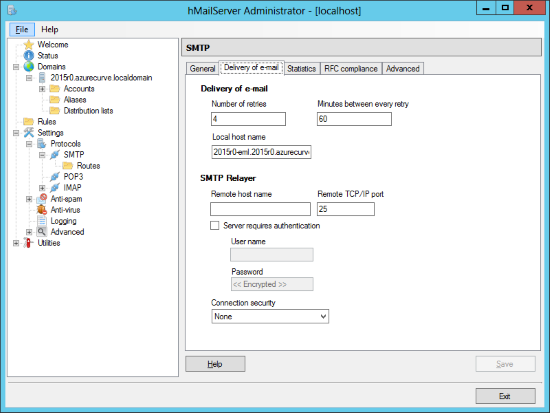
Expand Settings, Protocols and click on SMTP. Select the Delivery of e-mail tab and enter the Local host name:
Click Save.
And that completes the setup of hMailServer as I do it for demo and test systems. The only other step is to configure the email accounts in your mail client of choice; which in my case is Microsoft Outlook, which I will cover in the next post.
Click to show/hide the hMailServer Series Index
| hMailServer |
|---|
| Installation |
| Database Configuration |
| hMailServer Administrator Configuration |
| Connecting Outlook |
| Connect Outlook 2019 Professional |
What should we write about next?
If there is a topic which fits the typical ones of this site, which you would like to see me write about, please use the form, below, to submit your idea.




1 thought on “hMailServer: hMailServer Administrator Configuration”