 In the last post I showed the installation of hMailServer; in this one I’m going to cover the database setup.
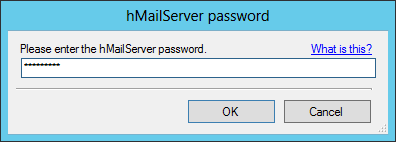
If you followed the last post you should have the hMailServer password window on screen. If not start the hMailServer Database Setup utility from the start menu.
Enter the admin password configured during the installation and click OK:
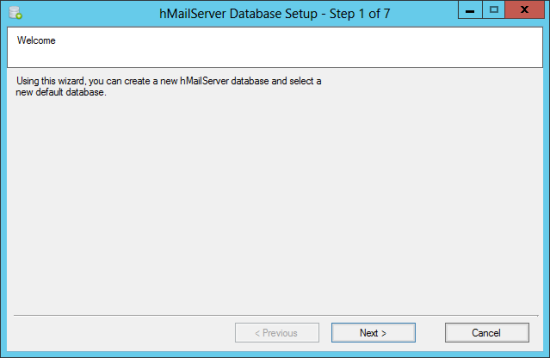
on the Welcome step, click Next:
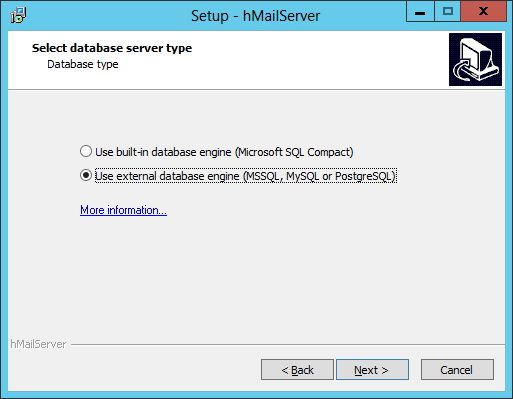
Choose the database server Owner; as I am installing this on a Dynamics GP test system which has a full SQL Server installation, I have selected the Use external database engine (MSSQL, MySQL or PostgreSQL) radion button. Click Next:
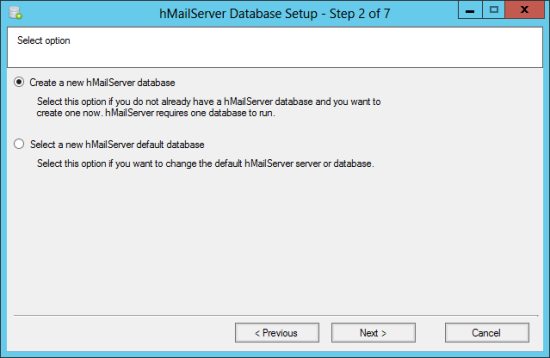
This is a new installation of hMailServer so leave the Create a new hMailServer database and click Next:
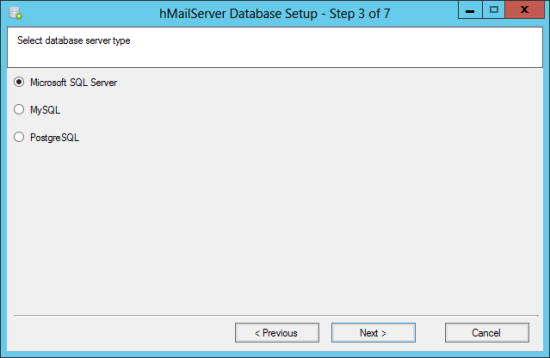
Leave the Microsoft SQL Server option selected and click Next:
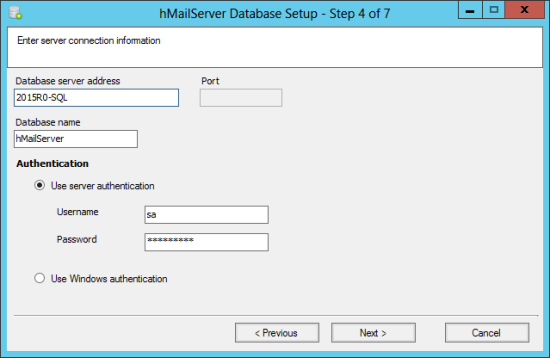
Enter the Database server address (this can be either the Server Name or IP Adress), enter a Database name and choose your Authentication method.
During an installation, I typically select Use server authentication and enter the sa username and password. I do this to ensure the user I am using has all of the necessary permissions to create a database and all objects.
Click Next to proceed:
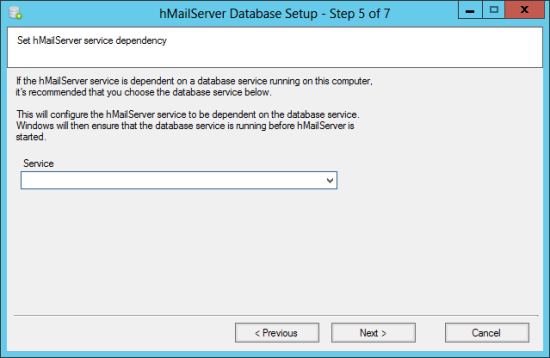
You can then configure the hMailServer service dependency if the mail server is the same machine as the SQL Server (which in this example it is not).
Click NMext to proceed:
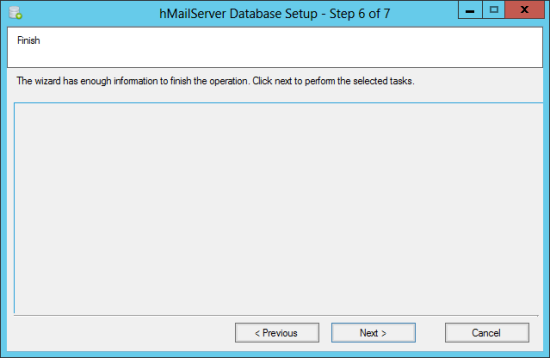
On the Finish stage, click Next to start the installation:
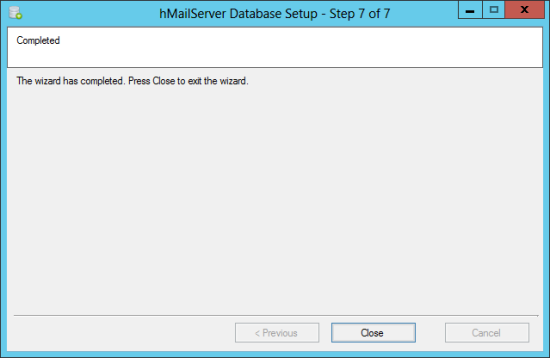
Once the installation is complete, click Close:
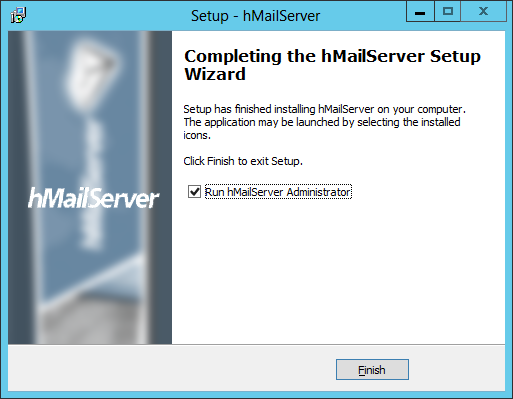
A final step allowing the hMailServer to be run will be displayed:
I’ll be covering the hMailServer Administrator in the next post in this series.


