 Microsoft Dynamics GP 2015 R2 was released at the end of May. As I mentioned at the time, I was away from home for work and rather busy otherwise so this series of posts has been somewhat delayed.
However, I am now getting my hands on GP 2015 R2 and thought I would do my usual set of posts on the installation of the various components and also the usage of the new functionality. This is going to be quite a long series of posts, so keep checking back regularly.
In the past, we used the Web Services for Microsoft Dynamics GP mainly for integration, but since Microsoft Dynamics GP 2013 R2 introduced Workflow 2.0 we have been installing it for more and more clients.
In this, the fifteenth post of the Hands on with Microsoft Dynamics GP 2015 R2 series, I’m going to step through the installation process and following it up in the next couple of posts with the configuration and verification of the installation.
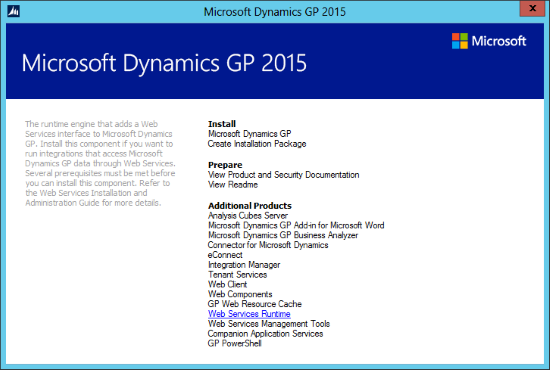
To install the Web Services for Microsoft Dynamics GP launch the setup.exe from the downloaded installation media and, under Additional Products click Web Services Runtime:
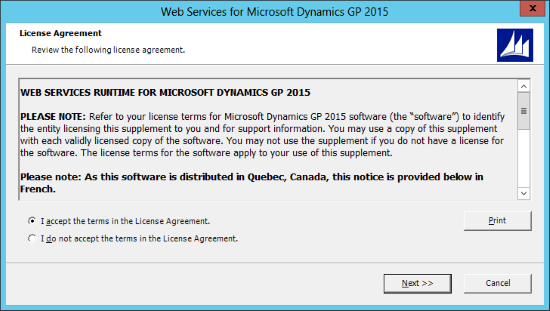
Accept the terms of the License Agreement and click Next:
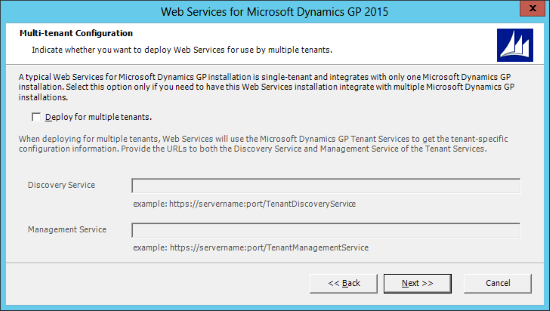
This is not a multi-tenant configuration, so just click Next:
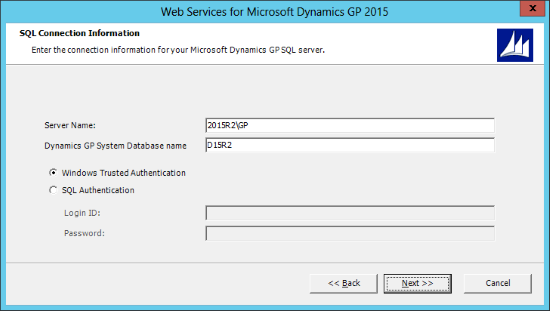
Enter the SQL Configuration Information by entering the Server Name, including the name of the instance if a Named Instance of SQL Server is being used, and the Dynamics GP System Database name.
Select the authentication method and, if using SQL Authentication enter the Login ID and Password:
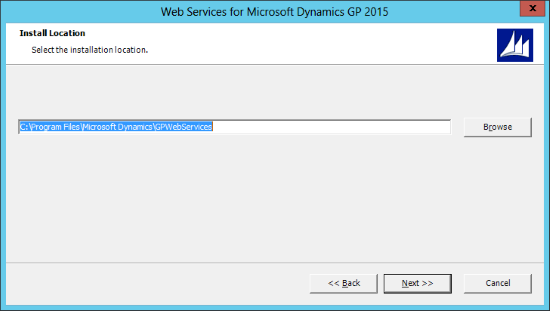
Change the default Install Location if desired and click Next:
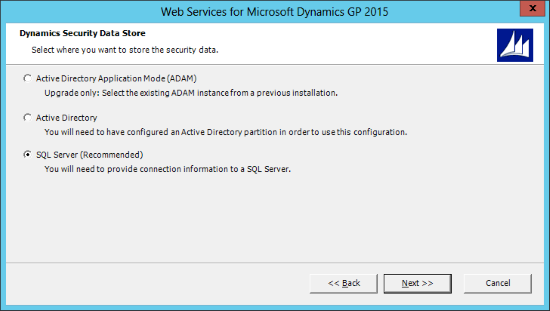
Choose where the Dynamics Security Data Store should be located; it is generally best to select the recommended option of SQL Server.
Click Next to proceed:
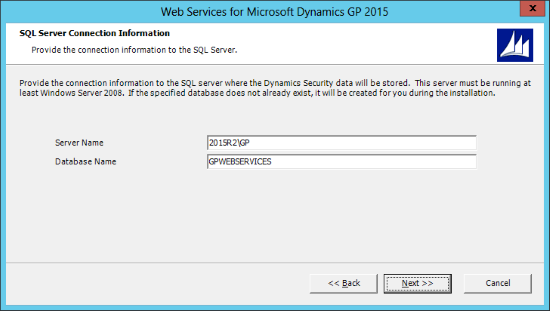
Enter the Server Name, including the instance name if using a Named Instance of SQL Server, and the required Database Name:
A check will be performed to see if a security store exists at the location and, when it does not find one, displays the following message:
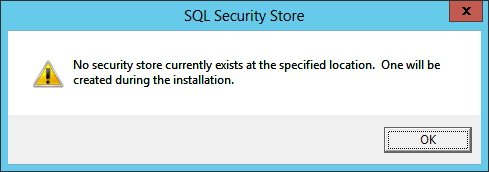
SQL Security Store: No security store currently exists at the specified location. One will be created during the installation.
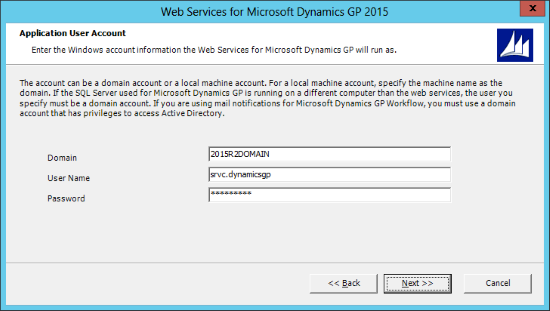
Enter the details of the Application Service Account whgich wil be used to run the Windows service. If the Workflow 2.0 Email Notifications are being used then the service account must be a Domain account with privileges to access Active Directory:
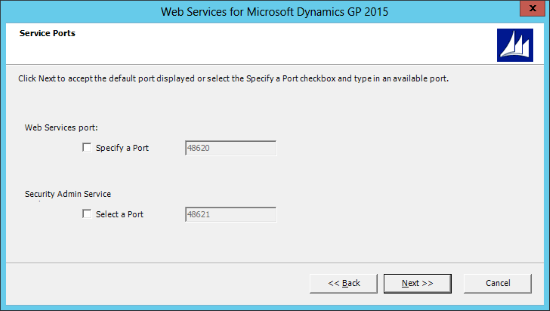
The Service Ports will have default values, but these cn be changed if required. Then click Next:
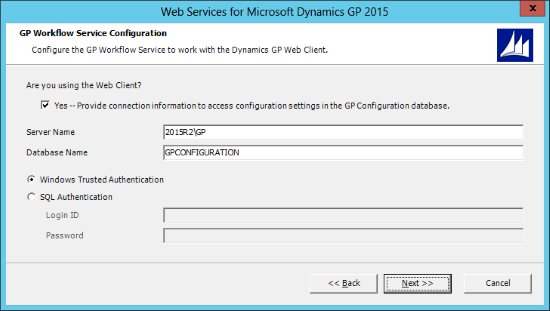
If you are using the web client mark the Yes — Provide connection information to access configuration settings in the GP Configuration database checkbox.
Enter the Server Name of the SQL Server, including instance name if a Named Instance is being used, hosting the web client GPCONFIGURATION database.
Choose an authentication method and, if using SQL Authentication, enter the Login ID and Password and click Next:
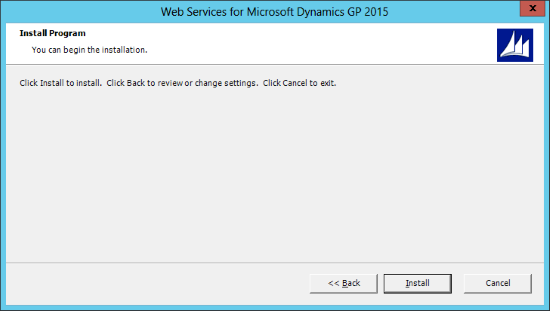
If you are ready to start the installation, click Install:
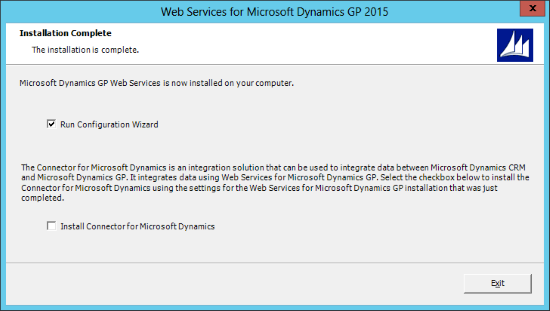
Once the installation is compelete, click the Exit button to close the installer. If you left the Run Configuration Wizard checkbox marked this application will be automatically started (and which i will cover in the next post):
Click to show/hide the Hands On With Microsoft Dynamics GP 2015 R2 Series Index
What should we write about next?
If there is a topic which fits the typical ones of this site, which you would like to see me write about, please use the form, below, to submit your idea.




4 thoughts on “Hands On With Microsoft Dynamics GP 2015 R2: Install Web Services”