 Microsoft Dynamics GP 2015 R2 was released at the end of May. As I mentioned at the time, I was away from home for work and rather busy otherwise so this series of posts has been somewhat delayed.
However, I am now getting my hands on GP 2015 R2 and thought I would do my usual set of posts on the installation of the various components and also the usage of the new functionality. This is going to be quite a long series of posts, so keep checking back regularly.
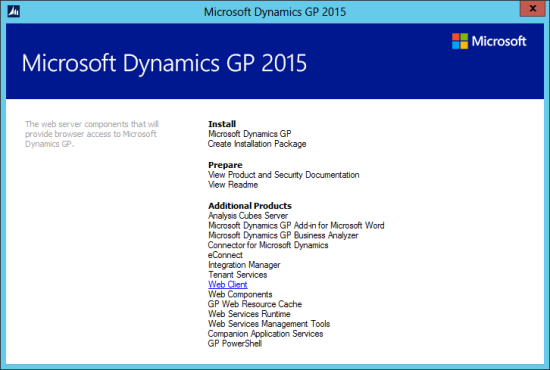
The sixth post covers a single machine deployment of the Web Client for Microsoft Dynamics GP. To install the Web Client run the setup.exe from the installation media and, under Additional Products select Web Client:
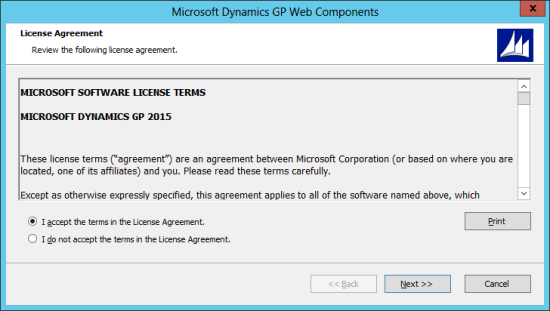
Accept the terms of the License Agreement:
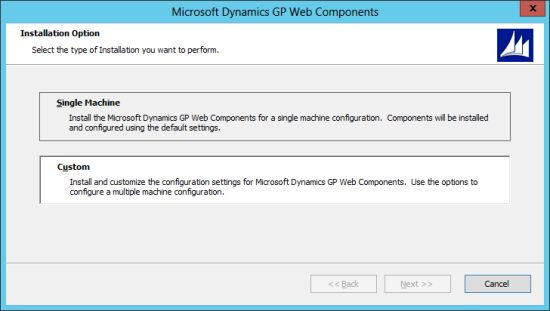
The Installation Option page contains an option for Single Machine, but I don’t typically use this one even when doing a single machine deployment as this will install other features such as Service Based Architecture:
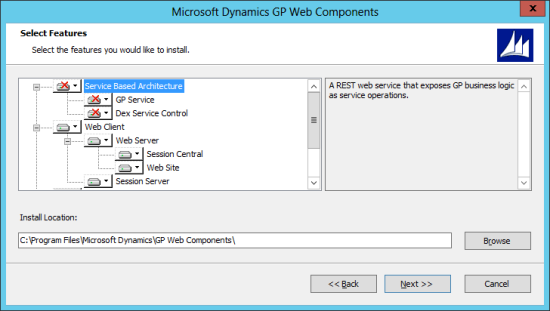
Unmark Service Based Architecture and expand Web Management Console and unmark SBA Session Manager.
Confirm the installation location for the components of the web client and then click Next:
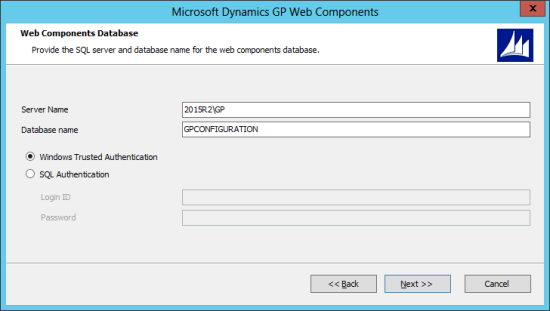
Enter the details (Server Name and Database Name) of the SQL Server which will host the Web Components Database.
You also need to select an authentication method; the default is Windows Trusted Authentication which you can use provided your Domain user account has permissions on SQL Server to create a database, otherwise change this to SQL Authentication and enter a Login ID and Password of a user with the necessary permissions:
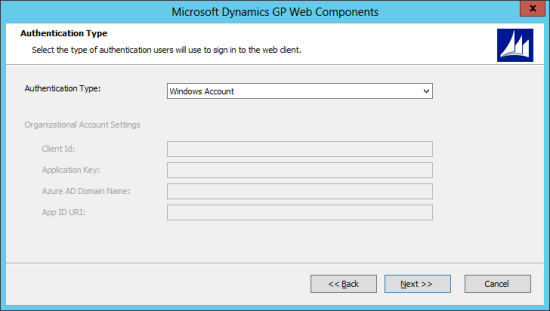
Select the Authentication Type for you have two choices:
- Windows Account which is used when users will be created in Active Directory
- Organisational Account which is used when users will be created in Azure,O365 and so on.
- Check the Port and change the default if required.
- Select the SSL certificate to be used to configure the service for SSL access – while this is optional I always set one so that the web client is secured from ed-to-end.
- Enter the NETBIOS of the Domain the service account belongs to in the Domain field.
- Enter the User Name of the service account.
- Enter the password for the entered service account.
If you’re following this example, select Windows Account and click Next:
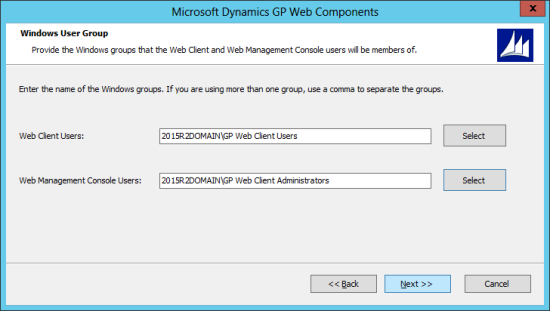
When using the web client, access is granted by assigning one or more Windows User Groups as Web Client Users and Web Management Console Users. Do this and click Next:
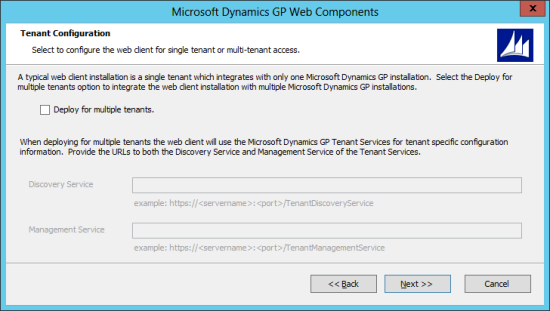
I’m not doing a multi-tenant installation so just click Next on the Tenant Configuration step:
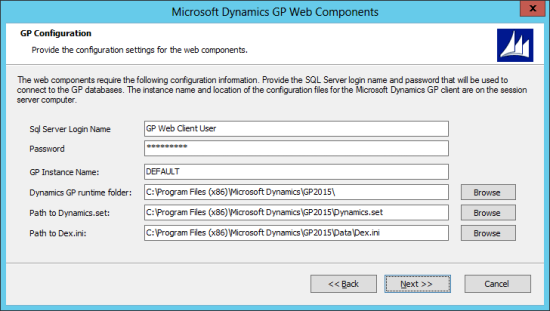
Enter a Sql Server Login Name and Password to be used by a web client session to connect to the SQL Server. This user does not need to exist as it will be created automatically; the entered user should be the same one entered at the GP Utilities stage of the installation. Click Next:
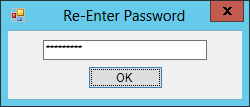
A Re-Enter Password input box will be displayed. Enter the password and click OK:
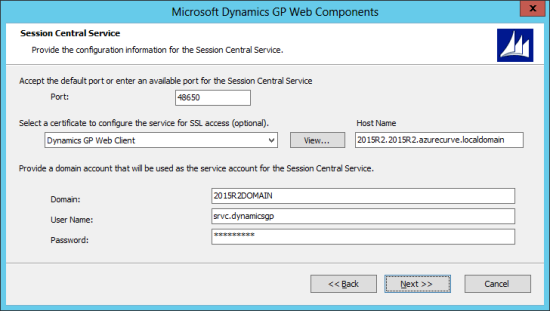
The Session Central Service step has several items which need to be configured:
Click Next to proceed.
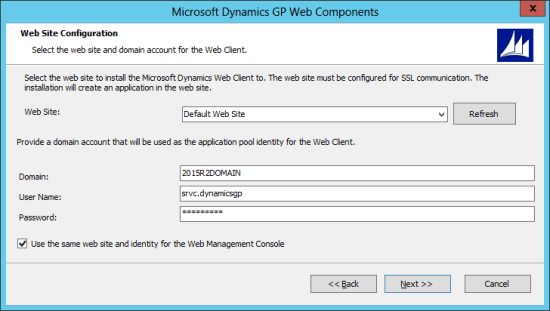
For single machine deployments, I typically keep them as simple as possible so I have opted to use the Default Web Site, leave the domain account for the application pool identity as it defaulted through from the last step and marked the Use the same web site and identity for the Web Management Console:
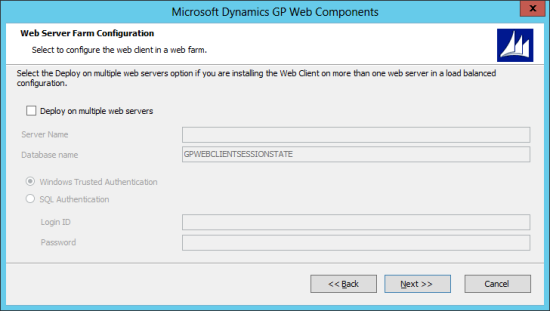
For larger deployments, the web site can be deployed to multiple web servers, but not for a single machine deployment so just click Next:
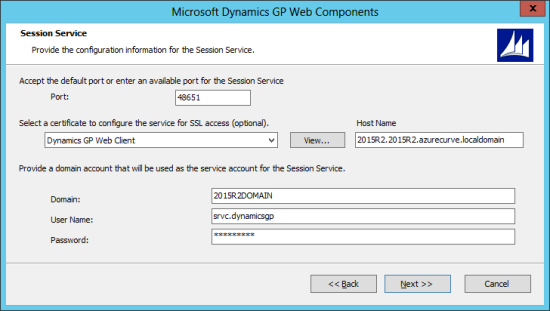
The Session Service needs to be configured similarly to the Session Central Service step:
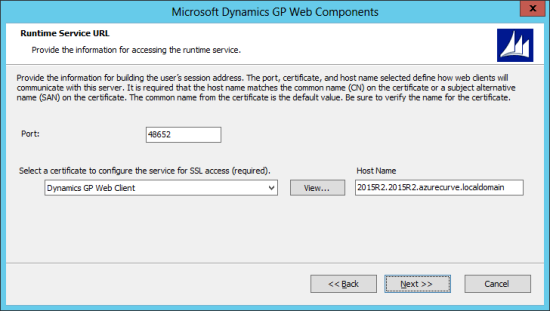
The default port for the Runtime Service URL often defaults to port 443, but this is the same port as the default SSL port, so I have changed this to 48652.
Select the SSL certificate and click Next:
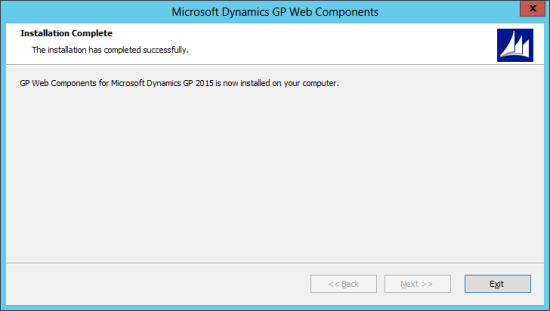
A confirmation step will be displayed so click Next to begin the installation; once complete a final step will be displayed. Click Exit to close the installer for the Web Components and launch the Config Wizard and Help Installer:
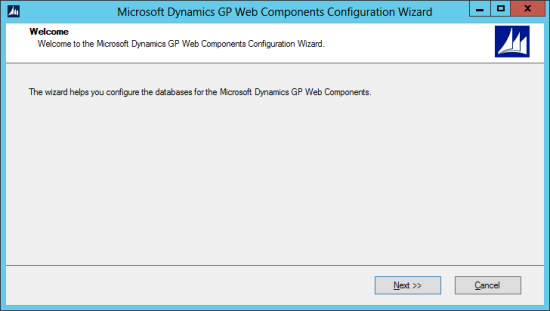
After the installer for the Web Client closes, the Microsoft Dynamics GP Web Components Configuration Wizard will automatically start. On the Welcome step click Next:
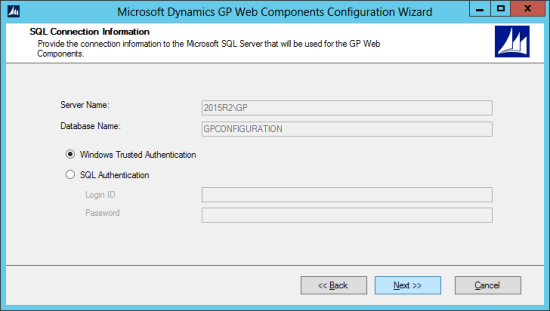
Select the authentication method , using either method the user account will need to have permissions on SQL Server to create a database, and click Next:
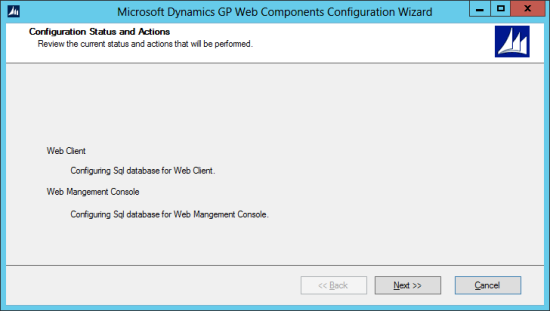
Review the actions which will be performed and click Next:
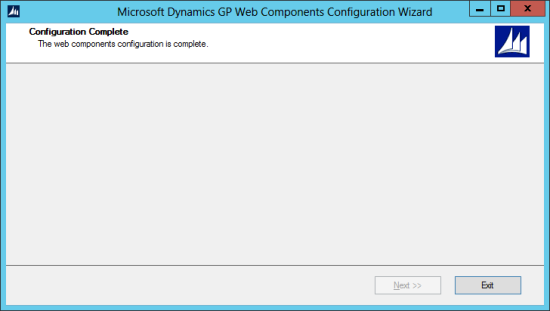
Once finished, click Exit:
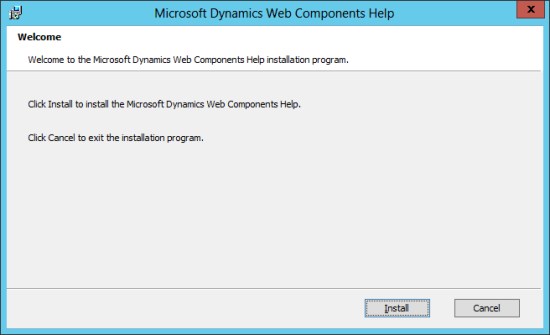
The Microsoft Dynamics Web Components Help installer was also launched automatically. Click on Install to install the help:
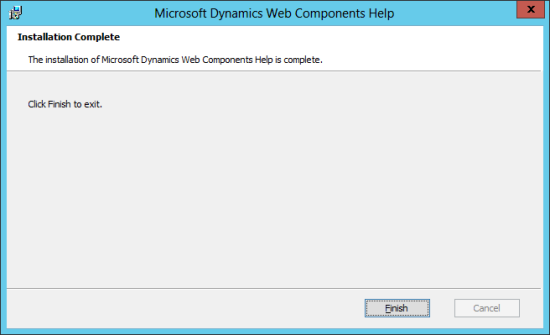
Once the install is finished, click Finish:
Click to show/hide the Hands On With Microsoft Dynamics GP 2015 R2 Series Index
What should we write about next?
If there is a topic which fits the typical ones of this site, which you would like to see me write about, please use the form, below, to submit your idea.




3 thoughts on “Hands On With Microsoft Dynamics GP 2015 R2: Web Client Install (Single Machine Deployment)”