 Now that Microsoft Dynamics GP 2015 RTM is available, I thought I could follow my usual pattern of posting a series of posts on how to install and configure both Dynamics GP, but also the additional products which ship with it. You can find the series index for these posts here.
With the web client, installed and tested it’s time to move onto the next of the additional tools that come with Dynamics GP 2015. As I intend to make use of the Workflow 2.0 I need to have the web services installed to be able to make use of the email actions.
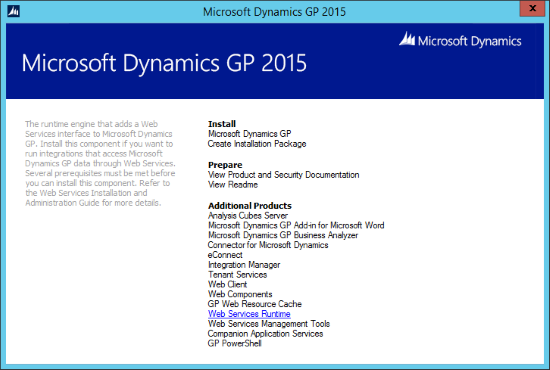
So the next five posts will look at the installation and configuration of the web services. To begin the installation of the web services, open the setup utility and select :
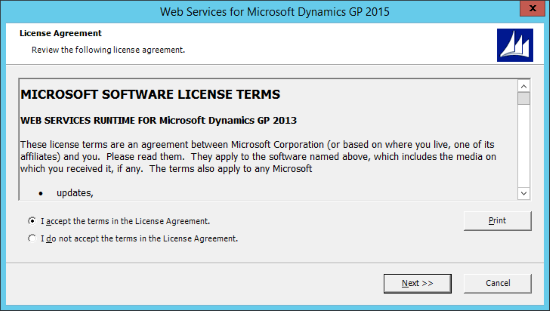
Read and accept the license agreement:
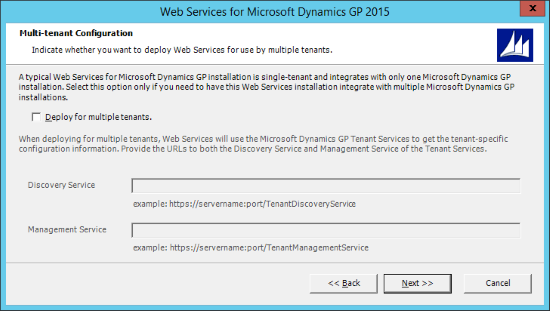
If you’re doing a multi-tenanted installation, enter the required fields on this page. However, this isn’t what I am doing in this post, so I left all options unmarked and clicked Next:
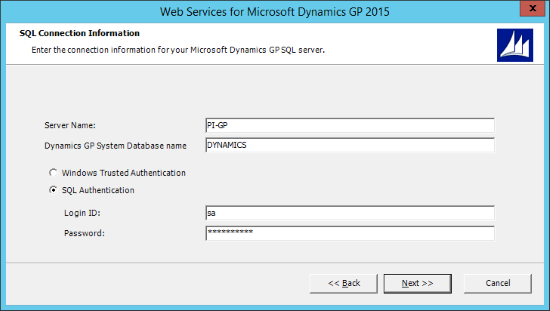
Enter the Server Name and Dynamics GP System Database name of the Microsoft Dynamics GP SQL server.
Choose your authentication method; if you select SQL Authentication you also need to enter the Login ID and Password. Click Next:
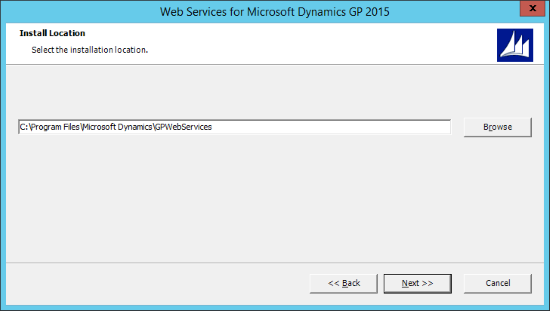
Check the Install Location, make any changes necessary, and click Next:
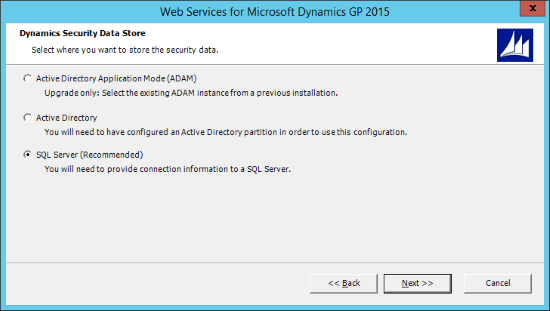
Choose your Dynamics Security Data Store; I always use the recommended SQL Server option. Click Next:
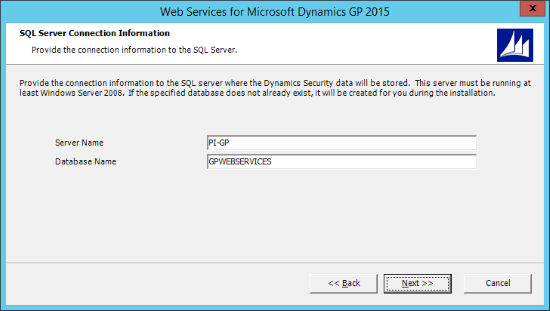
On the next step, you need to specify the SQL Server Connection Information where the Dynamics Security Data Store should be deployed; enter the Server Name and Database Name:
A message confirming no security store currently exists at the specified details. Click OK to dismiss the message:
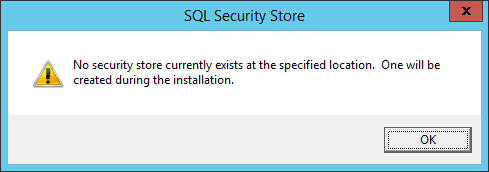 SQL Security Store – No security store currently exists at the specified location. One will be created during the installation.
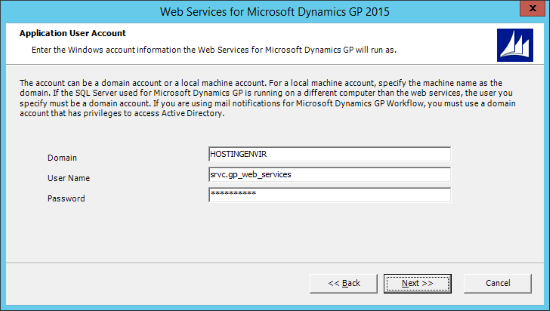
Enter the Domain, User Name and Password which will be used to run the web services:
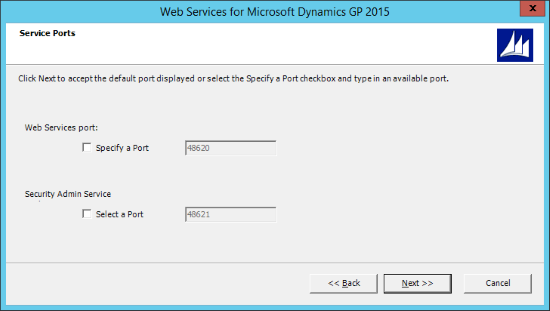
Accept the default Service Ports or specify new ones should there be a need and then click Next:
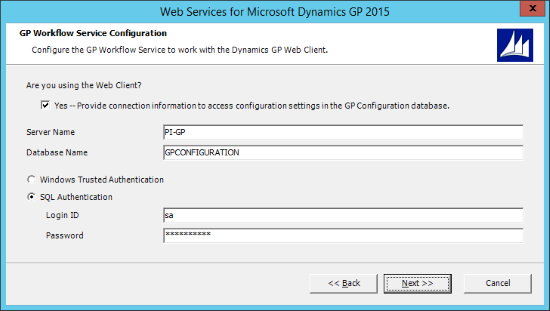
The next step is where you configure the web services to work with the web client; this is a new step from the previous versions of the web services. If you are using the web client mark the checkbox.
Enter the Server Name and Database Name of the Dynamics GP Web Client Configuration database.
Choose the authentication method and if SQL Authentication is selected enter the Login ID and Password.
Click Next:
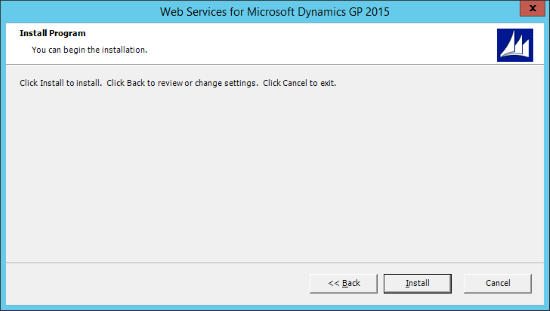
Confirm your selections by clicking Install:
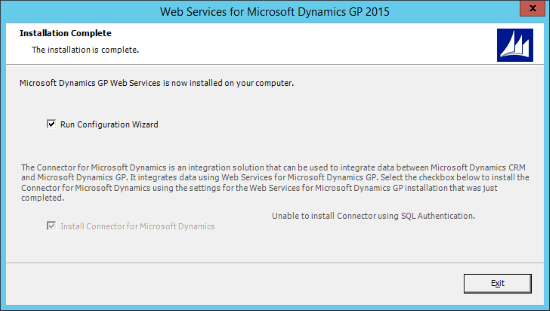
After the installation is complete a final step will be displayed where you can choose to run the Configuration wizard. Click Exit when finished.
Click to show/hide the Hands On With Microsoft Dynamics GP 2015 RTM Series Index
What should we write about next?
If there is a topic which fits the typical ones of this site, which you would like to see me write about, please use the form, below, to submit your idea.




1 thought on “Hands On With Microsoft Dynamics GP 2015 RTM: Web Services Installation”