 Now that Microsoft Dynamics GP 2015 RTM is available, I thought I could follow my usual pattern of posting a series of posts o how to install and configure both Dynamics GP, but also the additional products which ship with it. You can find the series index for these posts here. I am assuming you already have your server built with Windows and SQL Server for this series.
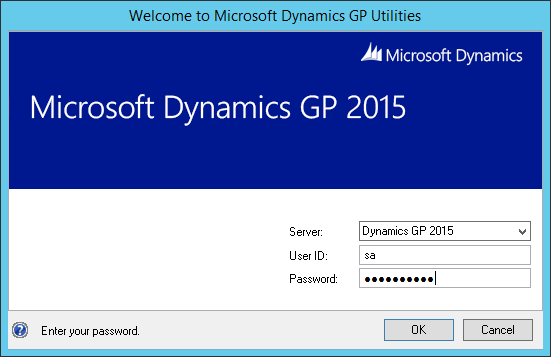
In this second post, I am going to take a look at the server install where the system database is created. To do this, run GP Utilities from the Start screen and log in using the sa account:
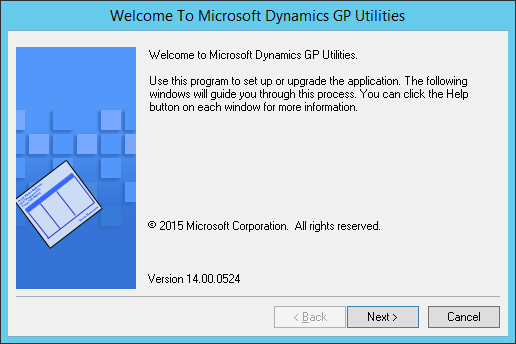
On the Welcome to Microsoft Dynamics GP Utilities step click Next:
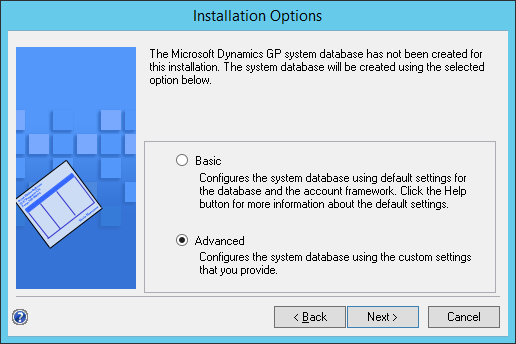
I prefer to do an Advanced installation which allows me to control the install options:
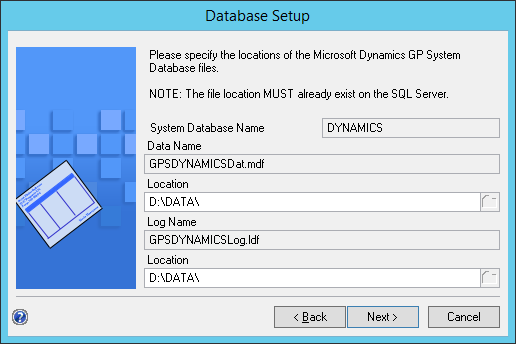
Check the data and log locations for the Database Setup. These should default to the SQL Server defaults, but I typically find they default to the SQL Server install folder. On my test server I have a separate D: for the data and logs:
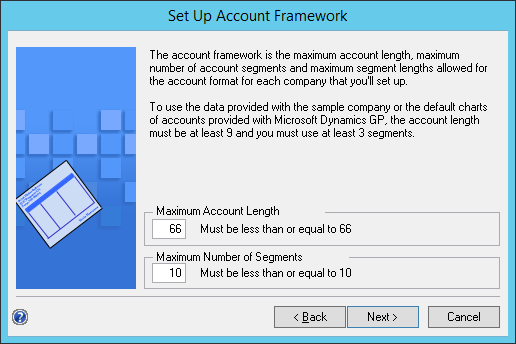
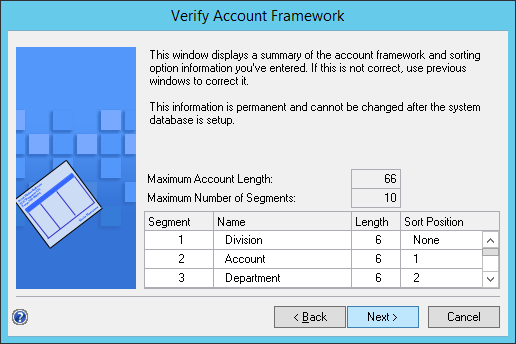
Specify the Maximum Account Length and Maximum Number of Segments. To allow for future growth these should ideally be set to 66 and 10 respectively:
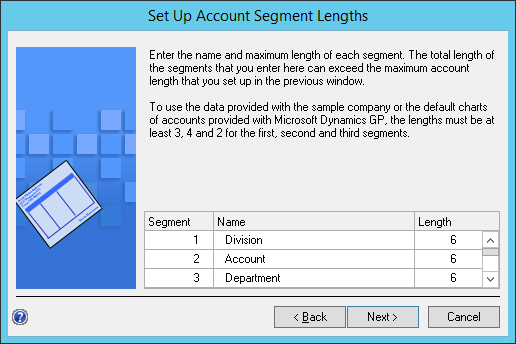
Choose the account segment lengths. Unless I know the chart of accounts will have a segment longer than 6 characters I typically leave these alone although I will, if known, change the Name to match the intended segment names:
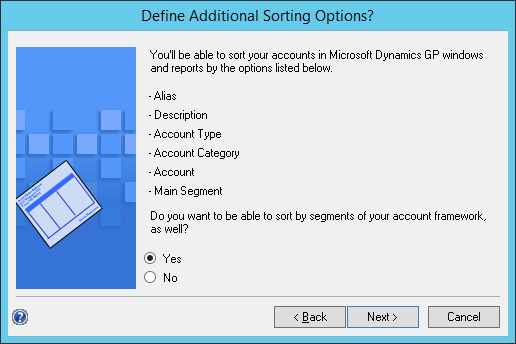
Decide whether you want to be able to sort by additional segments:
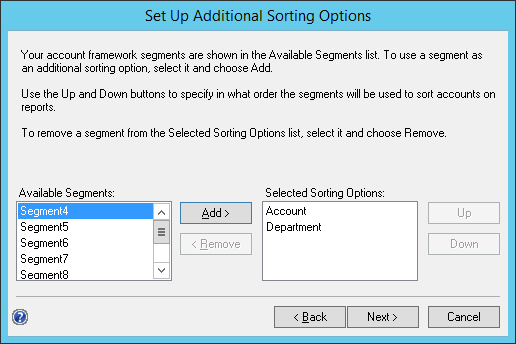
I have opted to also sort by two additional segments, which I have renamed to Account and Department:
Verify the account framework selections and click Next:
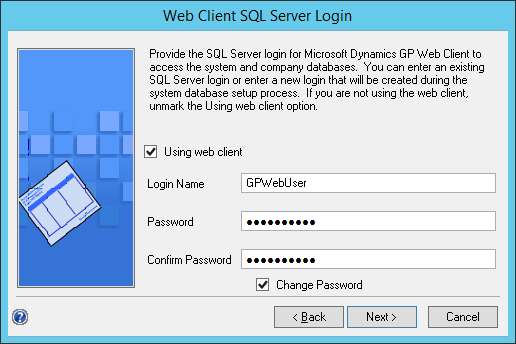
If you are not using the web client leave the Using web client checkbox unmarked. If you are going to use the web client, as I am, mark the box and enter the Login Name, Password and Confirm Password fields. You can also choose to reset the password to the entered values by marking the Change Password checkbox:
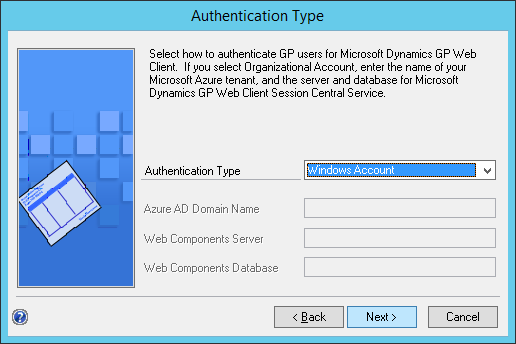
For Authentication Type you have two options:
- Windows Account which will allow you to select users from Active Directory
- Organization Account which will allow integration with a Microsoft Azure tenant
I have opted for the Authentication Type of Windows Account as this server is in our server room and not on Azure:
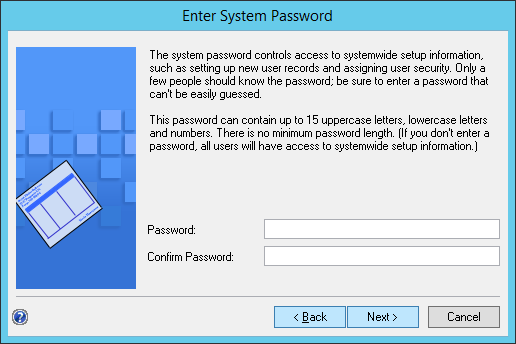
If you require a system password enter a Password and Confirm Password. This installation is for a test/demo environment so I have not specified a password:
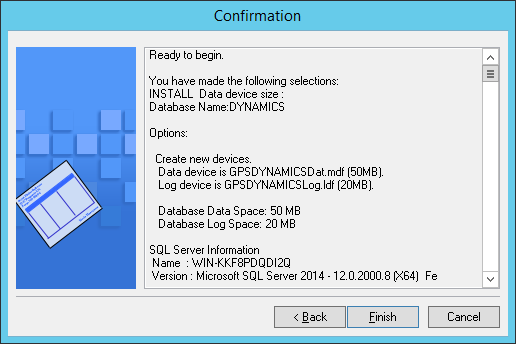
Check your selections and click Finish to confirm and begin the installation:
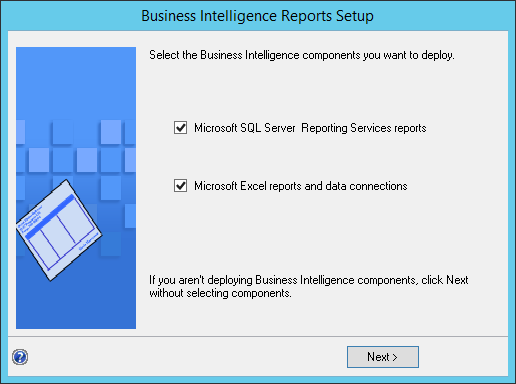
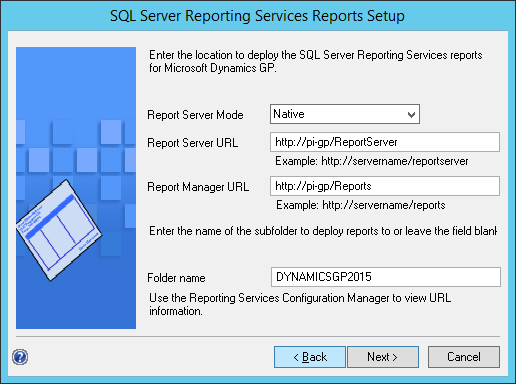
If you opted to install the Reporting Services Reports, specify the Report Server Mode, Report Server URL, Report Manager URL and the Folder Name where the SSRS are to be deployed (nothing is axctually deployed at this stage; this merely defines):
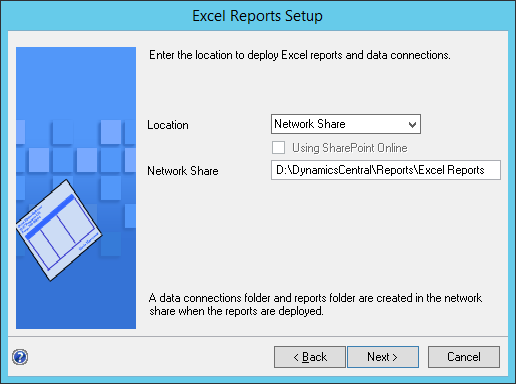
If you opted to deploy the Microsoft Excel reports, choose the Location and Network Share:
After clicking Next you will be taken to the Additional Tasks step where you can choose to Add sample company data or create a new company:
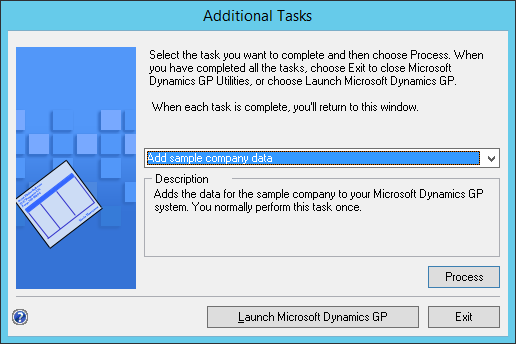
I will be covering the deployment of the sample company in the next post.
Click to show/hide the Hands On With Microsoft Dynamics GP 2015 RTM Series Index
What should we write about next?
If there is a topic which fits the typical ones of this site, which you would like to see me write about, please use the form, below, to submit your idea.


2 thoughts on “Hands On With Microsoft Dynamics GP 2015 RTM: Server Installation”