 Now that Microsoft Dynamics GP 2015 RTM is available, I thought I could follow my usual pattern of posting a series of posts o how to install and configure both Dynamics GP, but also the additional products which ship with it. You can find the series index for these posts here. I am assuming you already have your server built with Windows and SQL Server for this series.
In the last post I deployed the system database; in this one I’m going to take a look at deploying the sample company. While this isn’t something generally done with a new system, I am in the process of building a new demo/test environment.
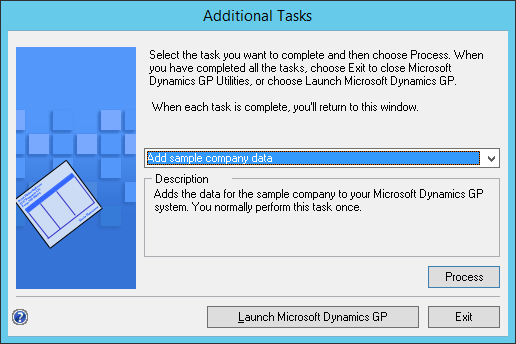
We’ll pick up where the previous post left off on the Additional Tasks step of GP Utilities. If you had closed GP Utilities log back in and progress through to this step and in the combo box, in the middle of the screen, make sure it is set to Add sample company data and click Process:
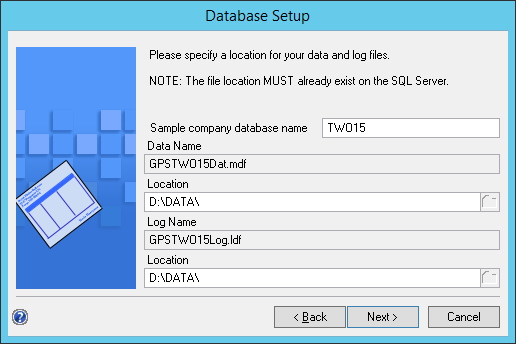
The Sample company database name will default to TWO, but you can overwrite this should you wish (as I have done). Enter the Location for the data and log files; unfortunately this does not default to the SQL Server defaults, but to the install folder so you will always need to overwrite these to have them in the default location. Click Next to proceed:
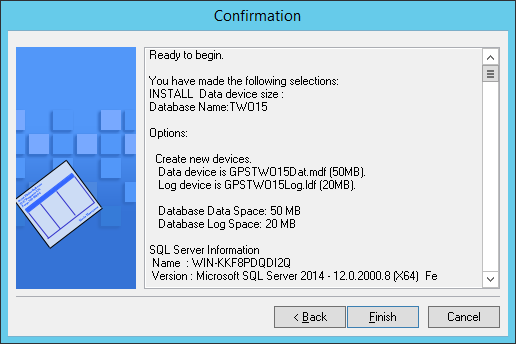
Confirm your selections and click Finish to deploy the sample database:
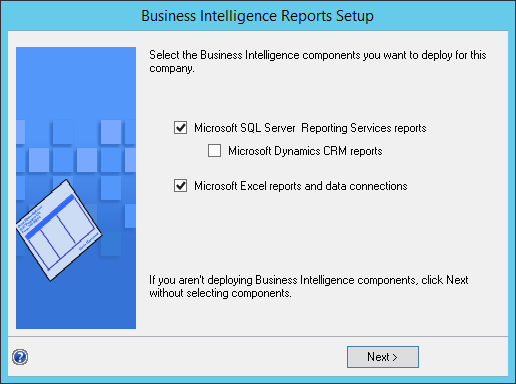
Once the database deployment is finished, if you choose to configure the Business Intelligence Reports for the sample company, mark the relevant box for the Microsoft SQL Server Reporting Services reports and the Microsoft Excel reports and data connections and click Next:
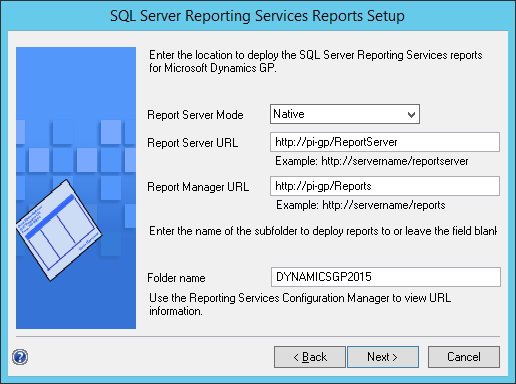
The settings on the SQL Server Reporting Services Reports Setup will default from the configuration defined during the install of the system database. Check the setup, make any required changes and click Next to continue:
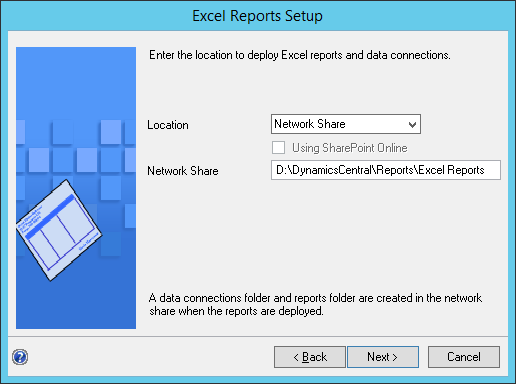
Likewise the Excel Reports Setup will need to be checked and confirmed by clicking Next:
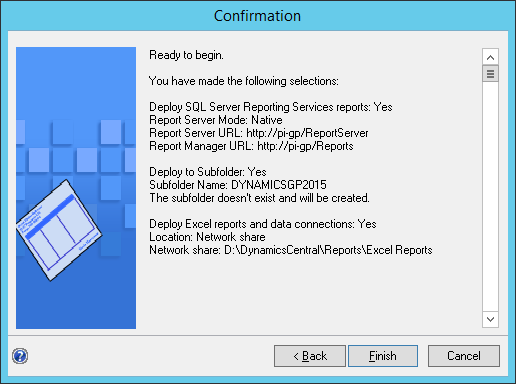
A page will be displayed with all of the selections; confirm them, click Back to make any changes, or click
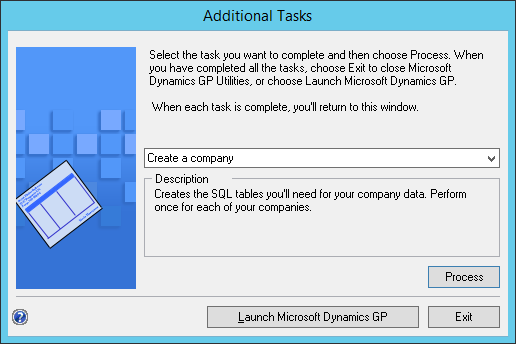
Once the reports have been deployed, you will be returned back to the Additional Tasks window where you can click Launch Microsoft Dynamics GP:
In the next post, I’ll take a look at the first run of the Microsoft Dynamics GP client.
Click to show/hide the Hands On With Microsoft Dynamics GP 2015 RTM Series Index
What should we write about next?
If there is a topic which fits the typical ones of this site, which you would like to see me write about, please use the form, below, to submit your idea.


3 thoughts on “Hands On With Microsoft Dynamics GP 2015 RTM: Sample Company Deployment”